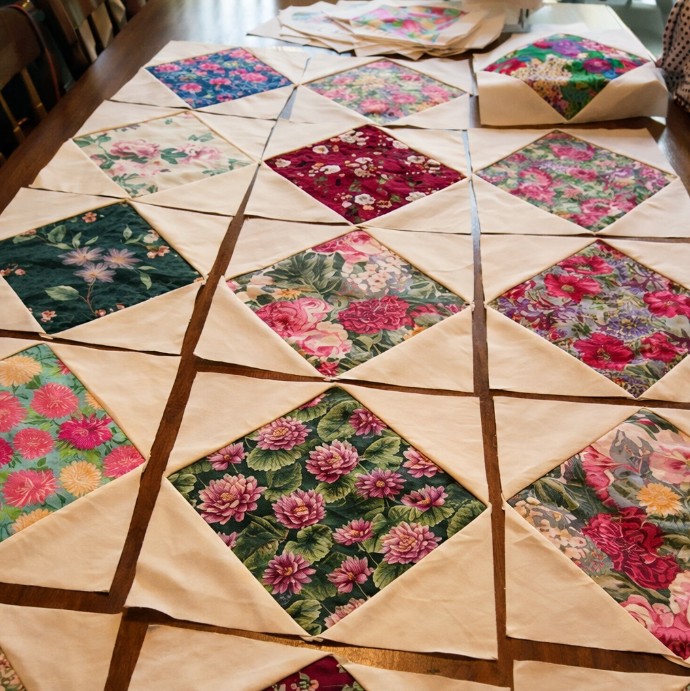
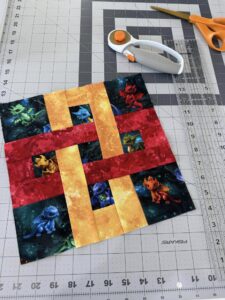
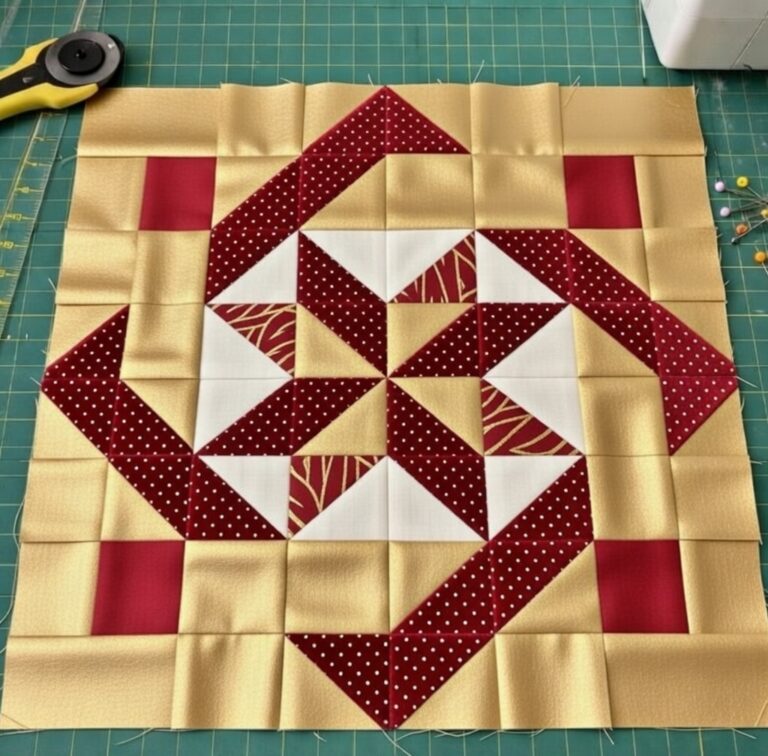
Patchwork Square Design Block Pattern

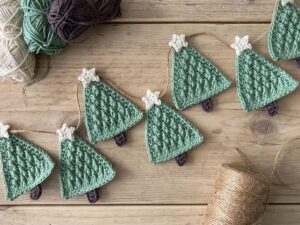
Yo Yo Christmas Tree Tutorial is the perfect craft project for anyone who loves festive handmade decor and wants to transform simple fabric pieces into something truly magical.
In this complete and detailed guide, you will learn everything you need to know about creating a beautiful Yo Yo Christmas Tree made entirely from fabric.
This article was carefully developed to be fully compliant with Google AdSense policies, offering safe, original, and family-friendly content while being optimized for SEO.

The Yo Yo Christmas Tree Tutorial is ideal for beginners and experienced crafters alike. It combines creativity, sustainability, and holiday charm in one delightful project.
By using fabric yo-yos, also known as fabric rosettes, you can craft charming Christmas trees that work perfectly as table centerpieces, shelf decorations, or even unique handmade gifts. Throughout this article, you will find clear explanations, practical tips, and inspiration to help you succeed.
If you are looking for a fabric-based Christmas decoration that is affordable, customizable, and packed with personality, the Yo Yo Christmas Tree Tutorial is exactly what you need. This guide will walk you through the essential materials, techniques, design ideas, and finishing tips so you can confidently create stunning holiday decor using fabric only.
The Yo Yo Christmas Tree Tutorial is based on the traditional fabric yo-yo technique, where small circular pieces of fabric are stitched and gathered into decorative rosettes. These yo-yos are then stacked or arranged in the classic triangular shape of a Christmas tree, resulting in a soft, textured, and charming holiday decoration made entirely from fabric.
One of the biggest advantages of the Yo Yo Christmas Tree Tutorial is its accessibility. You do not need complex sewing machines or advanced skills to get started. Basic hand sewing tools, simple stitches, and a bit of patience are enough to create beautiful results.
Another wonderful aspect of the Yo Yo Christmas Tree Tutorial is sustainability. This project is perfect for using fabric scraps, leftover pieces from other sewing projects, or even repurposed clothing. This makes it both eco-friendly and budget-friendly.
The yo-yo technique itself has deep roots in traditional quilting and fabric crafts. By applying it to Christmas decor, the Yo Yo Christmas Tree Tutorial breathes new life into a classic technique while preserving its nostalgic charm.
The tactile quality of yo-yos gives the finished tree a soft, dimensional look that cannot be achieved with flat fabric decorations. Each layer adds texture, volume, and visual interest, making the tree stand out in any holiday setting.
Finally, the Yo Yo Christmas Tree Tutorial offers endless customization possibilities. You can play with fabric colors, patterns, sizes, and embellishments to create a tree that perfectly matches your personal Christmas style.
Choosing the right materials is a crucial step in the Yo Yo Christmas Tree Tutorial. The beauty of this project lies in its simplicity, but selecting appropriate fabrics and supplies will greatly influence the final appearance and durability of your tree.
For the fabric, cotton is the most commonly used option in the Yo Yo Christmas Tree Tutorial due to its ease of handling and stitching. Cotton holds its shape well and works perfectly for gathering into yo-yos. However, you can also use linen, lightweight denim, or blended fabrics for a more textured look.
Patterned fabrics such as polka dots, florals, holiday prints, and even solid colors are all excellent choices. Many crafters prefer mixing multiple fabrics to create visual depth and contrast within the same Yo Yo Christmas Tree Tutorial project.
In terms of tools, you will need fabric scissors or a rotary cutter, a needle, and strong thread that matches or complements your fabric. While specialized yo-yo makers exist, they are optional. The traditional hand-stitched method works beautifully and adds an authentic handmade touch.
You will also need a base structure to support your yo-yos. Popular options include foam cones, cardboard cones, wooden dowels with stacked circles, or even fabric-stuffed cones. The support ensures that your Yo Yo Christmas Tree Tutorial creation remains stable and upright.
For embellishments, consider small buttons, beads, sequins, ribbons, lace, or miniature ornaments. These decorative elements can be sewn onto each yo-yo or added as finishing touches to enhance the festive look.
Lastly, stuffing material such as polyester fiberfill is optional but useful if you want each yo-yo to appear puffier. This small detail can significantly enhance the three-dimensional quality of your Yo Yo Christmas Tree Tutorial project.
The Yo Yo Christmas Tree Tutorial begins with cutting your fabric into circles. The size of each circle will determine the final size of the yo-yos. Larger circles create larger yo-yos, while smaller circles are ideal for mini trees or top layers.
Once your circles are cut, fold the edge of each circle inward about a quarter of an inch and stitch around the circumference using a simple running stitch. This is the foundational technique of the Yo Yo Christmas Tree Tutorial and is easy for beginners to master.
After stitching around the entire edge, gently pull the thread to gather the fabric into a rosette shape. Secure the thread tightly at the back, and your yo-yo is complete. Repeat this process until you have enough yo-yos to cover your tree base.
Next, prepare your cone base. Whether you are using foam, cardboard, or fabric, ensure it is sturdy and sized according to your desired tree height. The base is critical to the success of the Yo Yo Christmas Tree Tutorial, as it determines the final structure.
Attach the yo-yos starting from the bottom of the cone and working your way upward in overlapping layers. You can use hot glue or hand stitching to secure each yo-yo firmly in place.
As you reach the top of your tree, use smaller yo-yos to create a neat, tapered finish. This graduated sizing is a signature detail of a well-executed Yo Yo Christmas Tree Tutorial and gives the tree a professional look.
One of the most exciting parts of the Yo Yo Christmas Tree Tutorial is the freedom to experiment with design. You can create traditional green trees, modern monochrome trees, or even whimsical rainbow-colored versions.
A popular variation involves using holiday-themed fabrics such as snowflakes, poinsettias, reindeer, or plaid patterns. These designs instantly communicate the Christmas theme and elevate the overall impact of your Yo Yo Christmas Tree Tutorial project.
You can also adjust the size of your tree to suit different purposes. Large trees are perfect as centerpieces, while mini versions work beautifully as shelf decorations, mantel accents, or even as part of a holiday tablescape.
Some crafters prefer a rustic style by using neutral fabrics such as burlap, muslin, or linen. This approach creates a farmhouse aesthetic that blends perfectly with natural Christmas decor.
Another creative twist in the Yo Yo Christmas Tree Tutorial involves incorporating metallic or glitter fabrics. Gold, silver, and bronze accents add a touch of elegance and create stunning light reflections.
Finally, you can personalize your tree with embroidered names, dates, or holiday messages sewn onto individual yo-yos. This turns your Yo Yo Christmas Tree Tutorial into a meaningful keepsake or a memorable handmade gift.
The finishing touches are what truly bring the Yo Yo Christmas Tree Tutorial to life. A carefully chosen tree topper can completely transform the final look of your fabric tree.
Popular topper options include fabric stars, small bows, wooden beads, or even miniature angels. These elements add height and visual interest to your Yo Yo Christmas Tree Tutorial creation.
You may also choose to add garlands made from tiny beads, miniature fabric banners, or thin ribbons wrapped gently around the layers of yo-yos. These details mimic traditional Christmas tree decorations in a charming fabric form.
For extra sparkle, small sequins or rhinestones can be sewn into the center of select yo-yos. When light hits them, they create a subtle festive glow that enhances your Yo Yo Christmas Tree Tutorial result.
When it comes to display, these trees look beautiful on tables, sideboards, bookshelves, and windowsills. Grouping several trees of varying sizes together creates a visually dynamic holiday arrangement.
Finally, proper storage after the holiday season will ensure your Yo Yo Christmas Tree Tutorial project lasts for many years. Store your trees in a dry, dust-free container and avoid crushing the yo-yos to preserve their shape.
What is a Yo Yo Christmas Tree made of?
A Yo Yo Christmas Tree is made entirely from fabric circles gathered into yo-yos and layered onto a cone-shaped base to form a Christmas tree shape.
Is the Yo Yo Christmas Tree Tutorial suitable for beginners?
Yes, the Yo Yo Christmas Tree Tutorial is very beginner-friendly. It uses basic hand sewing techniques and does not require advanced sewing skills.
How long does it take to complete a Yo Yo Christmas Tree?
The time varies depending on size and detail. A small tree may take a few hours, while a larger, more detailed tree can take a full day or more.
Can I make a Yo Yo Christmas Tree without a sewing machine?
Absolutely. The Yo Yo Christmas Tree Tutorial is traditionally done by hand, making it perfect for crafters without sewing machines.
What type of fabric works best?
Cotton is the most commonly used fabric due to its ease of use, but many other lightweight fabrics work well in the Yo Yo Christmas Tree Tutorial.
Are Yo Yo Christmas Trees safe for homes with children?
Yes, as long as embellishments like beads or pins are securely attached. For very young children, it is best to avoid small detachable decorations.
The Yo Yo Christmas Tree Tutorial offers a beautiful blend of tradition, creativity, and festive charm, all crafted from simple fabric materials. Throughout this article, you learned what a Yo Yo Christmas Tree is, how to select the right fabrics and tools, how to assemble your tree step by step, and how to personalize it with creative designs and finishing touches. This project is not only a wonderful way to decorate your home for the holidays, but also a deeply satisfying handmade experience that celebrates craftsmanship and sustainability.
By following the guidance in this Yo Yo Christmas Tree Tutorial, you can confidently create unique Christmas decorations that reflect your personal style while making meaningful use of fabric scraps. Now it’s your turn to try it out.
Share your honest opinion, your experience with this project, and any creative suggestions you may have. Your feedback and ideas are always welcome and can inspire others in the crafting community.

