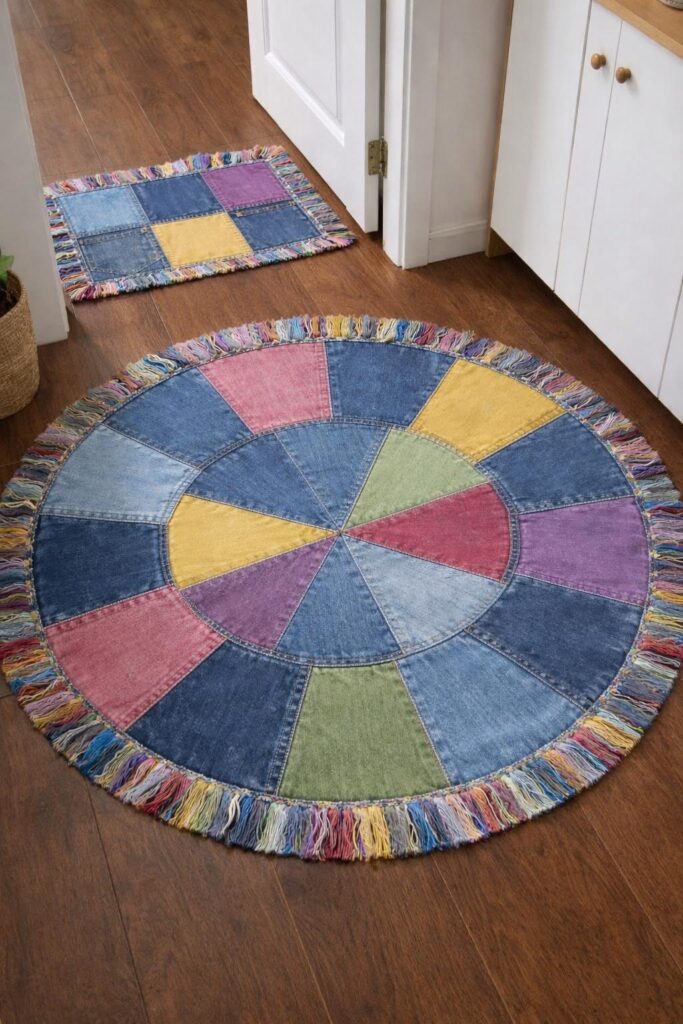
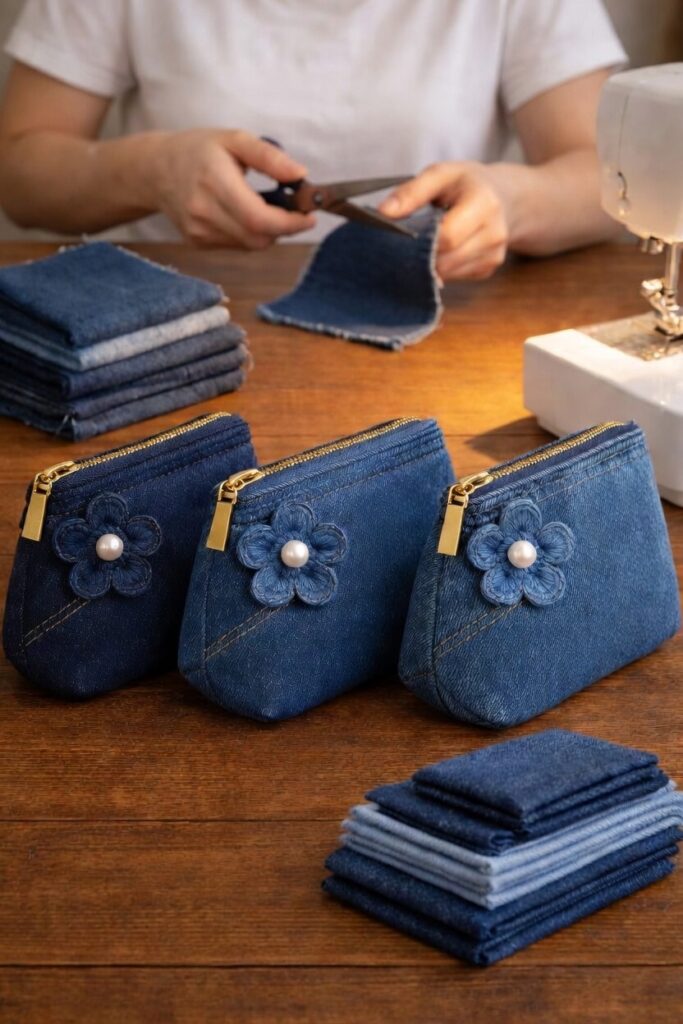
Patchwork Denim Rugs Pattern

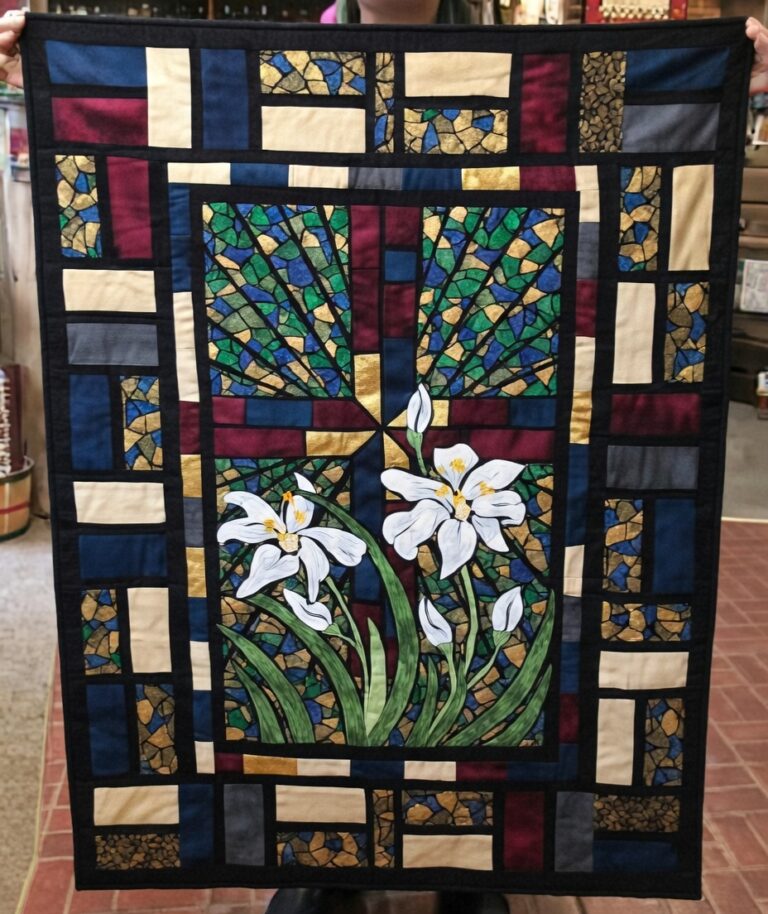
The Cross Quilted Wall Hanging Pattern is a timeless and meaningful quilting project that beautifully combines art, faith, and craftsmanship.
Whether you’re creating it as a thoughtful gift, a decorative piece for your home, or a project to practice precision piecing, this pattern delivers elegance and serenity in every stitch.
Featuring clean lines, geometric symmetry, and endless customization possibilities, the Cross Quilted Wall Hanging Pattern allows quilters of all levels to express both creativity and devotion.
A cross quilt wall hanging serves as a heartfelt symbol of hope, peace, and love. It fits perfectly in any space—entryways, bedrooms, churches, or nurseries—adding warmth and a handmade touch.
With its simple structure, this pattern provides the ideal foundation for experimenting with colors, fabrics, and textures. From minimalist monochrome palettes to bright patchwork designs, the Cross Quilted Wall Hanging Pattern adapts beautifully to your personal style.
In this guide, you’ll learn everything you need to know about making your own cross-themed quilt wall hanging—from choosing fabrics and preparing materials to assembling, quilting, and finishing your masterpiece. Let’s begin this creative journey and bring meaning and beauty to your walls with a design that truly stands the test of time.
Before starting your Cross Quilted Wall Hanging Pattern, it’s important to gather the right materials. Choosing quality fabrics and tools will make your quilting process easier and ensure your wall hanging lasts for years to come.
Here’s what you’ll need:
When selecting fabrics, think about contrast and emotion. For a classic and calming piece, choose soft pastels or earthy tones. For a bold and contemporary look, opt for high-contrast colors such as white and navy or gray and gold. If your wall hanging will be displayed in a faith-based setting, traditional combinations like cream and burgundy or blue and gold create a timeless appeal.
Before cutting, press your fabrics to remove wrinkles. This ensures your cuts are clean and your seams align perfectly later. Organizing all your materials beforehand makes the Cross Quilted Wall Hanging Pattern process smooth and enjoyable, letting you focus entirely on creativity.
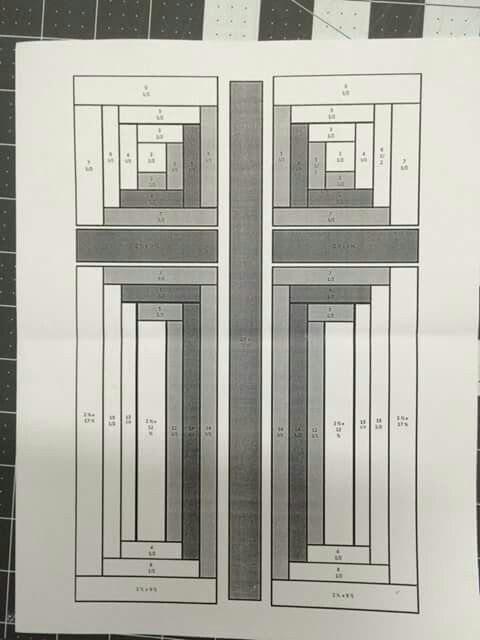
Now that your materials are ready, let’s start creating your Cross Quilted Wall Hanging Pattern. The design is built around clean geometric blocks that come together to form a striking cross shape at the center of your piece.
Congratulations! You’ve completed your Cross Quilted Wall Hanging Pattern—a piece that’s both a work of art and a reflection of craftsmanship and faith.
One of the most rewarding parts of the Cross Quilted Wall Hanging Pattern is its versatility. You can personalize every aspect to suit your taste, color scheme, or the space where it will hang.
For a modern minimalist look, try solid neutral tones with subtle quilting lines. White and gray or cream and tan combinations produce a clean, sophisticated design that complements contemporary interiors.
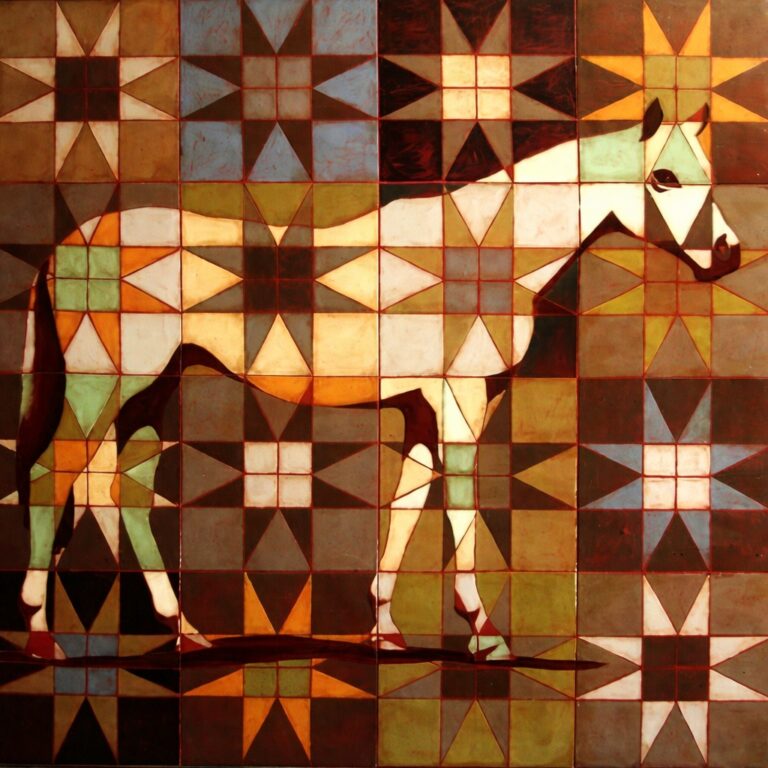
For a vibrant and artistic interpretation, experiment with batiks or patterned fabrics. Using gradient or ombré fabrics for the cross can create a glowing effect that draws the eye.
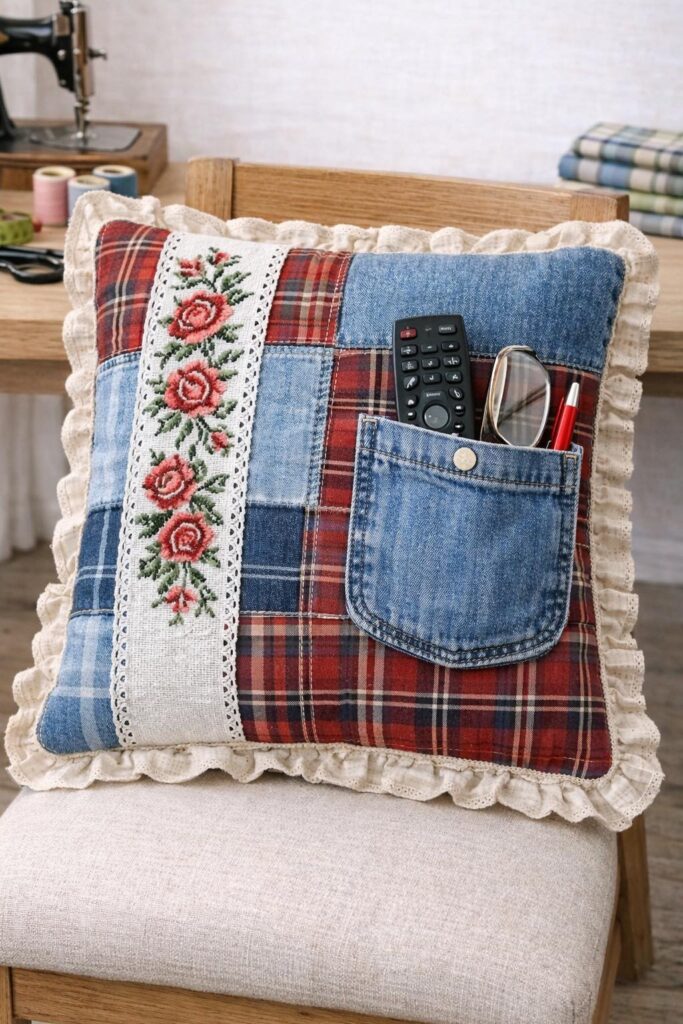
You can also create a patchwork-style cross by using scraps from other quilting projects. This adds texture, depth, and personal history to your wall hanging. It’s an excellent way to repurpose fabric leftovers while creating something truly meaningful.
Another creative variation is to embroider inspirational words or verses around the cross. Words like “Faith,” “Hope,” or “Love” stitched in elegant fonts can turn your quilt into a daily reminder of positivity.
For a seasonal wall hanging, adapt the colors to match holidays or church events—deep reds and greens for Christmas, soft pastels for Easter, or gold and cream for celebrations.
The Cross Quilted Wall Hanging Pattern truly allows endless customization, letting you express your creativity while honoring the traditional beauty of quilting.
Even though the Cross Quilted Wall Hanging Pattern is beginner-friendly, attention to detail can elevate your project from good to exceptional. Here are some valuable quilting tips:
These small steps make a huge difference in the final result. With patience and practice, your Cross Quilted Wall Hanging Pattern will look stunning and hold its shape beautifully over time.
1. Is the Cross Quilted Wall Hanging Pattern suitable for beginners?
Yes! The simple geometric design and easy construction make it a great choice for beginners who want to practice precision piecing and quilting.
2. What size should a wall hanging quilt be?
Typical wall hangings range from 18″ x 24″ to 24″ x 36″, but you can easily adjust this pattern to fit your space.
3. Can I use scraps for this project?
Definitely. The Cross Quilted Wall Hanging Pattern is ideal for using leftover fabric scraps, especially for the cross section or borders.
4. How do I hang the finished quilt?
You can sew a hanging sleeve on the back or use small corner triangles with a wooden dowel for easy wall display.
5. What quilting style works best?
Straight-line quilting or echo quilting works beautifully. You can also experiment with free-motion quilting to add texture.
6. How do I wash a quilted wall hanging?
Use a gentle cycle with cold water and mild detergent. Air dry or tumble dry on low. For wall hangings, washing is only needed occasionally.
7. Can I make this pattern larger for a bed quilt?
Yes, simply increase the number or size of blocks while maintaining the same proportions of the cross design.
The Cross Quilted Wall Hanging Pattern is more than just a sewing project—it’s a statement of artistry, devotion, and creativity. This beautiful quilt design blends traditional symbolism with modern aesthetics, allowing you to create a timeless piece that carries personal meaning. Whether you hang it in your home, gift it to someone special, or display it in a sacred space, this handmade wall hanging is sure to inspire peace and admiration.
Throughout this tutorial, you’ve learned how to select fabrics, assemble your blocks, quilt your design, and finish your piece with confidence. You’ve also discovered creative variations and professional tips to help your project shine.
If you enjoyed this Cross Quilted Wall Hanging Pattern, please share your honest opinion and suggestions below.
Your feedback not only helps improve future tutorials but also encourages other quilters to explore their own creativity and passion. May your stitches be steady and your creations full of love and light!

