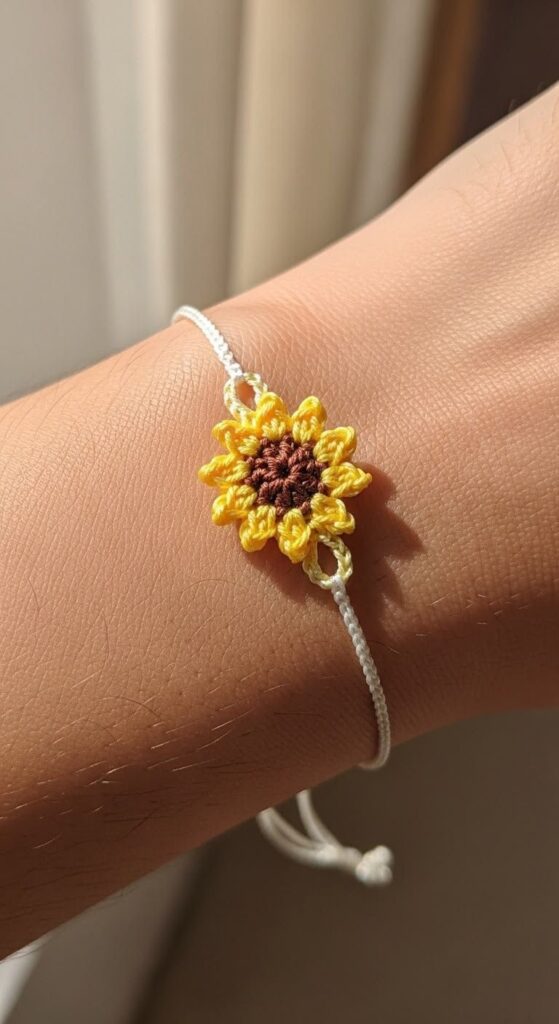
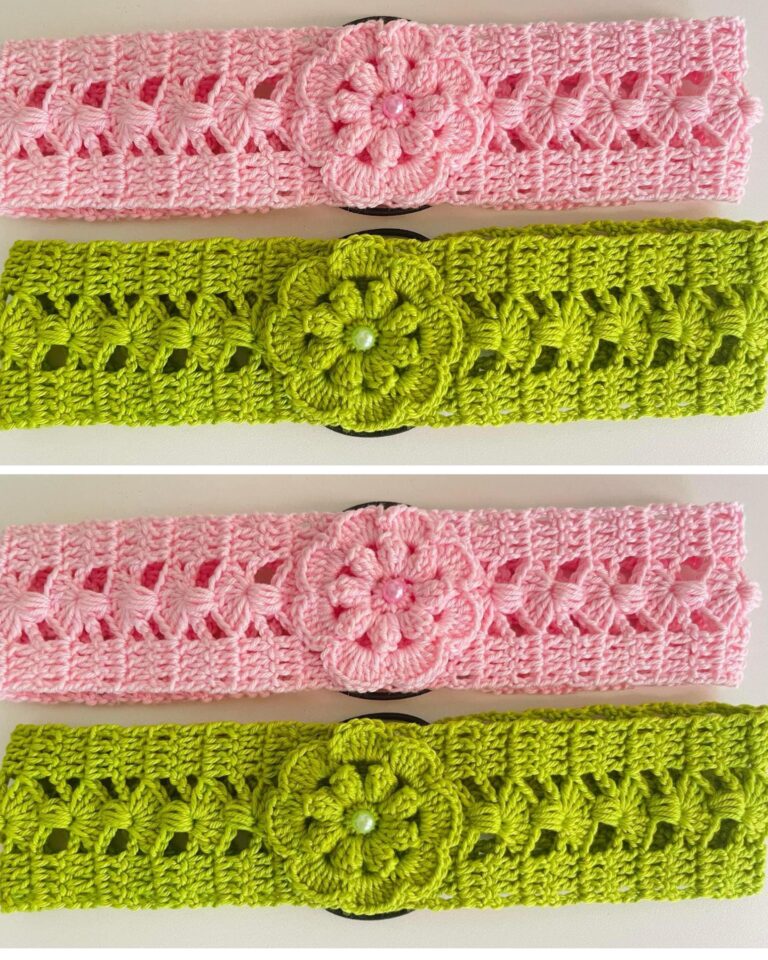
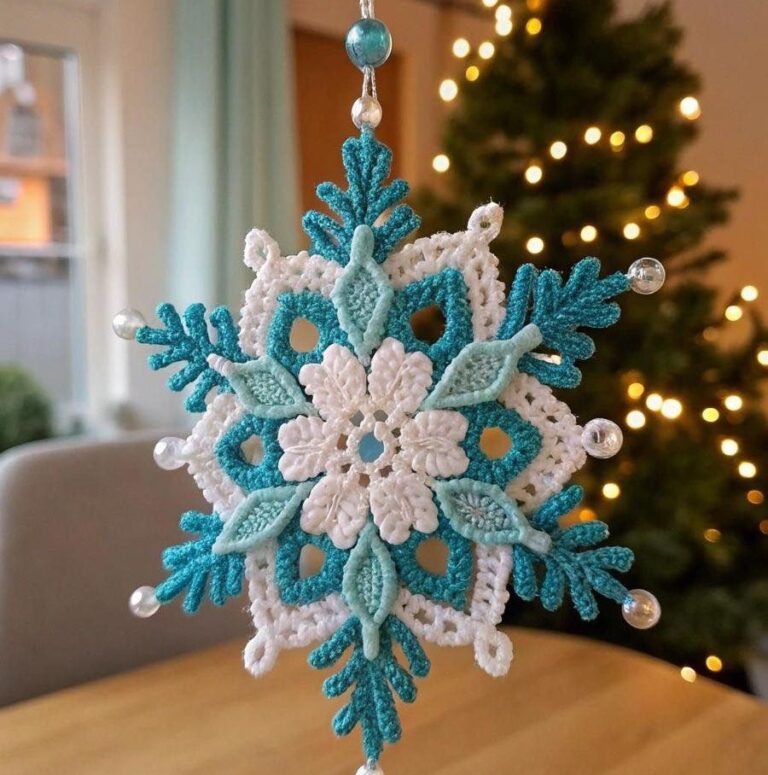
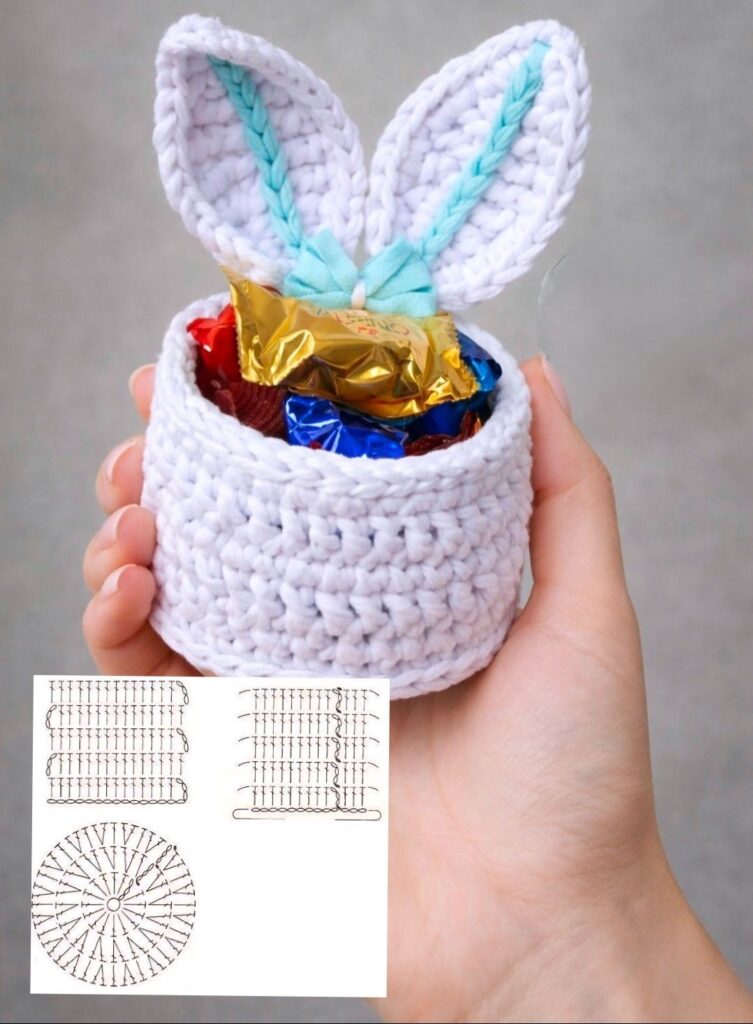
Sunflower Bracelet Pattern

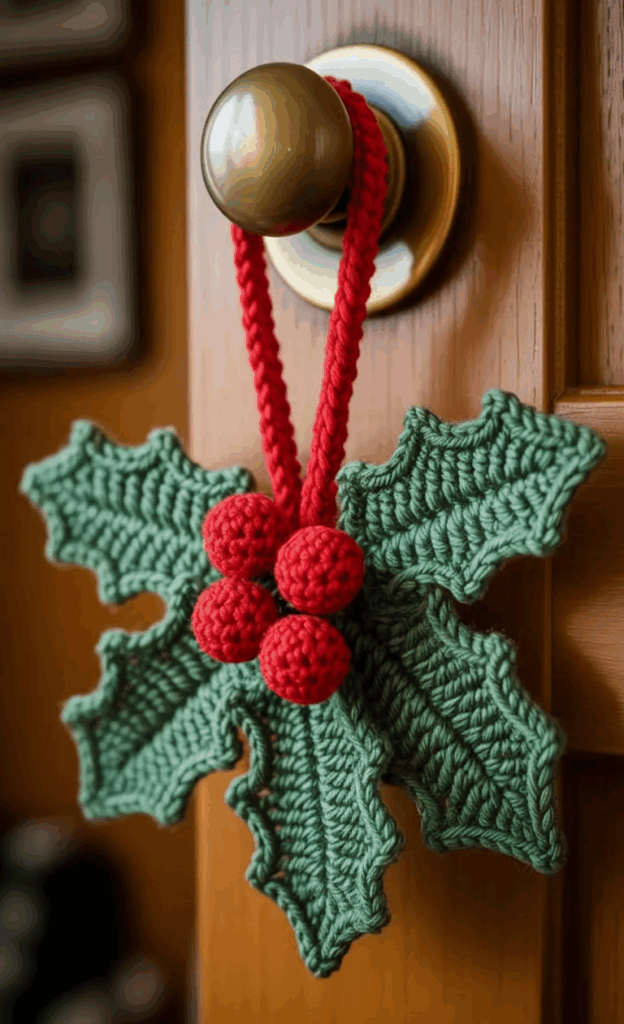
Creating a Crochet Holly Hanging Decoration Free Pattern is a wonderful way to add a personal touch to your holiday décor. These charming decorations can brighten up any home during the festive season and make beautiful gifts for friends and family.
By making your own, you control every detail from color selection to the size of each holly leaf, giving it a unique charm that store-bought decorations often lack.
Moreover, working on a Crochet Holly Hanging Decoration Free Pattern can help improve your crochet skills while providing a relaxing and rewarding hobby.
To create your holly hanging decoration, you’ll need some basic materials that are easy to find. First, you’ll need yarn in festive colors such as green, red, and a touch of white if desired. Cotton or acrylic yarn works perfectly for this project, as it is durable and holds shape well. Choosing the right yarn ensures your holly hanging decoration looks vibrant and lasts for many seasons.
You will also need a suitable crochet hook that matches your yarn weight. Using the correct hook size is essential to achieving the right tension, which ensures your holly leaves and berries are uniform and neat. A small pair of scissors, a yarn needle for weaving in ends, and optional stitch markers will make the process smoother and more enjoyable.
Some crafters like to add additional decorative elements such as beads or glitter to enhance the holly hanging decoration. While this is optional, it can add a unique touch that makes your project truly stand out. Remember, the beauty of crochet is in personalization, so feel free to experiment with different textures and embellishments.
Using high-quality materials is not only beneficial for aesthetics but also for durability. Your holly hanging decoration can become a cherished holiday piece that you can reuse year after year. Investing in good yarn and hooks pays off in the long run, ensuring your decorations maintain their shape and beauty.
If you plan to hang your holly decoration in areas where it may get slightly dusty or touched, consider using a light starch or fabric stiffener. This helps the leaves and berries keep their form. Stiffening is particularly useful if you intend to make a large number of decorations for gifts or holiday events.
Finally, organizing your workspace and materials before starting your project makes the crafting process much more enjoyable. A tidy area, good lighting, and all your tools within reach will allow you to focus fully on creating your crochet holly hanging decoration and make the experience more relaxing and satisfying.
Creating the holly leaves is a fundamental part of your Crochet Holly Hanging Decoration Free Pattern. Start by making a slip knot and chaining a small foundation chain, typically between 6 to 8 chains depending on the size of the leaf you prefer. This initial chain serves as the base for each leaf.
Once your foundation chain is ready, begin working single and double crochet stitches along the chain to form the first leaf. The shape of holly leaves is characterized by pointed edges, which can be achieved by increasing and decreasing stitches strategically. This method ensures your leaves have that traditional spiky look associated with holly.
As you complete each leaf, be sure to fasten off the yarn and leave a tail long enough for sewing the leaves together later. Typically, 6 to 8 leaves per decoration work well to create a full and balanced look. You can adjust the number of leaves depending on your personal design preference.
Joining the leaves together requires careful arrangement. Position the leaves in a circular or slightly fanned-out shape, overlapping slightly at the base. Use a yarn needle to stitch them securely in place, making sure they are evenly spaced and symmetrical. This creates a natural and visually appealing cluster that forms the centerpiece of your holly hanging decoration.
Adding texture to the leaves can enhance your decoration. Consider using a slightly different stitch pattern for veins, such as slip stitches or small single crochets across the leaf surface. This subtle detail brings your Crochet Holly Hanging Decoration to life and gives it a professional finish.
Once all leaves are attached, give the cluster a gentle shaping by pulling on points and adjusting angles. This final touch ensures your leaves are positioned perfectly, making your holly decoration look polished and ready for display.
No holly hanging decoration is complete without the iconic red berries. These can be created using small round crochet motifs, usually made with red yarn and a few rounds of single crochet stitches. The simplicity of the berry allows it to complement the leaves without overpowering them.
To make the berries, start with a magic ring, crochet 6 single stitches into it, and join the round with a slip stitch. Continue adding rounds until the berry reaches the desired size, usually around 1 centimeter in diameter. Fasten off and leave a tail for sewing.
Once your berries are ready, attach them to the base of your leaf cluster using a yarn needle. Position the berries evenly, typically placing three per decoration for balance. This arrangement mimics natural holly and adds a pop of color to your Crochet Holly Hanging Decoration.
Assembling the decoration involves connecting leaves and berries securely. Ensure that the berries are sewn tightly so they do not shift or come loose over time. Proper assembly guarantees that your decoration will remain intact throughout the holiday season and beyond.
To create a hanging loop, use a piece of yarn or ribbon, attaching it to the top of the leaf cluster. This loop allows your decoration to be displayed on doors, windows, or even as part of a festive garland. The hanging feature enhances versatility, making your decoration functional and visually appealing.
Finally, inspect the entire crochet holly decoration for any loose ends or uneven stitching. Weave in all tails and make final adjustments to the leaves and berries. A careful inspection ensures that your decoration is neat, professional-looking, and ready to hang with pride.
One of the best aspects of making a Crochet Holly Hanging Decoration Free Pattern is the opportunity to personalize it. Consider experimenting with yarn colors beyond traditional green and red. Metallic or variegated yarns can add a modern twist to your holiday décor.
Another idea for personalization is to create variations in leaf size. Mixing larger and smaller leaves in one decoration adds depth and visual interest. This technique can make your holly hanging decoration appear more dynamic and natural.
You can also incorporate beads or sequins to represent dewdrops on the leaves or to add sparkle to the berries. These small details give your decoration a festive shimmer and make it stand out when hung in a well-lit area.
For a more rustic look, try using natural-colored yarn or jute twine for the hanging loop. This creates a handmade, farmhouse-style holly hanging decoration that can blend beautifully with various interior design themes.
If gifting your decoration, consider making a matching set. Multiple holly hanging decorations of varying sizes make charming gift sets for friends, family, or coworkers. Customization with names or initials using small stitched letters can add a personal touch.
Finally, don’t hesitate to experiment with the arrangement of leaves and berries. Every decoration can be unique, reflecting your personal style. By making small adjustments, you can create a collection of crochet holly hanging decorations that are all distinct and beautiful.
Q1: How long does it take to make a crochet holly hanging decoration?
A1: The time varies depending on skill level, but on average, it takes 2 to 4 hours to complete one decoration. Beginners may take longer, while experienced crocheters can finish more quickly.
Q2: What type of yarn is best for a holly hanging decoration?
A2: Cotton or acrylic yarn is ideal. Cotton provides a firm structure, while acrylic is durable and comes in a wide range of colors. Both options hold their shape well.
Q3: Can I wash my crochet holly hanging decoration?
A3: It is best to gently hand wash in cold water if necessary. Avoid harsh detergents and machine washing, as this can deform the leaves and berries.
Q4: How can I make my decoration more durable?
A4: Using high-quality yarn, tightening your stitches, and applying light fabric stiffener will help maintain shape and durability over time.
Q5: Can I make variations of this decoration for different holidays?
A5: Absolutely! You can change yarn colors, add different embellishments, or even create themed variations for Halloween, Easter, or birthdays.
Q6: Is this pattern suitable for beginners?
A6: Yes, this Crochet Holly Hanging Decoration Free Pattern includes step-by-step instructions that make it suitable for beginners with basic crochet knowledge.
From gathering materials to crocheting leaves and berries, assembling the decoration, and adding personal touches, you now have a comprehensive roadmap to craft beautiful holiday décor.
By following these steps, you can create festive decorations that brighten up your home and make thoughtful handmade gifts.
We encourage you to leave your honest feedback, share your creations, and provide suggestions for future patterns so that this crafting community can continue to grow and inspire.


