
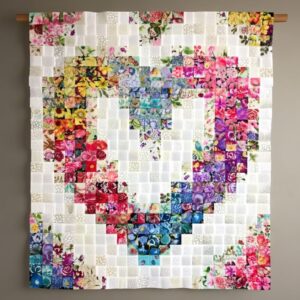
Crochet Heart Rooster Rug Pattern – The Best Techniques and Tools

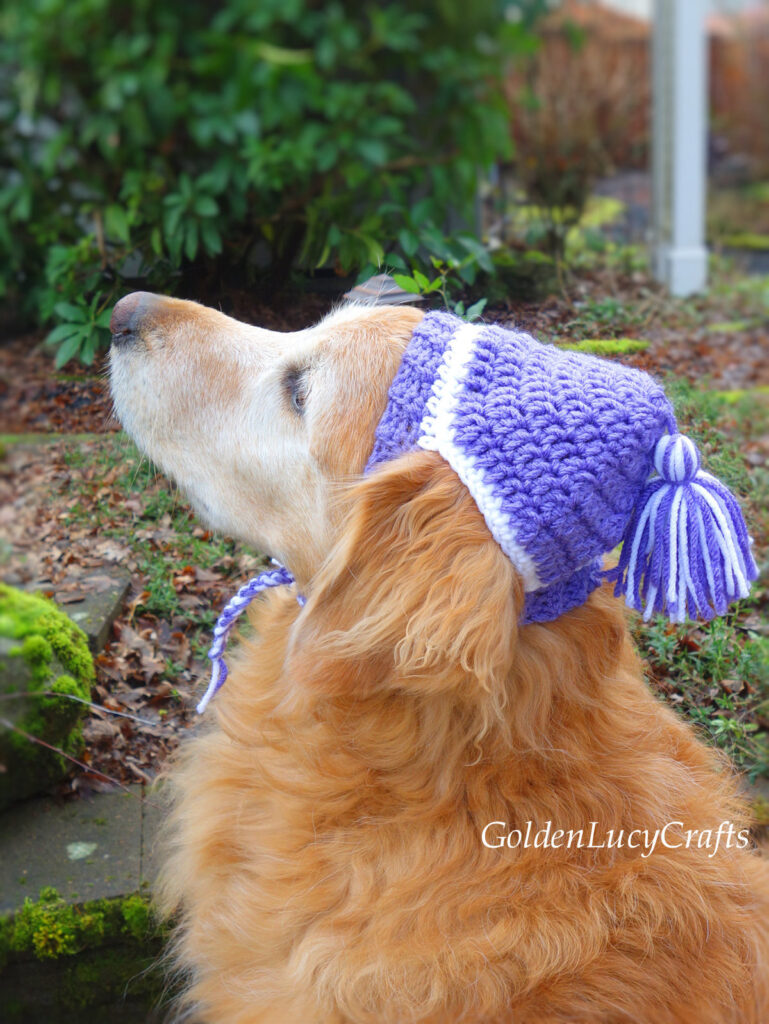
Crochet a Dog Hat Pattern is the perfect weekend project for pet lovers who want to crochet a dog hat that’s both adorable and practical.
Before we dive into the stitches, let’s talk about why people love to crochet a dog hat in the first place. Beyond the cuteness overload, hats shield sensitive ears from chilly winds, help short-haired pups stay comfortable on quick walks, and make festive photos a breeze.
Finally, success comes down to planning. When you crochet a dog hat, your measurements matter more than memorizing exact stitch counts.
You don’t need much to crochet a dog hat—just thoughtful choices. A medium-weight acrylic or washable wool blend is ideal because it’s soft, warm, and easy to care for. Avoid scratchy fibers; your dog’s comfort comes first. If your dog has allergies or sensitive skin, choose hypoallergenic yarns with a smooth texture and minimal fuzz so stray fibers don’t irritate eyes or noses.
A consistent hook size matters. Most Crochet a Dog Hat Pattern bases work well with 4.0–5.5 mm hooks (US G–I) for worsted yarn, but hook choice depends on your tension. If your fabric feels stiff, go up a hook; if it’s too floppy, go down. Always make a small swatch first—just a few rounds in the stitch you plan to use—so you can confirm the fabric drapes without sagging.
Stitch markers are your secret weapon. When you crochet a dog hat, markers help track increases at the crown and mark handy features like ear slits or chin strap attachment points. Use contrasting colors so they’re easy to spot. A yarn needle will help you weave in ends securely so playful paws won’t tug loose tails.
Start with a magic ring and work in the round to form the crown. Most Crochet a Dog Hat Pattern bases use single crochet (sc) or half double crochet (hdc) because they produce a dense, warm fabric that holds shape without gaps. Work evenly spaced increases each round so the piece expands into a flat circle. When the circle’s diameter equals the head circumference divided by π (about 3.14), you’ve reached the right crown width.
Switch from increasing to working even rounds to build depth. This is where your measurement from brow to nape becomes crucial. As you crochet a dog hat, try the piece on your pup occasionally to confirm depth. If your dog is restless, measure against a paper template made from your tracing of their head top—far less wiggling, far better accuracy.
For structured warmth, hdc is a great choice. If you want a little more stretch, alternate hdc with slip stitches at regular intervals. This hybrid texture adds gentle elasticity without losing the neat look that keeps Crochet a Dog Hat Pattern projects polished. Keep stitch counts consistent to avoid unwanted flares.
Ear slits keep ears comfy and hat placement secure. When you crochet a dog hat, use the ear spacing measurement to mark two windows across the top third of the hat. For each ear, skip a set number of stitches and chain that many to bridge the gap, then continue the round. On the next round, work stitches into the chains to stabilize the opening.
Adjust slit size gradually. A small slit may stretch over time; too large and the hat may shift. Try on the hat after the first slit round. This is the heart of a responsive Crochet a Dog Hat Pattern—you tweak in real time. If the slit seems tight, add one or two chains; if it’s loose, reduce by the same amount.
Border each slit with a round of single crochet to smooth edges. This simple step prevents curling and keeps yarn ends away from sensitive skin. When you crochet a dog hat, thoughtful finishing is what turns a quick project into a lasting accessory that withstands daily wiggles and play bows.
A well-designed chin strap keeps the hat on without pinching. When you crochet a dog hat, work two small tabs from the brim edges beneath the ear line, then chain or i-cord (crocheted cord) across to meet under the chin. The strap should be snug enough to hold but loose enough to slide two fingers beneath.
Consider closures that prioritize safety. A stretchy strap made with back-loop-only single crochet has gentle give; you can also use a breakaway buckle designed for pets. In any Crochet a Dog Hat Pattern, safety features are nonnegotiable—dogs should never be left unattended while wearing accessories.
For extra softness, line the strap with a row of slip stitches or add a felt backing hand-stitched with a blunt needle. When you crochet a dog hat, these small upgrades feel luxurious and reduce friction on the jawline, especially for short-coated breeds with sensitive skin.
Color sets the mood. To crochet a dog hat that pops, pick a main color that contrasts your dog’s coat without glaring on camera. Earth tones flatter most pups; brights make festive statements. Stripes are easy—alternate two rounds of each color for clean lines in any Crochet a Dog Hat Pattern.
Add texture with stitches. Seed stitch (alternating sc and hdc) adds gentle nubs; front-post and back-post stitches create ribbing for snug brims. When you crochet a dog hat, a textured brim can keep wind out while giving the hat boutique-level charm.
Seasonal themes are fun. Work a tiny pumpkin stem at the crown for fall, a minimalist snowcap in winter, or pastel stripes for spring portraits. Your Crochet a Dog Hat Pattern becomes a template: swap colors, tweak the crown accessory, and you’ve got a fresh look every month.
After you crochet a dog hat, caring for it is simple: hand-wash or machine-wash on gentle in a mesh bag, then lay flat to dry. Avoid high heat that can distort fibers. Consistent care keeps the hat soft and shapely, ready for many seasons.
Check for wear. Dogs tug, scratch, and explore—normal life can loosen a stitch here or there. A robust Crochet a Dog Hat Pattern anticipates maintenance: save 2–3 meters of yarn for repairs so color matches remain perfect.
De-pill if your yarn fuzzes. A small fabric shaver or careful snipping with embroidery scissors makes the hat look new. When you crochet a dog hat with smooth yarns, pilling is less likely, but it’s good to know how to refresh texture.
If the hat slides forward, your crown is likely too shallow. Add one or two even rounds to deepen it. When you crochet a dog hat, small depth tweaks often solve stability issues without changing the overall look.
If the hat rides up, the crown may be too tight or the ear slits too small. Increase slit width slightly or add a round of increases at four points. A flexible Crochet a Dog Hat Pattern invites these micro-adjustments.
Gaps at the forehead usually mean the brim is too loose. Switch to a smaller hook for the last round or add a ribbed band using front-post/back-post dc for gentle tension. This trick is a favorite among crochet a dog hat makers for polished finishes.
What yarn is best to crochet a dog hat?
Choose soft, washable yarns like acrylic or wool blends. They’re comfortable, easy to clean, and hold shape. Avoid scratchy or overly fuzzy fibers that may irritate eyes or skin.
How do I measure my dog for a good fit?
Measure head circumference (forehead around behind ears), head length (brow to nape), and ear spacing. These numbers guide crown diameter, hat depth, and slit placement for a tailored crochet a dog hat fit.
Which stitches are easiest for beginners?
Single crochet and half double crochet are ideal. They create dense, warm fabric that’s simple to control, perfect for a beginner-friendly Crochet a Dog Hat Pattern.
You now have a practical, flexible framework to crochet a dog hat that’s cute, comfortable, and safe. From measuring and shaping the crown to placing ear slits, refining the brim, and adding a gentle chin strap, each step builds a reliable Crochet a Dog Hat Pattern you can customize for any season or pup personality.
Keep your yarn soft, your closures secure, and your fit dog-first. If you try these tips, come back with your honest opinion and suggestions—tell us what worked for your dog, what you tweaked, and what you’d love to explore next!


