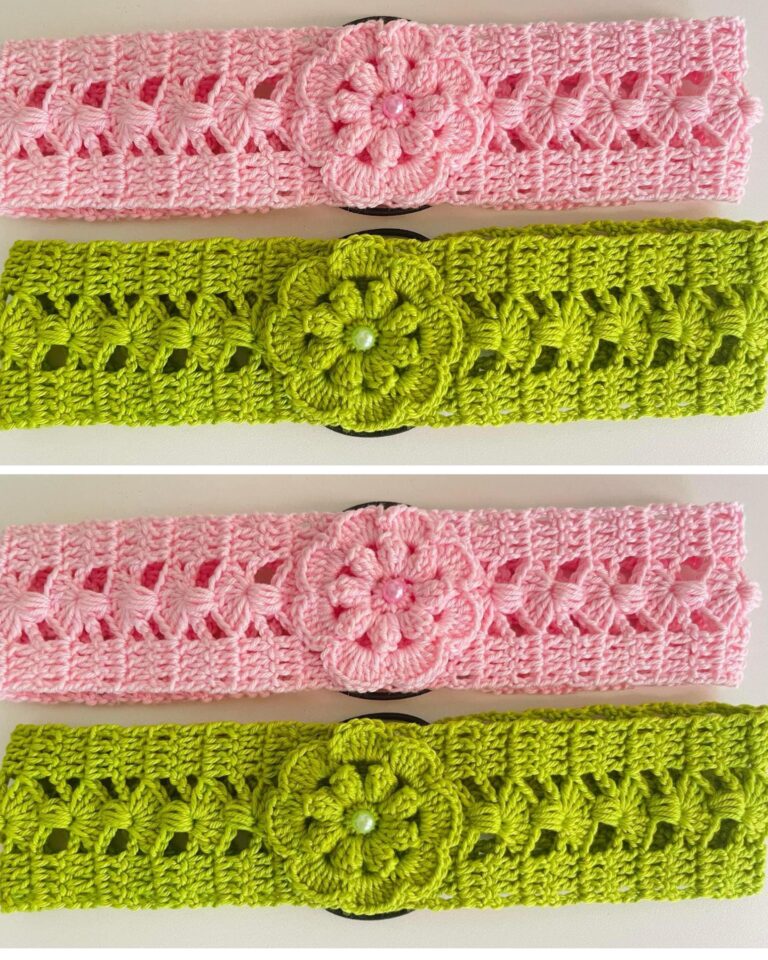
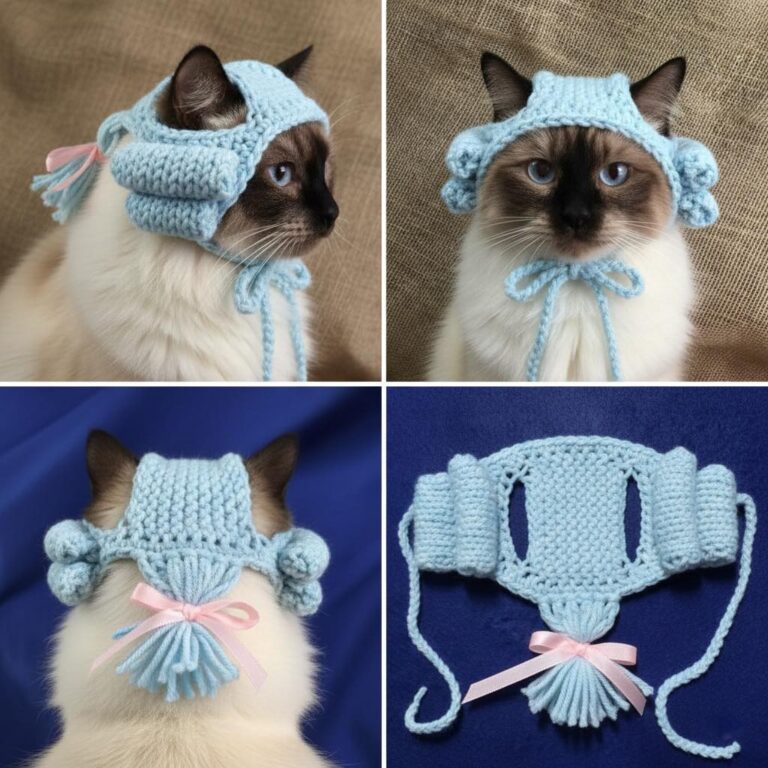
Crochet Hair Tiara Pattern

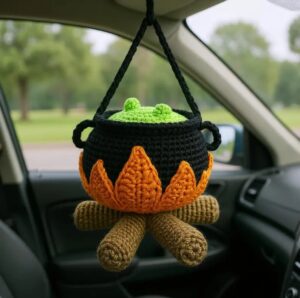
If you enjoy making adorable handmade creatures, the Crochet Toad Pattern is a delightful project that brings creativity, color, and craftsmanship together.
Whether you are a beginner or an experienced crocheter, this pattern allows you to produce a charming toad that can serve as a toy, keychain, or collectible.
The Crochet Toad Pattern focuses on simplicity and detail, giving your toad a realistic yet whimsical appearance.
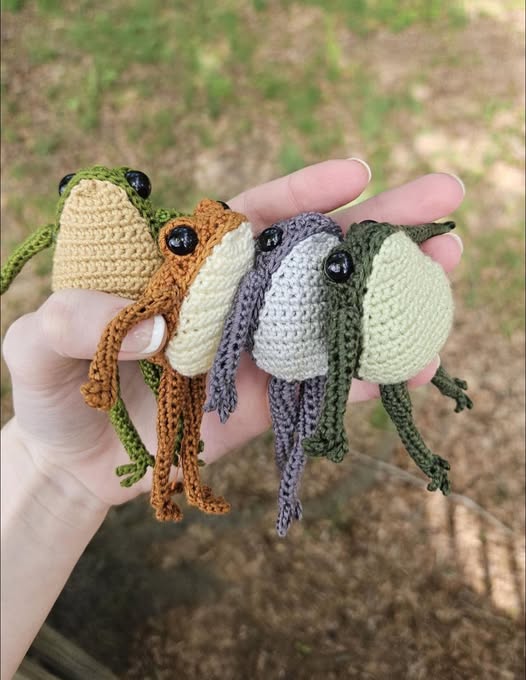
With just a few materials and basic stitches, you can create something that stands out as a cute handmade piece. It’s also an excellent way to practice shaping, stuffing, and detailing techniques in crochet.
Making your own crochet toad provides endless opportunities for personalization. You can adjust the size, color, or features to match your imagination. Whether you prefer a bright cartoonish look or a natural earthy tone, this pattern gives you the freedom to design your perfect amphibian friend.
Before starting your Crochet Toad Pattern, prepare all necessary materials. Gathering everything beforehand makes the crafting process smoother and more enjoyable.
The essentials include yarn in your chosen colors—typically green, brown, or yellow for the body—and a small amount of white or black for details like eyes and spots. Medium-weight cotton or acrylic yarn works best because it holds shape and provides a clean finish.
A crochet hook matching the yarn size is crucial for achieving proper tension. For most patterns, a 2.5 mm to 3.5 mm hook is ideal, but always check the recommended size for your specific yarn.
You’ll also need a yarn needle for sewing pieces together, scissors, and stitch markers to track rounds. Fiberfill stuffing gives the toad its shape and softness, ensuring it stays plump and huggable.
Optional materials include felt, safety eyes, and embroidery thread for facial details or unique markings. These elements make your crochet toad come alive with personality and charm.
Finally, have a clean workspace with good lighting. Crocheting small figures requires attention to detail, so clear visibility helps you craft with accuracy and confidence.
Start the Crochet Toad Pattern by working on the body. Begin with a magic ring and single-crochet increases to form a round base. Gradually build the shape by alternating increases and single stitches until the body reaches the desired size.
Once the main body is complete, switch to even rounds without increasing. This gives the toad its rounded, compact structure. Remember to stuff the body firmly but evenly before closing it to maintain its shape.
Next, crochet the limbs. The arms and legs are typically created with chains and rounds of single crochet, then lightly stuffed for flexibility. Attaching them symmetrically ensures your crochet toad sits properly and looks balanced.
Create the head by shaping a smaller round section, similar to the body. Some crafters prefer to crochet the head and body together for a seamless design, while others attach them separately for more control.
Add details such as eyes, mouth, and spots. Safety eyes or embroidered eyes are popular choices, depending on the look you want. Small felt pieces can also be glued or stitched on for unique patterns or realistic textures.
Finally, assemble all parts carefully using a yarn needle. Reinforce seams and hide loose ends to give your toad a neat, professional appearance.
One of the best things about the Crochet Toad Pattern is the opportunity for personalization. You can create endless variations simply by changing colors or materials.
Experiment with vibrant yarns to make a fantasy toad inspired by cartoons or mythical creatures. Alternatively, use natural shades of green, brown, or olive for a realistic woodland theme.
Add personality by giving your toad accessories like a tiny hat, bowtie, or backpack. These creative touches make your piece even more memorable and gift-worthy.
Play with texture by using different stitch techniques. For example, bobble stitches can simulate bumpy skin, while smooth single crochet offers a sleek finish. Mixing textures adds visual depth to your crochet toad.
If you plan to use the toad as a keychain or ornament, reduce the pattern size by using thinner yarn and a smaller hook. This keeps proportions balanced while making the figure lightweight and portable.
You can also make a matching family of toads in various sizes. This collection makes an adorable display or a fun educational tool for children learning about animals.
When following the Crochet Toad Pattern, certain mistakes are common among beginners—but they’re easy to avoid with attention and patience.
One frequent error is using inconsistent tension, which causes uneven stitches or misshaped parts. Keep your tension steady throughout the project for a professional look.
Another mistake is forgetting to count stitches in each round. Losing track can distort the toad’s shape, so use stitch markers and count carefully.
Over- or under-stuffing the toad can also be problematic. Too much stuffing may stretch stitches, while too little can make the figure floppy. Aim for firm but flexible stuffing.
Attaching limbs unevenly is another issue. Always position arms and legs symmetrically before sewing them on. Taking a moment to pin them first helps ensure perfect alignment.
Neglecting to hide yarn ends or secure seams can affect durability. Secure all knots and weave in tails neatly to prevent unraveling over time.
Finally, rushing through the finishing details—like eyes or facial expressions—can make your toad look uneven. Take your time to perfect these features; they’re what give your crochet toad its personality.
Q1: Is the Crochet Toad Pattern suitable for beginners?
Yes, this pattern uses simple stitches like single crochet, increase, and decrease, making it beginner-friendly while still enjoyable for advanced crocheters.
Q2: What materials work best?
Medium-weight cotton or acrylic yarn, a matching crochet hook, stuffing, and safety eyes are ideal for creating a durable and attractive toad.
Q3: How long does it take to make one toad?
Depending on skill level, it usually takes 2 to 4 hours to complete a standard-sized toad. Smaller keychain versions may take less than two hours.
Q4: Can I sell the finished product?
Yes, handmade crochet toads can be sold as long as you credit the pattern’s designer if required. Many crafters sell them at markets or online.
Q5: How do I wash or clean my crochet toad?
Use mild soap and lukewarm water, then air dry. Avoid using hot water or dryers, as heat may damage the yarn or stuffing.
Q6: Can I make the toad larger or smaller?
Absolutely. Adjust the hook size and yarn thickness to scale the toad up or down while maintaining proportions.
The Crochet Toad Pattern is a fun, versatile, and creative project for crafters of all skill levels. It combines simple stitches with endless possibilities for customization, allowing you to create a unique handmade toad that reflects your personal style.
By following the step-by-step instructions, preparing quality materials, and avoiding common mistakes, you can craft a piece that’s both beautiful and long-lasting. The satisfaction of turning yarn into a cheerful, realistic amphibian is unmatched.
Whether you make your crochet toad as a gift, decoration, or collectible, it’s sure to bring smiles and admiration.
Try this pattern today, share your results with others, and leave your honest opinion or suggestions—your creativity might inspire someone else to pick up a hook and start crafting!


