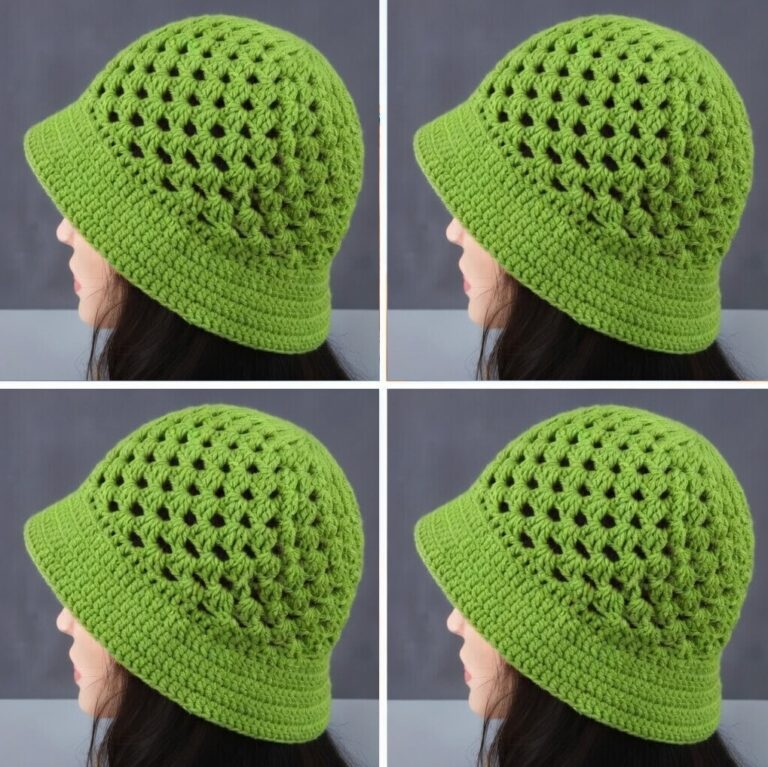
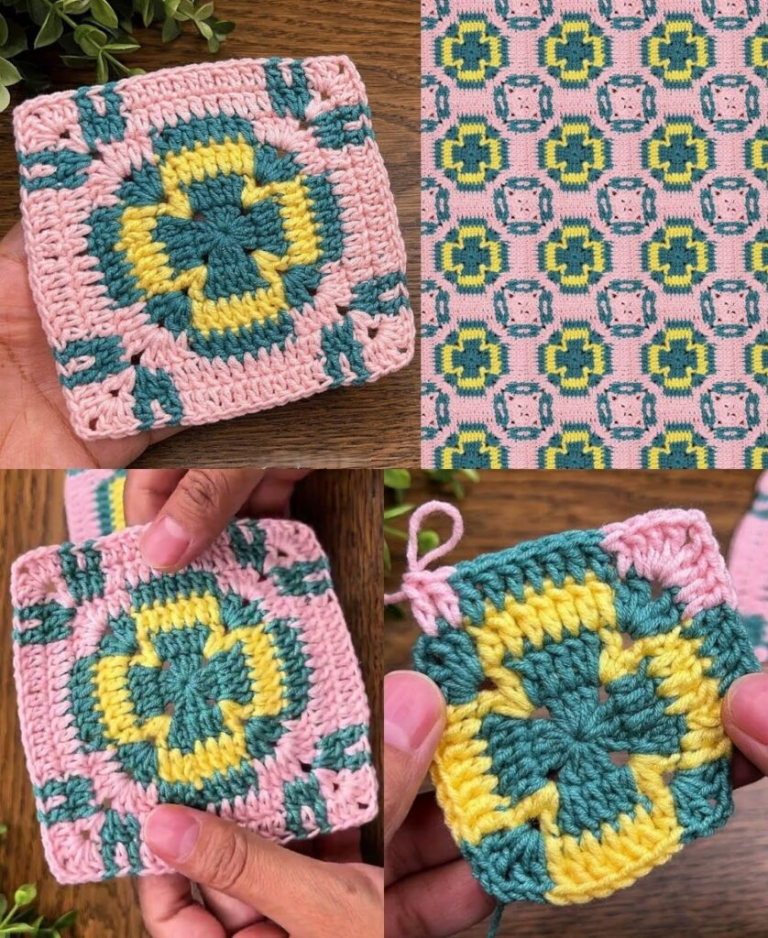
American Granny Square Bucket Hat Pattern

Winnie the Pooh Keychain Crochet Pattern projects have become incredibly popular among crafters who enjoy creating personalized, charming, and nostalgic accessories.
This adorable concept lets you combine the joy of crochet with the timeless magic of Winnie the Pooh, resulting in a handmade keepsake that is both meaningful and fun.
In this article, you will learn how to understand the key steps behind this pattern, the materials commonly used, and how to ensure your final result is durable, cute, and perfect for gifting.

Throughout the text, the term Winnie the Pooh Keychain Crochet Pattern and related keywords will appear frequently to support SEO optimization.
Creating your own Winnie the Pooh keychain offers a wonderful way to explore amigurumi techniques, practice shaping, and experiment with colors. Whether you’re a beginner or already have experience in crocheting small figures, this pattern allows you to express creativity in a simple and enjoyable way. Many crafters appreciate how this project can be finished quickly while still looking detailed and professional. With patience and the right guidance, your handmade character will soon become a charming accessory for your keys, bags, or gifts.
This article will explore the Winnie the Pooh Keychain Crochet Pattern in depth, covering important crafting methods, essential materials, tips for accuracy, and helpful suggestions for perfecting your miniature bear. Additionally, you will find SEO-friendly explanations, structured information, and a carefully written layout designed to meet Google AdSense guidelines. Before diving into the specific sections, take a moment to prepare your crochet tools, gather your yarn, and get ready to enjoy a creative journey inspired by one of the most beloved characters of all time.
The Winnie the Pooh Keychain Crochet Pattern usually begins with a simple round shape that forms the head of the character. Because keychain amigurumis are small, the pattern focuses on basic increases and decreases to create a compact yet recognizable form. Many crafters appreciate how forgiving this project is, making it suitable even for those learning how to control tension and stitch consistency. The small size is ideal for practicing crochet without the stress of a large project.
One essential element to consider is the color palette. Winnie the Pooh is characterized by his classic yellow body and red shirt, so using yarn colors that closely match this palette helps achieve a more authentic look. Choosing soft cotton or acrylic yarn works best for small amigurumi pieces because they hold shape well and provide a smooth finish. Consistency in yarn thickness is also important when following the Winnie the Pooh Keychain Crochet Pattern.
Safety eyes are commonly used for this type of project, but if you prefer embroidered details, that option is equally effective. Embroidered eyes ensure your keychain remains safe for children, making it an excellent gift idea. Regardless of the method you choose, proper placement of facial features is key to capturing Winnie the Pooh’s friendly expression.
Many crafters enjoy experimenting with minor variations in the pattern, such as slightly adjusting the shape of the ears or adding tiny accessories. This allows the Winnie the Pooh Keychain Crochet Pattern to be customized while still keeping the original charm of the character. Small additions like a mini scarf, heart, or hat can transform your creation into a unique handmade treasure.
Once complete, attaching the metal keychain ring requires a secure thread or yarn loop at the top of the character’s head. This ensures the keychain remains durable for daily use. Taking your time during assembly will help prevent wear and tear later. With these basic concepts in mind, you can confidently explore the next steps of the pattern.
To start working on the Winnie the Pooh Keychain Crochet Pattern, gather a selection of materials that will help ensure clean shaping and sturdy construction. A lightweight or medium-light yarn is typically preferred because it provides enough structure without making the keychain too bulky. Choosing high-quality yarns also ensures your project remains vibrant and soft over time.
You will need a crochet hook that matches your chosen yarn. Most amigurumi patterns recommend using a hook slightly smaller than normal for tight stitches that prevent stuffing from showing through. A 2.5mm to 3.5mm hook is commonly used for small keychain pieces. This helps maintain neat detailing and improves the overall appearance of the character.
Stuffing material such as polyester fiberfill is essential to give the keychain its round and firm shape. Use small amounts at a time to avoid lumps and uneven filling. Even distribution helps your Winnie the Pooh Keychain Crochet Pattern achieve a smooth finish that resembles traditional amigurumi style.
Optional accessories include safety eyes, felt for details, embroidery thread for facial expressions, and a metal keychain ring. These elements enhance the final look and increase durability. If crafting for children, embroidered eyes are recommended for safety.
A tapestry needle is also necessary when sewing together pieces such as ears and facial details. Careful stitching ensures that the components stay securely attached, even with frequent use. This step is especially important for the longevity of your keychain.
Finally, having a small pair of scissors nearby will help with trimming yarn ends cleanly. Keeping your workspace organized allows you to follow the Winnie the Pooh Keychain Crochet Pattern smoothly and efficiently.
Assembling the Winnie the Pooh Keychain Crochet Pattern begins with creating the main head shape. Most patterns follow a classic amigurumi spiral technique, starting with a magic ring followed by rounds of increases. Once the maximum width is achieved, the pattern transitions into decreasing rounds to close the shape. This forms a firm, tidy sphere that serves as the base for the character.
Next, you will crochet small ears separately and stitch them to the top of the head. Positioning is important here; placing the ears symmetrically helps maintain the recognizable Winnie the Pooh silhouette. Use pins to hold them in place before sewing to ensure proper alignment.
The facial features give character and personality to your project. Whether using safety eyes or embroidered eyes, positioning them at the right height and distance enhances the likeness. The nose and eyebrows are typically embroidered using black yarn or thread. These small details bring the Winnie the Pooh Keychain Crochet Pattern to life.
If adding a mini shirt or red accent, crochet a tiny band or piece that wraps around the lower part of the head. Although simplified, this small detail symbolizes Pooh’s iconic shirt and enhances the visual appeal of the keychain.
Once all details are attached, secure a loop or small chain on top of the head. This loop is essential for attaching the metal keychain ring. Make sure it is sturdy enough to handle daily movement without detaching. Reinforcing the loop with extra stitches helps increase durability.
After final adjustments, trim any loose yarn ends and gently shape the stuffed head. Your Winnie the Pooh keychain is now ready to use or gift. Following the steps of the Winnie the Pooh Keychain Crochet Pattern carefully ensures a charming and high-quality result.
Working on a Winnie the Pooh Keychain Crochet Pattern requires patience and consistency. One helpful tip is to use stitch markers to track each round, especially when working in continuous spirals. This prevents mistakes and keeps the shape even.
Maintaining even tension throughout the project is another important factor. Tight, consistent stitches are key to achieving the classic amigurumi look. If your stitches are too loose, the stuffing may show; if too tight, shaping becomes difficult.
Color matching is essential when creating Winnie the Pooh. Using a soft honey-yellow and bright red helps capture the look of the original character. Small differences in shades can change the overall effect, so selecting yarn carefully enhances the authenticity.
Stuffing the head little by little ensures an even finish. Pushing too much stuffing at once can create lumps. Smooth distribution gives your Winnie the Pooh Keychain Crochet Pattern a polished look.
For beginners, practicing with spare yarn before starting the final project can be useful. This helps you get comfortable with shaping techniques and reduces mistakes during the main crochet work.
Finally, give yourself time to enjoy the process. Crochet is both creative and relaxing. Each step brings you closer to completing a charming handmade character that carries nostalgia and warmth.
1. Is the Winnie the Pooh keychain suitable for beginners?
Yes, the pattern is beginner-friendly, especially for those interested in learning basic amigurumi techniques.
2. What yarn is best for making this keychain?
Cotton or acrylic yarn in lightweight categories works best for small, detailed projects like this.
3. Do I need safety eyes for the keychain?
Safety eyes are optional. You can embroider the eyes for a child-safe alternative.
4. How long does it take to complete the keychain?
Most crafters finish it in one to two hours, depending on skill level.
5. Can I customize my Winnie the Pooh keychain?
Yes, you can add tiny accessories or vary expressions to make it unique.
6. How do I attach the keychain ring?
Use a sturdy yarn loop sewn firmly into the top of the head, then connect the ring.
7. Can I sell the keychains I make?
Yes, as long as you create them by hand and do not reproduce copyrighted patterns exactly.
8. What hook size is recommended?
A 2.5mm to 3.5mm hook is commonly used for amigurumi keychain projects.
9. Is stuffing required?
Yes, fiberfill stuffing helps maintain the shape and firmness of the head.
10. Can I wash the keychain?
Handwashing is recommended to preserve the yarn and assembled details.
The Winnie the Pooh Keychain Crochet Pattern is a delightful and approachable project for crafters of all levels. It allows you to explore essential amigurumi techniques while creating a nostalgic and heartwarming piece. Throughout this article, you learned about the materials needed, the assembly process, helpful tips, and thoughtful answers to common questions.
If you enjoyed this guide, feel free to leave your sincere opinion and share suggestions for future tutorials. Happy crocheting!

