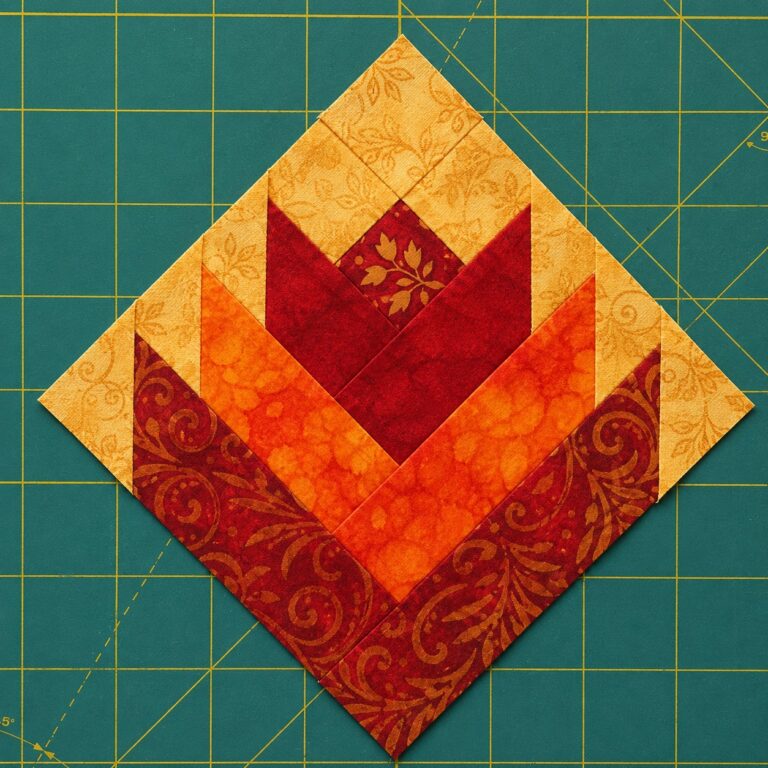
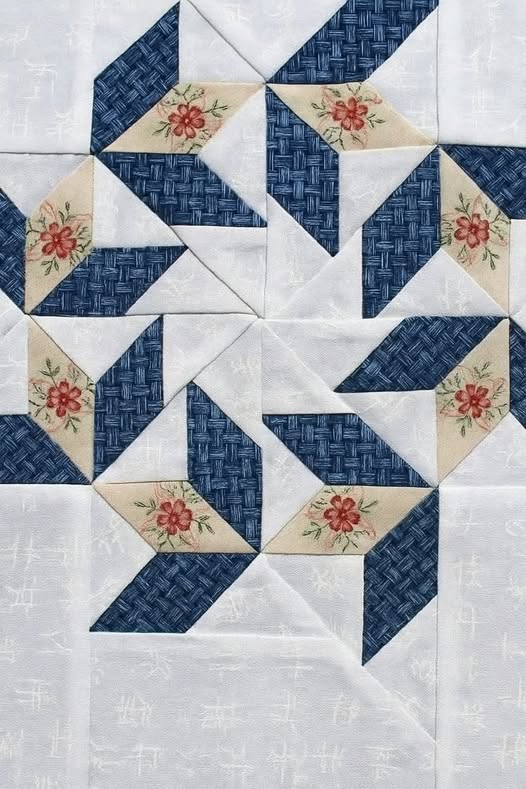
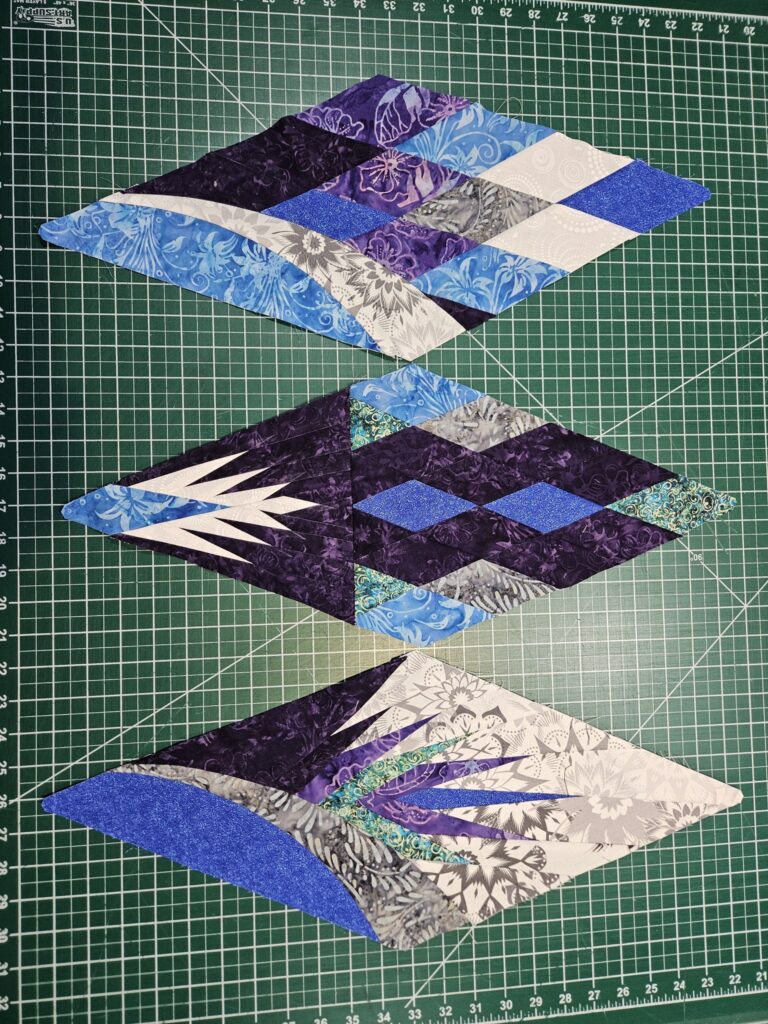
Desert Flower Quilt Block Pattern

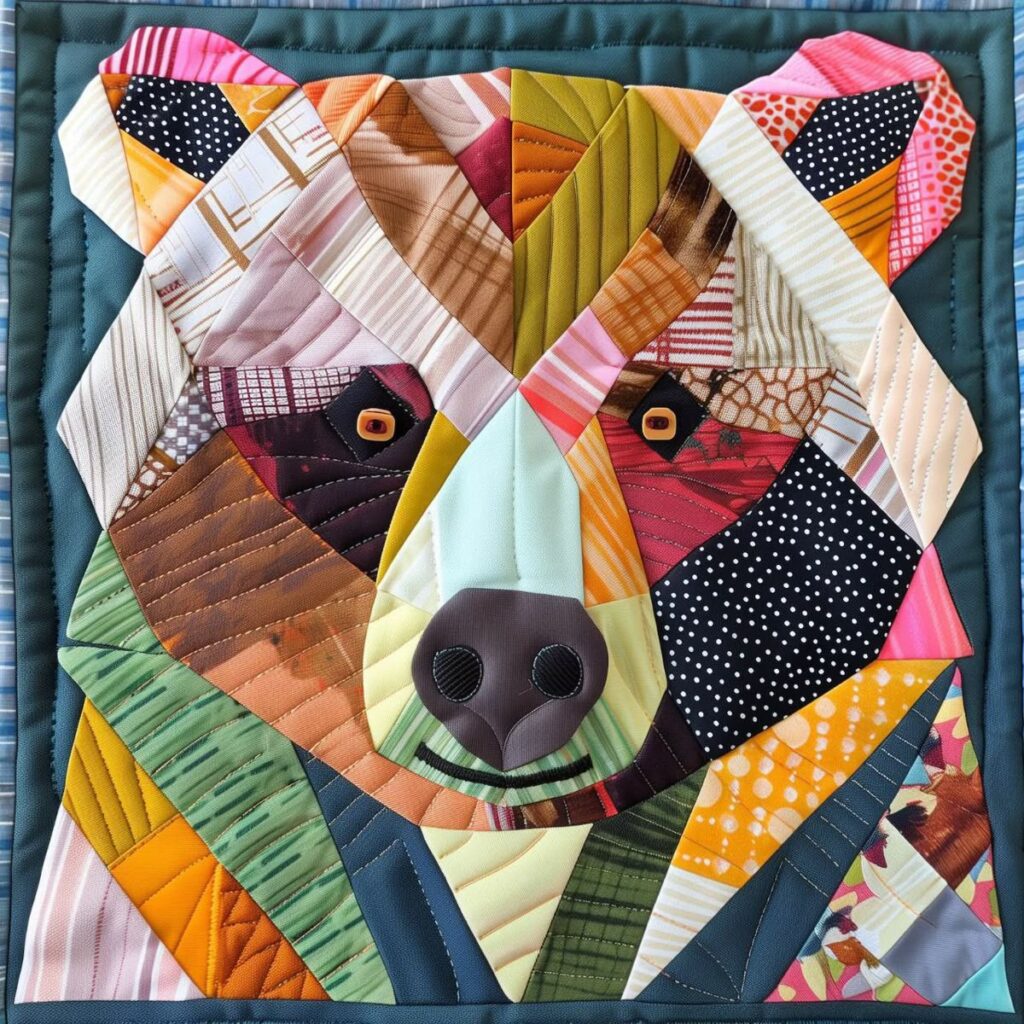
Bear Quilt Made with Patchwork Tutorial is a heartwarming and artistic project that blends traditional quilting techniques with the charm of animal-themed design.
Starting your craft with a Bear Quilt Made with Patchwork Tutorial allows you to explore fabric selection, color coordination, and block construction while creating a cozy and meaningful quilt.
Whether your goal is to decorate a nursery, gift a handmade treasure, or challenge your quilting skills, this project offers creativity and satisfaction at every step. Patchwork quilts carry a sense of nostalgia, and adding a bear motif makes the design even more special.
A Bear Quilt Made with Patchwork Tutorial is also a wonderful way to understand how simple geometric shapes can come together to form an illustration.
Most bear-themed quilts rely on squares, triangles, and rectangles arranged in a specific pattern. As you piece these shapes together, the bear design gradually appears, making the process both surprising and rewarding. This method is ideal for beginners who want to build confidence while learning precision and for experienced quilters who enjoy structured yet creative work.
Another appealing feature of a Bear Quilt Made with Patchwork Tutorial is the ability to personalize it. You can choose soft pastels for a baby quilt, earthy natural tones for rustic décor, or bold colors for a modern look. Each choice transforms the final design, allowing the quilt to reflect your personality and purpose. Before diving into materials, construction techniques, and creative variations, let’s explore why bear-themed patchwork quilts have become favorites among crafters.
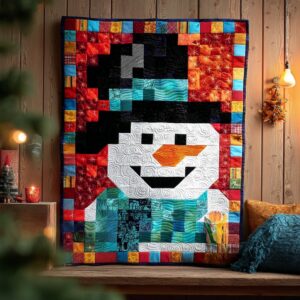
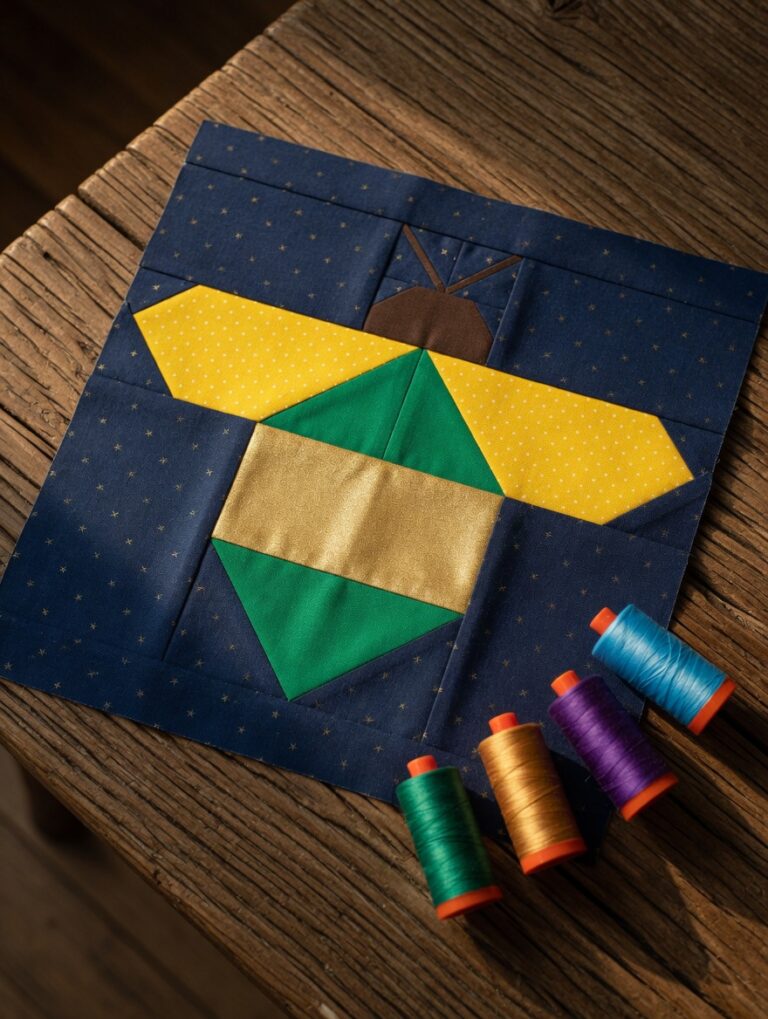
A Bear Quilt Made with Patchwork Tutorial typically features a stylized bear created through the arrangement of quilt blocks. Patchwork uses small, repeated shapes—often squares and triangles—that form a larger design. This structured method allows for accuracy, symmetry, and beautiful color transitions. The bear motif may appear as a full-body design, a bear face, or a geometric silhouette depending on your chosen pattern.
Patchwork construction begins with cutting precise fabric pieces. These pieces are then sewn together in small units (called blocks), which are later joined to form the complete quilt top. The bear shape appears as the blocks align, much like pixel art. This makes the pattern enjoyable because you see progress quickly, and each block feels like a small accomplishment.
Color placement is key. The contrast between light, medium, and dark fabrics defines the bear’s features. For example, darker fabrics may outline the ears and snout, while softer shades shape the belly or background. This technique allows you to experiment with shading and visual depth even if you’re new to quilting.
The background fabric plays an important role as well. A solid color gives a modern finish, while patterned fabrics create a warm, cozy effect. Many quilters choose nature-inspired fabrics to emphasize the woodland theme associated with bears.
A quilt made with patchwork can be simple or complex depending on your comfort level. Some patterns use large blocks for quick completion, while others use smaller pieces for a more detailed bear design. Regardless of the complexity, the process remains approachable when broken into manageable steps.
Finally, patchwork bear quilts are timeless. They serve as beautiful keepsakes, nursery décor, cabin decorations, or thoughtful handmade gifts. Their combination of geometric structure and animal design makes them universally appealing.
To begin your Bear Quilt Made with Patchwork Tutorial, gather materials that suit your project size and style. Start with quilting cotton, as it is easy to work with and provides crisp, clean seams. You will need a selection of fabrics for the bear itself plus background fabric. Choosing four to six coordinated colors is ideal for building contrast and clarity in the design.
A rotary cutter, cutting mat, and quilting ruler are essential for achieving precise cuts. Patchwork relies heavily on accuracy, and these tools ensure your pieces align correctly. Fabric scissors are helpful for trimming threads and small adjustments.
Thread quality matters too. Choose a strong cotton or polyester thread in a color that blends well with your fabrics. Neutral shades like tan, gray, or white work for most quilt tops. You will also need a sewing machine capable of straight stitching. Although hand sewing is possible, machine stitching produces straighter seams and faster results.
Quilt batting is necessary to provide thickness and warmth. Cotton batting offers a smooth, low-loft finish, while polyester batting gives a thicker, fluffier feel. Either works beautifully depending on your preference. Backing fabric should be slightly larger than your quilt top, and you may choose a print that complements the front design.
Pins or clips help hold pieces together as you sew. A seam ripper is useful for correcting mistakes, which is common when working with small patchwork blocks. An iron and ironing board are crucial for pressing seams, a step that affects the overall neatness of your quilt.
Optional but helpful items include spray starch for crisp blocks, a marking pen for layout guidance, and a design board or surface to arrange blocks before sewing. These tools make the construction process smoother and more enjoyable.
To begin your Bear Quilt Made with Patchwork Tutorial, start by cutting all fabric pieces according to your pattern measurements. This step requires patience, but precise cutting ensures the blocks fit together smoothly. Organize your cut pieces by color and size to keep your workspace neat and efficient.
Next, assemble the small units that form the bear design. Most patterns involve creating half-square triangles, rectangles, and simple squares. Sew these units using a consistent seam allowance—usually 1/4 inch—to maintain accuracy. Press each seam as you complete it. Pressing toward the darker fabric often prevents shadowing.
After building the small units, begin arranging them into larger blocks. This is where the bear image starts to appear. Lay out the blocks in rows to confirm alignment before sewing. Adjust any pieces that seem uneven or misplaced. Taking your time at this stage makes final assembly much easier.
Sew the blocks together row by row. Once the rows are complete, join them to finish the quilt top. Press the entire top carefully to flatten seams and prepare it for quilting. At this stage, the bear design should be clearly visible and nicely centered.
To complete the quilt, prepare a quilt sandwich. This includes layering the backing fabric face down, placing the batting on top, and then positioning the quilt top face up. Smooth the layers and secure them with pins or basting spray. Make sure the layers stay flat to avoid puckering during quilting.
Finally, quilt your project using straight lines, diagonal stitching, or free-motion quilting—whichever style you prefer. After quilting, trim the edges and add binding around the perimeter. Your Bear Quilt Made with Patchwork Tutorial is now complete, ready to use, display, or gift.
One of the best things about a Bear Quilt Made with Patchwork Tutorial is the ability to customize your creation. Color choices have a huge impact. Soft neutrals create a woodland nursery theme, while bold primary colors make the quilt lively and playful. Using ombre fabrics adds depth and a modern flair to the bear silhouette.
You can also experiment with background fabrics. Dark backgrounds make the bear pop, while light backgrounds give the quilt a classic, airy look. Using patterned background fabrics can create a forest-inspired setting or an abstract artistic effect.
Another fun variation is adding borders. Patchwork borders, strip borders, or appliqué elements can frame the bear beautifully. Incorporating small stars, trees, mountains, or geometric shapes enhances the theme and adds personality to the overall design.
Texture can be added through quilting. Straight-line quilting gives a clean, modern appearance, while free-motion quilting allows for creative curves and patterns. Quilting designs such as swirls, waves, or woodland motifs complement the bear theme well.
You can also personalize your quilt with embroidery. Adding a baby’s name, a special date, or a meaningful phrase turns the quilt into a treasured keepsake. Hand-stitching small details like eyes or facial outlines adds character to the bear.
If you enjoy improvisational quilting, consider altering the layout to create a family of bears or larger scenic quilt scenes. Patchwork provides endless possibilities, making each quilt a unique expression of your creativity.
Is a Bear Quilt Made with Patchwork Tutorial beginner-friendly?
Yes. Many patterns use basic shapes and straightforward construction, making them ideal for beginners.
How long does it take to make a bear patchwork quilt?
This depends on size and complexity. Small quilts may take a few days, while larger ones require more time.
What fabrics work best?
Quilting cotton is the top choice for precision, durability, and easy handling.
Can I resize the quilt?
Absolutely. Adjust block sizes or add borders to change dimensions.
Do I need special tools?
A rotary cutter, quilting ruler, and sewing machine are very helpful but not mandatory.
How do I keep seams aligned?
Careful cutting, consistent seam allowances, and pressing each seam contribute to accurate alignment.
Creating a Bear Quilt Made with Patchwork Tutorial is a meaningful and enjoyable journey that blends creativity with tradition. From selecting fabrics to assembling each block and watching the bear design come to life, every step is rewarding. Whether you’re quilting for a loved one or enriching your crafting skills, this project offers beauty, warmth, and lasting value.
I’d love to hear your thoughts about this tutorial and any suggestions you have—your honest feedback helps inspire future creative guides!

