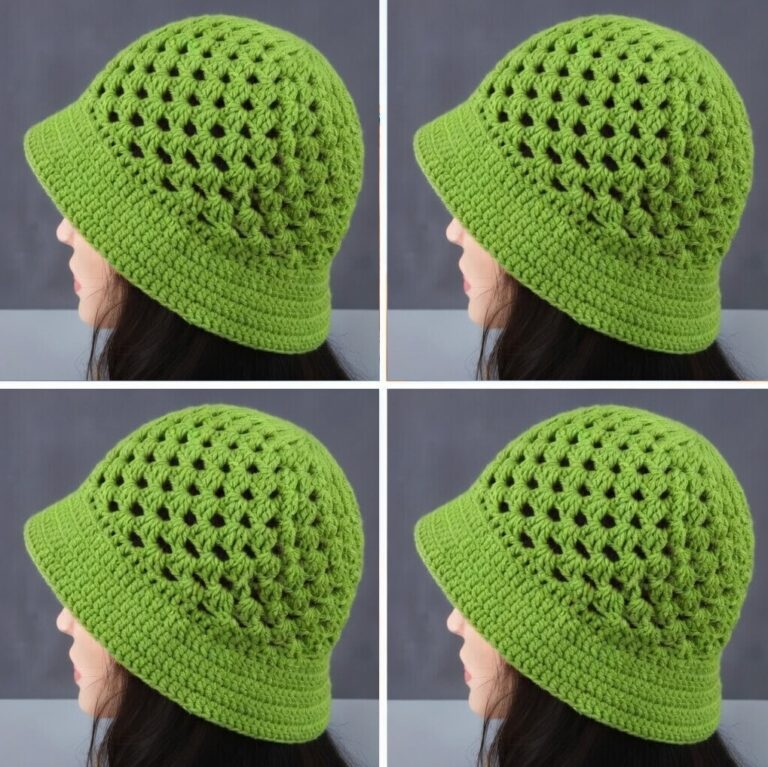
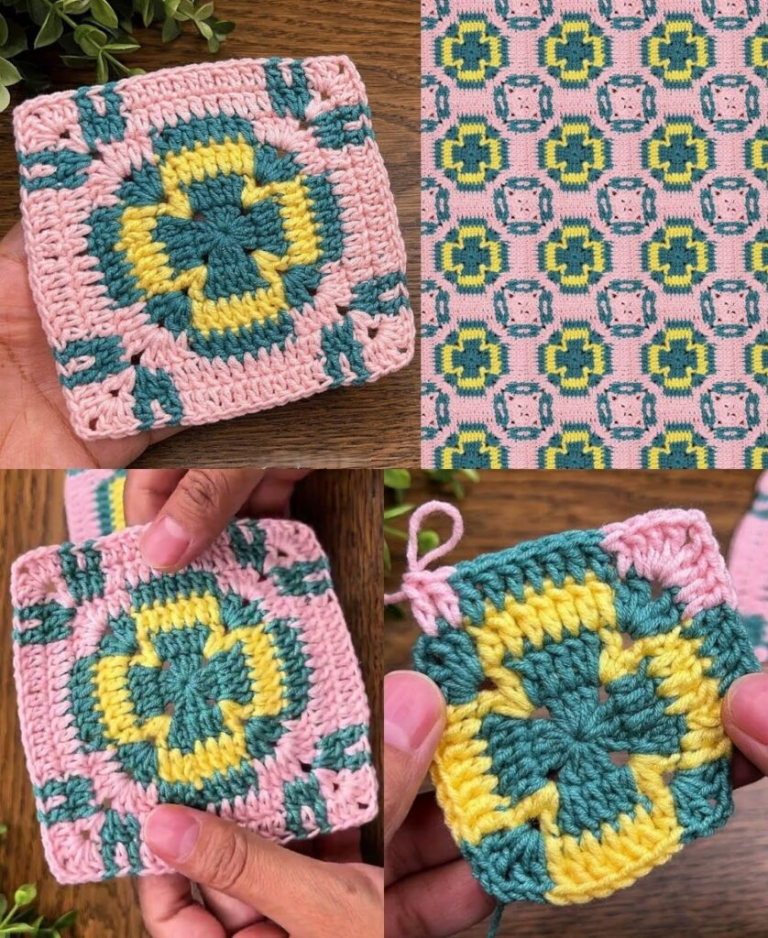
American Granny Square Bucket Hat Pattern

The Rudolph Reindeer Crochet Pattern is one of the most heartwarming projects you can make during the holiday season.
With his iconic red nose and cheerful personality, Rudolph has become a beloved Christmas symbol that brings smiles to both kids and adults alike.
Creating your very own crocheted Rudolph adds a handmade touch of magic to your festive décor, gifts, or winter crafts.

Whether you’re new to crochet or an experienced crafter, the Rudolph Reindeer Crochet Pattern is a fun and rewarding project.
It’s small enough to finish in an afternoon but detailed enough to give that feeling of accomplishment when you see your reindeer come to life. You can make him as a plush toy, an ornament, a keychain, or even as part of a Christmas garland.
The best part about working on a Rudolph Reindeer Crochet Pattern is its versatility. You can play with yarn colors, add little accessories like scarves or Santa hats, and adjust the size depending on whether you want a large plushie or a small decoration. Every finished piece carries the warmth of handmade creativity and the joyful energy of Christmas spirit.
Before starting your Rudolph Reindeer Crochet Pattern, it’s important to prepare all your materials and tools to ensure your project looks polished and professional.
You’ll need:
Choose soft acrylic or cotton yarn that’s easy to work with and gives a smooth finish. For amigurumi-style reindeer, acrylic yarn tends to hold shape better. If you plan to make Rudolph as a small ornament, cotton yarn adds a nice matte texture that looks refined.
Before you begin, decide what size you want your Rudolph to be. The pattern can easily be adjusted by using thicker yarn and a larger hook for a plush toy, or thinner yarn and a smaller hook for miniature decorations.
Here’s a simple step-by-step guide to help you make your very own Rudolph Reindeer Crochet Pattern.
Once assembled, your Rudolph Reindeer Crochet Pattern creation will look adorable on any shelf, tree, or gift box.
The Rudolph Reindeer Crochet Pattern allows for endless creativity. You can adapt it to different styles, sizes, and themes depending on your holiday mood. Here are a few fun ideas to try:
Each variation adds personality to your Rudolph Reindeer Crochet Pattern project and makes it uniquely yours. Whether you want a toy for kids or a decoration for your home, these variations keep your crochet projects fresh and fun.
Even the most experienced crocheters benefit from helpful reminders! Here are some expert tips to make your Rudolph Reindeer Crochet Pattern look its best:
By following these simple steps, you’ll have a perfectly shaped, adorable crochet Rudolph ready to brighten your Christmas season.
1. Is the Rudolph Reindeer Crochet Pattern beginner-friendly?
Yes! The pattern mainly uses basic stitches like single crochet, increase, and decrease, making it ideal for beginners learning amigurumi.
2. How long does it take to make one reindeer?
A small crochet Rudolph reindeer can be finished in about 2–3 hours, while larger versions may take half a day.
3. What kind of yarn works best?
Soft acrylic yarn works great for stuffed toys, while cotton yarn provides structure for smaller decorative pieces.
4. Can I make Rudolph without stuffing?
Yes. You can make a flat version for appliqués or decorations by crocheting two sides without adding filling.
5. How do I clean a crocheted Rudolph?
Hand-wash gently with mild soap and let it air dry to maintain shape and color.
6. Can I sell reindeer made from this pattern?
Yes! Handmade Rudolph reindeer crochet toys make wonderful items for holiday craft fairs or online shops.
7. Can I change the color of the nose?
Of course! While the red nose makes him Rudolph, you can also use brown or black for a classic reindeer design.
The Rudolph Reindeer Crochet Pattern is a heartwarming project that captures the magic of Christmas through yarn and creativity. Every stitch brings your handmade reindeer to life, adding joy to your home and warmth to your heart. Whether it’s hanging on your tree, placed on your mantle, or gifted to someone special, this pattern embodies the spirit of giving and festive cheer.
With endless possibilities for customization—different sizes, colors, and accessories—this project invites you to express your personality through crochet. Rudolph’s cheerful red nose and friendly smile remind us that handmade crafts can spread happiness and love during the holiday season.
Thank you for exploring this Rudolph Reindeer Crochet Pattern tutorial! I’d love to hear your thoughts, opinions, and creative suggestions in the comments below.
Share how you personalized your Rudolph, what colors you used, or what festive touches you added. Let’s keep the magic of Christmas alive—one stitch, one smile, and one reindeer at a time.

