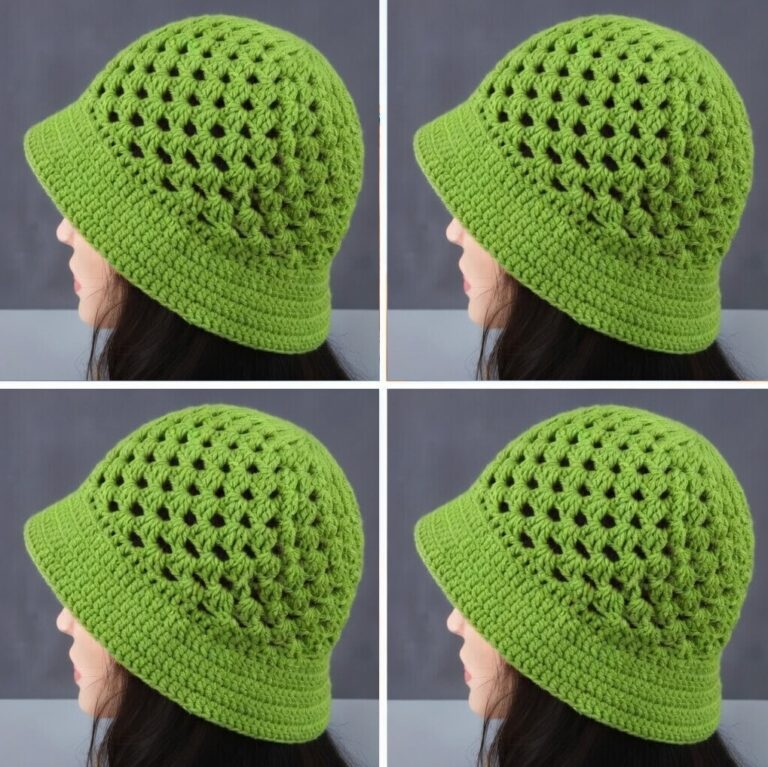
American Granny Square Bucket Hat Pattern

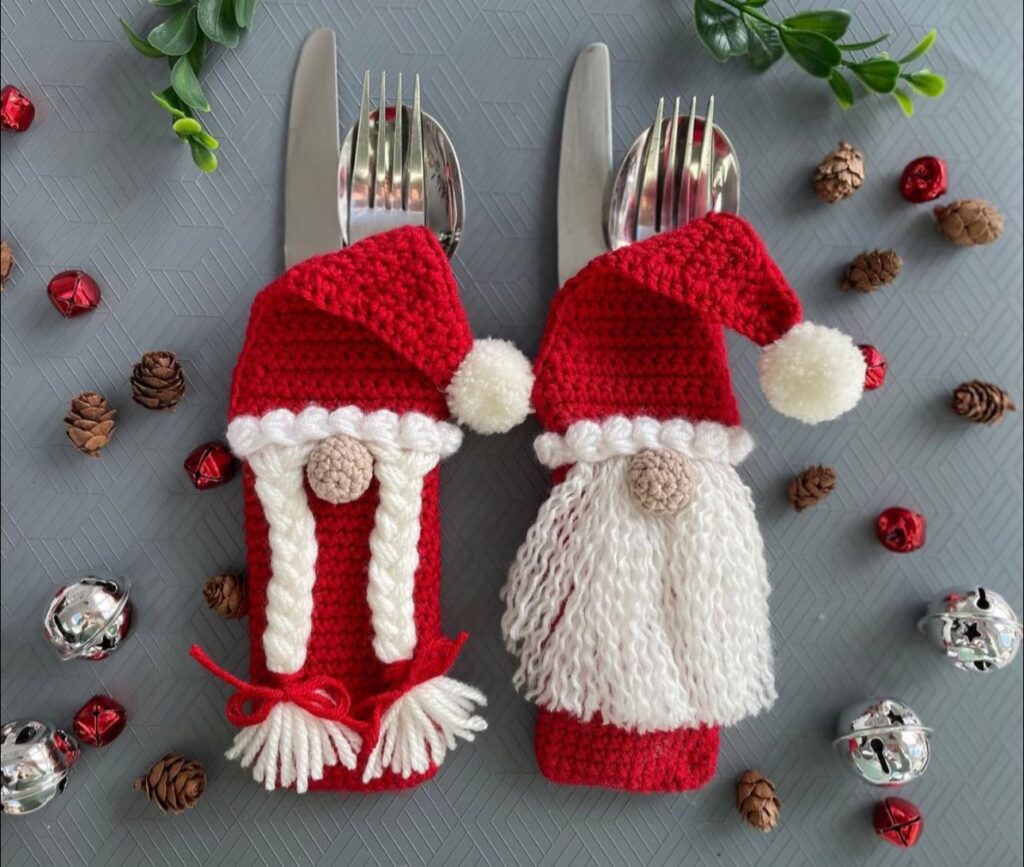
The Crochet Gnome Cutlery Holder Pattern is one of the most delightful and festive crochet projects you can make for the holidays.
Combining functionality with charm, these adorable gnome-shaped holders add a whimsical touch to any Christmas table setting.
Each handmade gnome keeps your forks, knives, and spoons neatly tucked away while bringing joy and personality to every meal.
Crafting a crochet gnome cutlery holder is also a fun and relaxing way to get into the holiday spirit. Whether you’re preparing for a Christmas dinner, a winter brunch, or simply love making themed decorations, this pattern will brighten your home and impress your guests.
The project is beginner-friendly, requires minimal yarn, and can be customized with different colors, textures, and embellishments.
The best part about the Crochet Gnome Cutlery Holder Pattern is its versatility. You can make a full matching set for your family table or create a variety of gnome designs, each with its own unique hat, beard, and color palette. These cute holders also make wonderful handmade gifts or craft fair items that everyone will adore. Let’s explore the steps, materials, and creative tips to make your crochet gnomes both practical and irresistible!
Before starting your Crochet Gnome Cutlery Holder Pattern, it’s important to gather all the necessary supplies and prepare your materials. The beauty of this project lies in its simplicity—most crocheters already have everything they need at home.
You will need:
Make sure to choose soft but durable yarn, as the holders will be handled often. Cotton yarn is especially great because it’s sturdy, washable, and holds its shape well. Before you begin, read through the entire pattern once so you understand the structure and flow of the design.
Organize your yarn colors and accessories on a flat surface. A gnome typically includes a hat, beard, nose, and body, so plan your color combinations in advance. For example, red and gray make a traditional Scandinavian gnome, while green and gold add a cheerful modern twist.
Finally, keep your crochet tension even. Since this pattern includes shaping, maintaining consistency in stitch tightness ensures your gnomes look balanced and polished once finished.
Creating a Crochet Gnome Cutlery Holder Pattern is easier than it looks! The project is built from simple shapes—a triangle for the hat, a rectangle or oval for the body, and a few smaller parts for details.
Each gnome takes about 30–60 minutes to complete, making it the perfect evening or weekend project.
One of the joys of making the Crochet Gnome Cutlery Holder Pattern is how easily you can customize each piece. No two gnomes need to look the same—so let your imagination run wild!
Changing colors or yarn textures instantly transforms the personality of your gnome. For instance, fuzzy yarn creates a soft beard, while metallic thread adds sparkle. These variations make the Crochet Gnome Cutlery Holder Pattern both creative and collectible.
You can even mix different stitches—like bobbles or puff stitches—for textured hats, or crochet tiny snowflakes to sew onto each gnome for extra holiday flair.
Even though the Crochet Gnome Cutlery Holder Pattern is beginner-friendly, a few expert tips can help you achieve neat, professional-looking results every time.
Crocheting is both an art and a relaxing hobby. By paying attention to small details, your Crochet Gnome Cutlery Holder Pattern will not only look charming but also last for many holiday seasons to come.
1. Is this pattern suitable for beginners?
Yes! The Crochet Gnome Cutlery Holder Pattern uses basic stitches like single crochet, half double crochet, and slip stitch, making it great for beginners.
2. How long does it take to make one gnome holder?
Each holder typically takes between 45 minutes to an hour, depending on your skill level and design details.
3. What yarn is best for this project?
Medium-weight cotton or acrylic yarn works best. Cotton gives a neat, firm texture, while acrylic offers more stretch and color variety.
4. Can I wash the crochet holders?
Yes, but always hand wash gently in cold water and air dry to preserve the shape and details.
5. Can I sell the finished gnome holders?
Of course! Many crafters sell their handmade versions at holiday markets or online. Just make sure to credit the original design inspiration if required.
6. Can I resize the pattern?
Absolutely. You can make smaller versions for children’s utensils or larger ones for display. Adjust the number of stitches and rows proportionally.
The Crochet Gnome Cutlery Holder Pattern is a joyful and practical project that combines holiday spirit, creativity, and functionality. Whether you’re decorating your Christmas table or gifting handmade items to loved ones, these gnomes add warmth and charm to any celebration.
Through this guide, you’ve learned how to gather materials, follow step-by-step instructions, and personalize your gnome holders with color and texture variations. Each one is a small piece of art that reflects your creativity and love for crochet.
So, grab your yarn and hook, and let your imagination guide you through the magic of handmade holiday crafting. Your festive table will never look the same again!
If you enjoyed this Crochet Gnome Cutlery Holder Pattern tutorial, please share your honest opinion and suggestions below. Your feedback helps inspire more creative patterns and keeps the crochet community thriving with new ideas every season.

