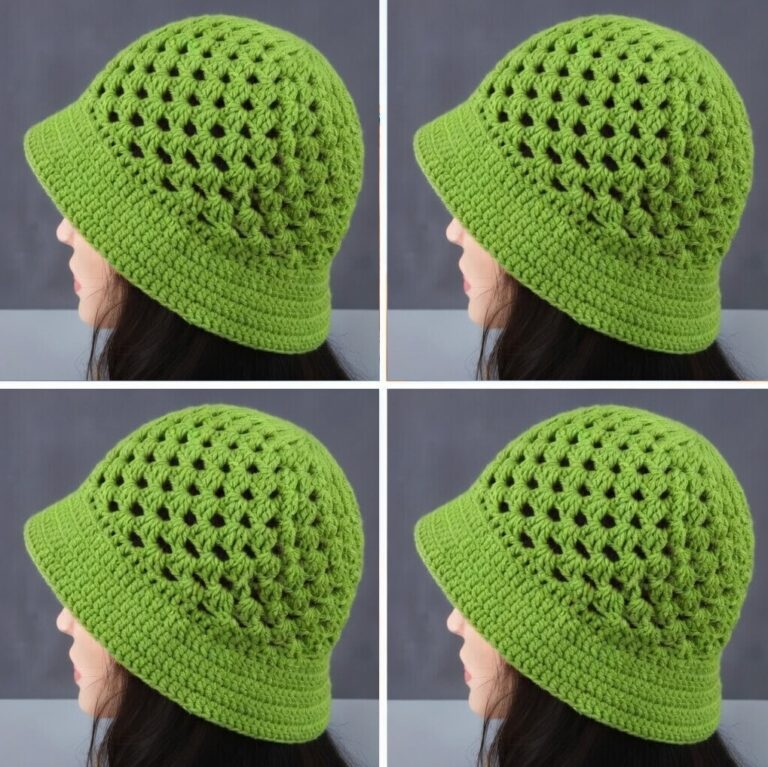
American Granny Square Bucket Hat Pattern

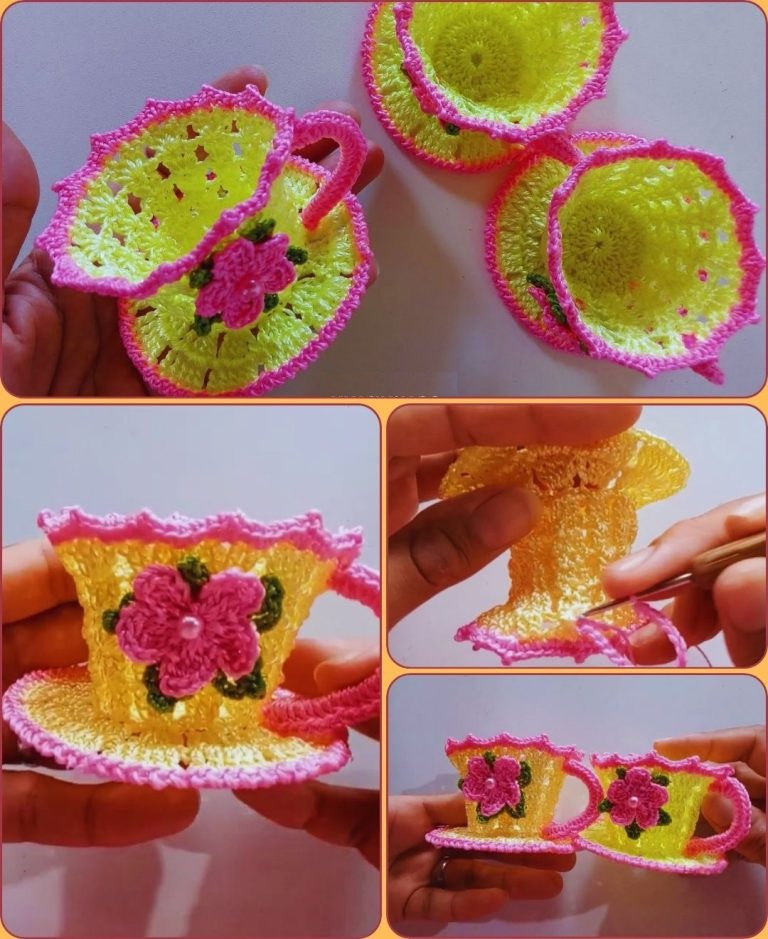
The Mini Crochet Bag Tutorial is the perfect project for crochet lovers who enjoy creating stylish, handmade accessories.
Whether you want a small bag to carry essentials, a cute gift idea, or a fashionable accessory, this tutorial will walk you through every step.
The Mini Crochet Bag Tutorial is designed for both beginners and intermediate crocheters, combining practicality with creativity.
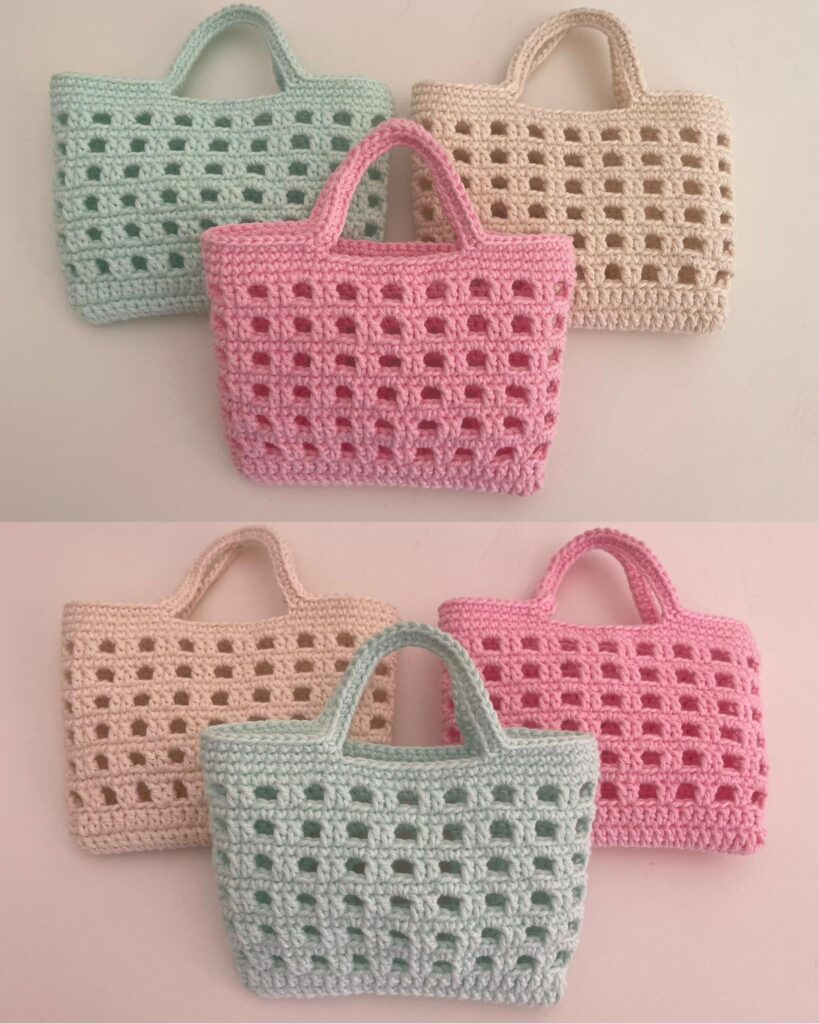
By the end of this guide, you’ll know exactly how to crochet your own adorable mini bag that’s both functional and trendy.
Crochet bags have become a popular fashion statement because they’re customizable, eco-friendly, and long-lasting. With the Mini Crochet Bag Tutorial, you’ll discover how easy it is to make a compact yet stylish bag using simple stitches and minimal materials. You can personalize your mini bag by choosing your favorite yarn colors, handles, and decorative touches, making it uniquely yours.
This Mini Crochet Bag Tutorial will teach you the entire process—from selecting the right yarn and hook, to shaping your bag and adding finishing details. Even if you’re new to crochet, don’t worry! The pattern is simple enough to follow, and once you master it, you can modify the design for different shapes, sizes, and purposes. Get your crochet hook ready and let’s begin crafting a beautiful handmade mini bag.
Before starting your Mini Crochet Bag Tutorial, gather the essential tools and materials. Choosing the right supplies is the foundation of a successful crochet project.
Start with cotton or acrylic yarn, as they offer durability and shape retention. Cotton yarn provides structure and a clean finish, while acrylic yarn gives a soft, flexible texture. For a mini bag, medium-weight yarn (labeled as category 4) is ideal—it’s easy to handle and creates a sturdy result.
You’ll need a crochet hook that matches your yarn thickness—typically a 4mm or 4.5mm hook works best for medium-weight yarn. Keep a yarn needle for weaving in ends and a pair of scissors for trimming. If you want to give your bag extra flair, you can add accessories such as wooden handles, buttons, or a strap.
For this Mini Crochet Bag Tutorial, you’ll use a few basic stitches: chain (ch), single crochet (sc), half double crochet (hdc), and slip stitch (sl st). These simple stitches create a solid and attractive texture that gives your mini bag both style and strength.
It’s also helpful to have a stitch marker to keep track of your rounds. Crochet bags are often worked in the round, meaning you’ll continue stitching without turning your work. A marker ensures your rows remain even and symmetrical.
Once you have all your materials, you’re ready to start crocheting! The beauty of this Mini Crochet Bag Tutorial is that it requires very little setup, and the final result is a charming, handmade accessory you can be proud of.
Let’s begin crafting your adorable bag! Follow this Mini Crochet Bag Tutorial step by step to make a stylish and compact mini crochet bag.
Congratulations! You’ve completed your Mini Crochet Bag Tutorial and now have a cute, handmade accessory perfect for daily use, gifting, or selling.
The best thing about the Mini Crochet Bag Tutorial is its flexibility. Once you understand the basic pattern, you can customize it in countless ways to match your style and creativity.
Try making a striped mini bag by changing yarn colors every few rounds. This creates a vibrant, playful look. Alternatively, use neutral tones for a minimalist and elegant appearance.
You can also experiment with different yarn textures. For example, using jute or raffia yarn gives your bag a rustic, natural aesthetic that’s perfect for summer. On the other hand, metallic or glitter yarns make your mini bag sparkle for special occasions.
Another idea is to create a drawstring mini bag. After completing the main body, crochet a row of chain spaces near the top, then thread a chain cord or ribbon through to cinch it closed. This style is both cute and functional—great for holding coins, keys, or lip balm.
For an even more creative touch, add crochet appliqués like flowers, hearts, or initials. These details personalize your bag and make it one-of-a-kind.
If you love organization, use your Mini Crochet Bag Tutorial to make small pouches for cosmetics, jewelry, or travel essentials. They’re eco-friendly, reusable, and a joy to make.
Finally, consider scaling up the pattern to make larger bags. The same method can create tote bags, handbags, or beach bags simply by increasing the base chain and number of rounds.
Even though this Mini Crochet Bag Tutorial is easy to follow, a few expert tips can take your work from good to great.
First, maintain consistent tension while crocheting. Uneven tension can make your bag lopsided or stretch unevenly. Practice keeping your stitches uniform for a smooth finish.
Second, consider lining your mini bag with fabric. A simple cotton or linen lining adds durability and prevents small items from poking through the stitches. To attach the lining, hand-sew it neatly to the inside using matching thread.
Third, use stitch markers to ensure your rounds are even. Losing track of where a round begins can distort the bag’s shape.
Fourth, pay attention to yarn quality. Using sturdy, non-stretch yarn will help your mini bag keep its form over time. Avoid overly soft yarns that may sag when filled.
Fifth, if you plan to use your mini bag as a keychain or accessory, add reinforced loops or metal rings to make it more secure.
Lastly, always block your finished bag if necessary. Blocking helps the stitches relax and align, giving your bag a more polished, professional appearance.
With these tips, your Mini Crochet Bag Tutorial will result in beautiful, high-quality creations you’ll be proud to show off or sell.
1. What yarn is best for mini crochet bags?
Cotton yarn is the most popular choice because it provides structure, durability, and a neat look.
2. Can I make this bag bigger?
Yes! Simply start with a longer chain for the base and add more rounds to increase the height.
3. How long does it take to make one mini crochet bag?
On average, it takes about 1–2 hours, depending on your skill level and bag size.
4. Can I wash my crochet bag?
Yes, but hand-wash it in cold water and let it air dry to maintain its shape and color.
5. How can I make my bag sturdier?
Use tight stitches, firm yarn, and consider adding a fabric lining or interfacing inside.
6. Can I sell bags made from this pattern?
Absolutely! Handmade crochet bags are in high demand, and you can sell them as long as you make them yourself.
This Mini Crochet Bag Tutorial is the perfect blend of simplicity and creativity. You’ve learned how to choose materials, crochet the base and body, add handles, and personalize your mini bag with unique touches. It’s a project that not only develops your crochet skills but also results in a fashionable, handmade accessory you can use every day.
Whether you’re making these mini crochet bags for yourself, as gifts, or to sell at craft fairs, the satisfaction of creating something beautiful and functional with your own hands is unmatched.
If you enjoyed this Mini Crochet Bag Tutorial, please leave your honest opinion and suggestions below. Your feedback helps inspire other crafters and improve future tutorials. Now grab your hook, choose your favorite yarn, and start crocheting your next stylish mini bag today!

