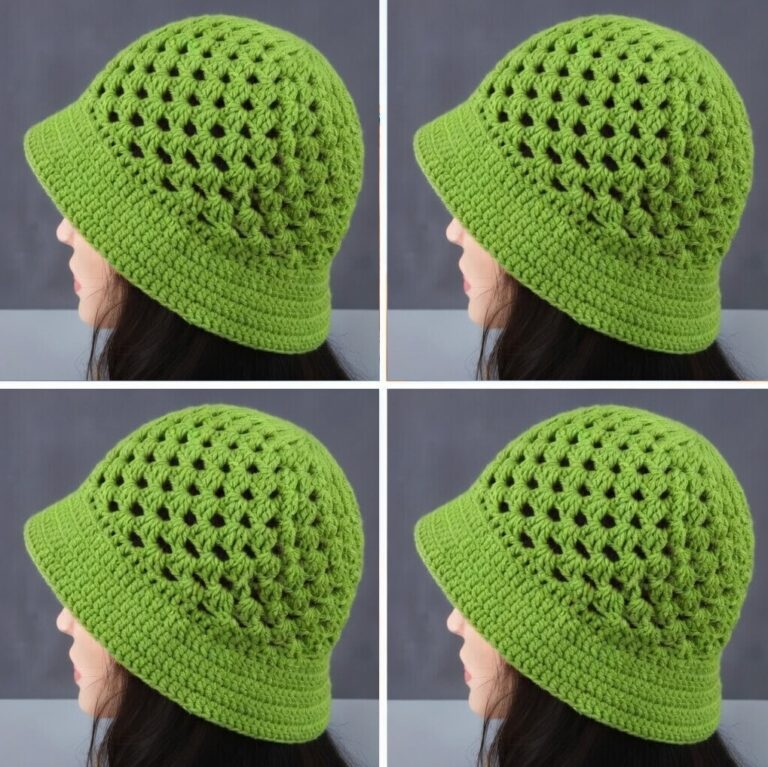
American Granny Square Bucket Hat Pattern

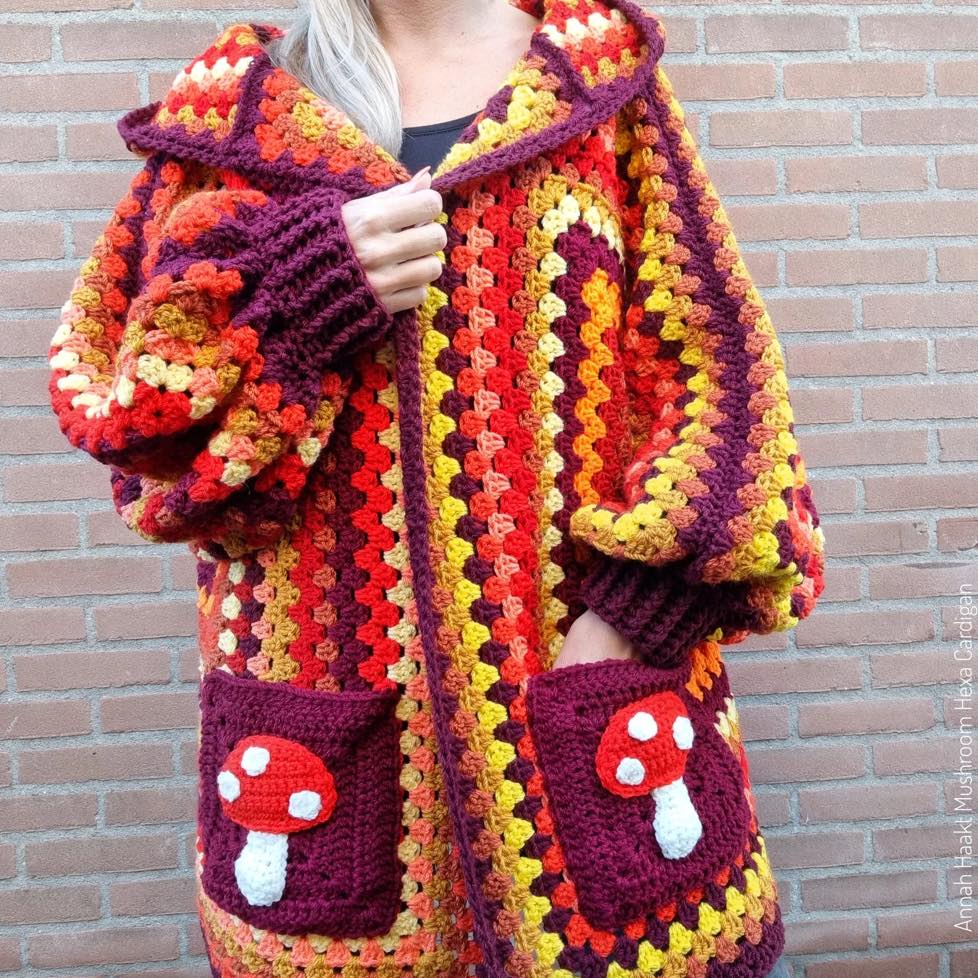
There’s something truly magical about the crochet retro cardigan pattern, a perfect blend of nostalgia, craftsmanship, and timeless fashion.
This project isn’t just another handmade piece; it’s a beautiful reflection of the past reinvented for the modern era. Making your own cardigan gives you full creative control over colors, textures, and fit, turning it into a wardrobe essential that matches your personal style.
Whether you’re a beginner or an experienced crocheter, the crochet retro cardigan is an exciting, creative, and rewarding project that brings comfort and style together in the best way possible.
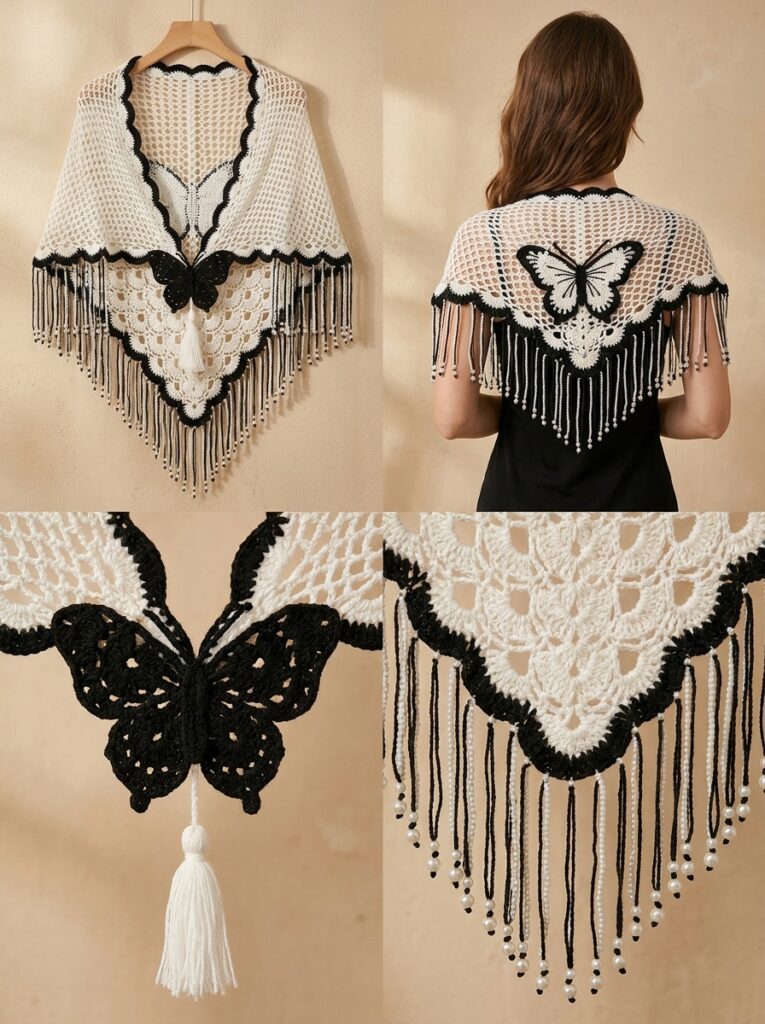
A retro crochet cardigan carries an undeniable charm that goes beyond fashion trends. It’s cozy, elegant, and effortlessly stylish. The concept of “retro” in crochet fashion often refers to the classic looks of the 1960s, 70s, and 80s — a time of bold patterns, rich textures, and vibrant colors. Making your own retro cardigan lets you bring that vintage spirit back with a personal twist.
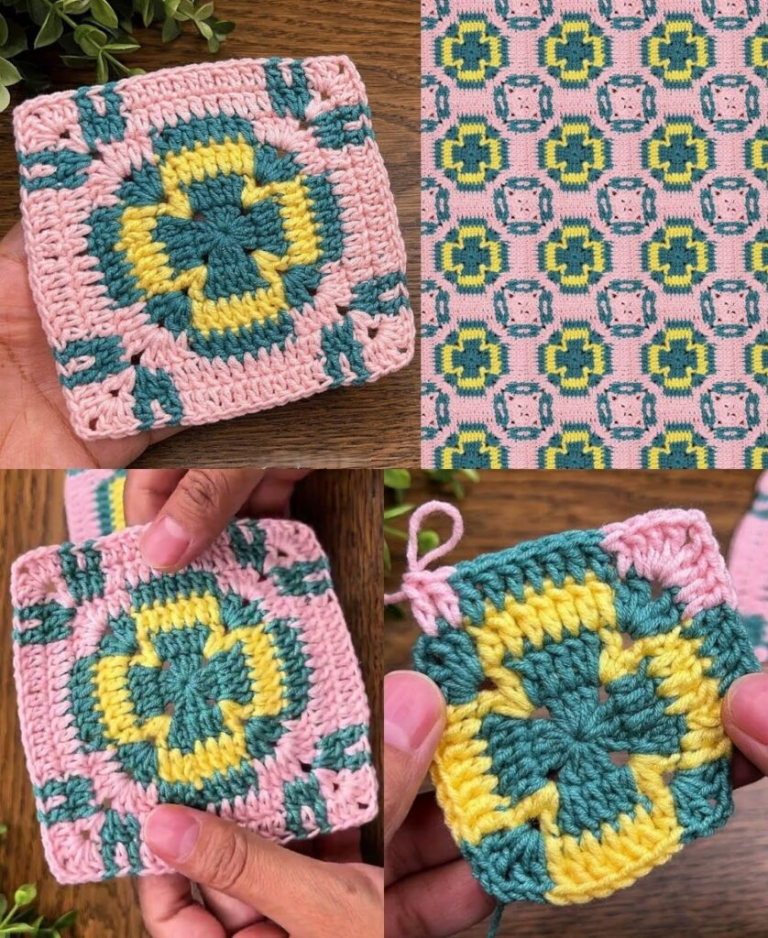
Unlike mass-produced clothing, a handmade cardigan tells a story. Every stitch is a reflection of your creativity and effort. You can choose from a wide range of designs, from the famous granny square cardigan to the iconic ripple and shell stitch styles that defined decades of handmade fashion. The best part is that you can adapt these patterns to fit your modern wardrobe, choosing your favorite yarns and tones to make the piece uniquely yours.
The comfort of a crochet cardigan is also unmatched. It’s lightweight enough for spring yet cozy enough for chilly autumn evenings. The handmade touch adds warmth and a personal connection to your outfit. Whether paired with jeans for a casual look or layered over a dress for a chic vibe, the crochet retro cardigan remains timeless, versatile, and full of charm.
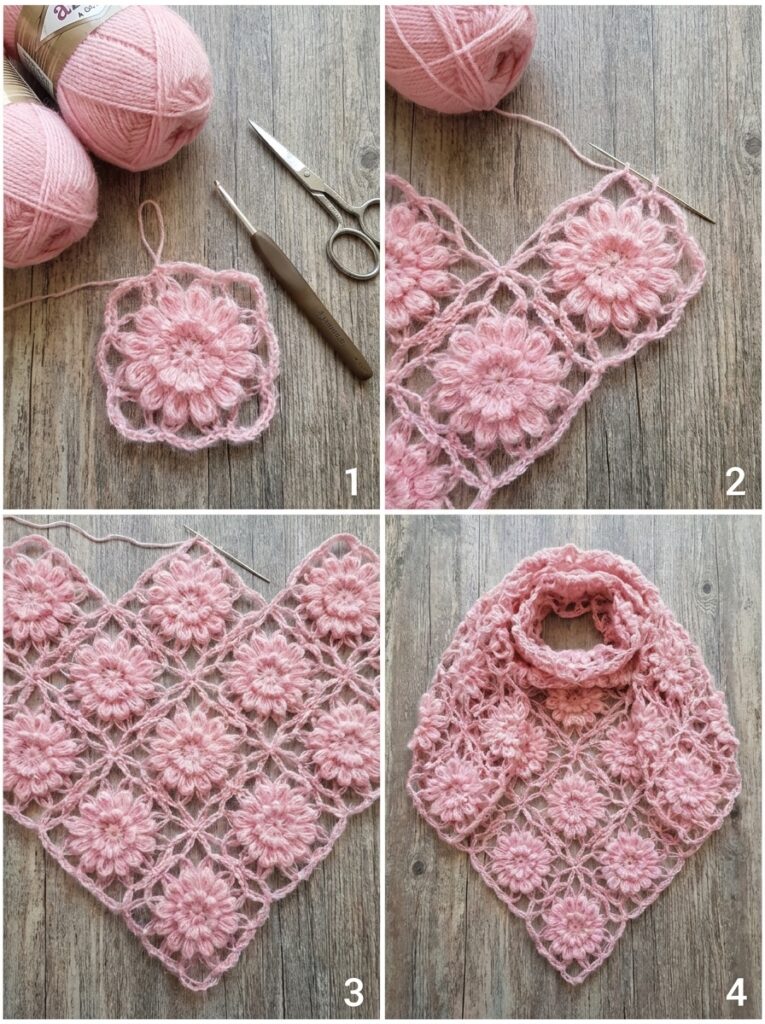
Before you start your project, gather all the essential materials to make your crochet retro cardigan pattern a success. Choosing the right yarn, hook, and accessories makes all the difference in both appearance and comfort.
Yarn: Medium-weight (worsted or DK) yarn is ideal. Cotton blends are perfect for warmer weather, while acrylic or wool yarns are great for fall and winter. Choose quality yarn to ensure durability and softness.
Hook: Use a 4 mm to 5.5 mm crochet hook depending on your yarn choice. Always check your gauge before starting.
Tapestry Needle: Needed for weaving in ends and sewing panels together neatly.
Scissors: A sharp pair for clean yarn cuts and precise finishing.
Stitch Markers: Essential for keeping track of rows, shaping, and maintaining even stitches.
Buttons (optional): Add a stylish finishing touch with vintage wooden or pearl buttons for that authentic retro look.
Measuring Tape: Helps ensure perfect sizing for your body measurements.
For color inspiration, think about classic retro palettes — mustard yellow, olive green, burnt orange, cream, and brown tones for that true 70s vibe. Or choose pastel pinks, mint greens, and sky blues for a softer vintage look. You can also mix bold and neutral shades to create something uniquely yours.
Creating a crochet retro cardigan may look complicated, but when broken down into clear steps, it becomes a relaxing and enjoyable project. Each section builds upon the last, making it easy to track your progress and stay motivated.
1. Start with a Gauge Swatch: Before beginning, crochet a small test piece to check your gauge. This ensures the finished cardigan will fit as expected. Adjust your hook size if your stitches are too tight or loose.
2. Crochet the Back Panel: Begin with a chain that matches your desired cardigan width. Work in your chosen stitch pattern — the granny stripe, moss stitch, or shell stitch are all excellent for retro designs. Continue crocheting until the panel reaches shoulder height.
3. Make the Front Panels: Create two separate front panels. If you’re planning to add buttons, leave space for buttonholes on one side. Keep your stitches consistent with the back panel for a seamless look.
4. Craft the Sleeves: Measure your arms and crochet each sleeve to the desired length. Retro-style sleeves often feature a slightly puffed or flared design, giving them a vintage silhouette.
5. Assemble the Cardigan: Sew the front and back panels together at the shoulders, then attach the sleeves. After that, join the sides and sleeve seams using a tapestry needle for invisible seams.
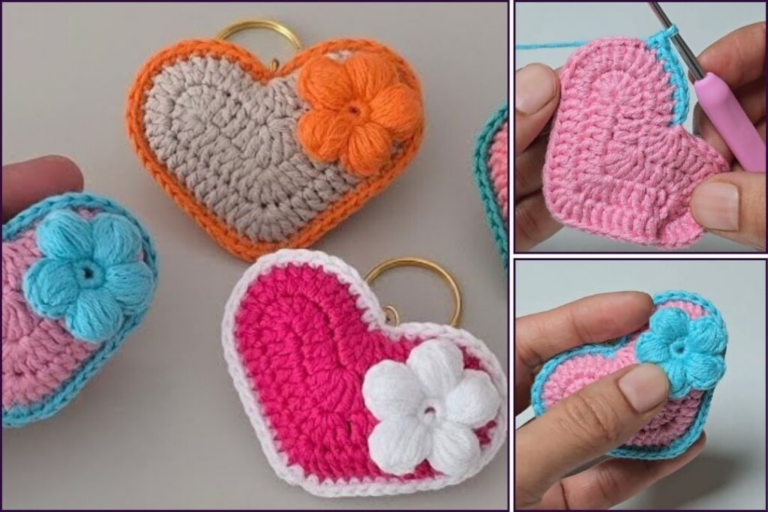
6. Add Edging and Finishing Touches: Work a neat single crochet or picot border around the edges, cuffs, and neckline. This gives your cardigan a professional finish. You can also sew on buttons, toggles, or small crochet flowers to enhance the retro look.
Taking your time with assembly and finishing will give the cardigan a clean, tailored appearance that feels both vintage and luxurious.
Once your crochet retro cardigan is ready, styling it becomes the most enjoyable part. It’s a versatile piece that complements almost any outfit and adds a personal touch to your style.
For a casual everyday look, pair your cardigan with jeans, a fitted top, and sneakers. It’s simple, cozy, and ideal for running errands or meeting friends.
If you prefer a boho-chic aesthetic, layer your cardigan over a flowy dress or maxi skirt. Add a wide-brimmed hat, boots, and chunky jewelry for that perfect vintage-inspired vibe.
For a classic retro look, go for high-waisted trousers, a tucked-in blouse, and platform shoes. The cardigan completes the outfit beautifully while adding comfort and texture.
And for cozy winter days, wear it over a turtleneck and leggings. The handmade texture keeps you warm and stylish while showcasing your crochet skills.
Your cardigan isn’t just clothing — it’s a statement of creativity. Every time you wear it, you showcase your craftsmanship, your style, and your appreciation for timeless handmade fashion.
Q1: What skill level do I need for this pattern?
This crochet retro cardigan pattern is perfect for intermediate crocheters, but even beginners can try it with patience and simple stitches like double crochet or half double crochet.
Q2: How long does it take to finish?
On average, it takes about one to two weeks, depending on your crochet speed and available time.
Q3: Can I use leftover yarn?
Absolutely! Retro designs often mix colors, so using leftover yarn adds character and uniqueness to your cardigan.
Q4: What stitches create a vintage effect?
The best stitches for a retro cardigan are granny squares, ripple stitches, and shell patterns. They add beautiful texture and depth.
Q5: How should I wash my cardigan?
Hand-wash it gently in cold water with mild soap, then lay it flat to dry. Avoid hanging to prevent stretching.
Q6: Can I make it oversized?
Yes! Just increase your stitch count or add extra rows for a trendy, relaxed fit.
Q7: What makes it retro?
The bold color combinations, textured stitches, and classic silhouettes like cropped waists or flared sleeves give the cardigan its vintage flair.
The Crochet Retro Cardigan Pattern is not just a fun project — it’s a celebration of style, creativity, and history. It brings together the warmth of handmade clothing and the beauty of vintage fashion. Each stitch represents patience and dedication, resulting in a piece that’s both stylish and sentimental.
From choosing the yarn to adding the final border, the process is filled with joy and self-expression. You’ll create something that isn’t only wearable but deeply personal.
Whether you want a lightweight cardigan for spring or a cozy one for fall, the crochet retro cardigan adapts beautifully to any season.
With time, passion, and creativity, your retro cardigan will become a beloved piece that never goes out of style — proof that handmade fashion will always have a place in every wardrobe.

