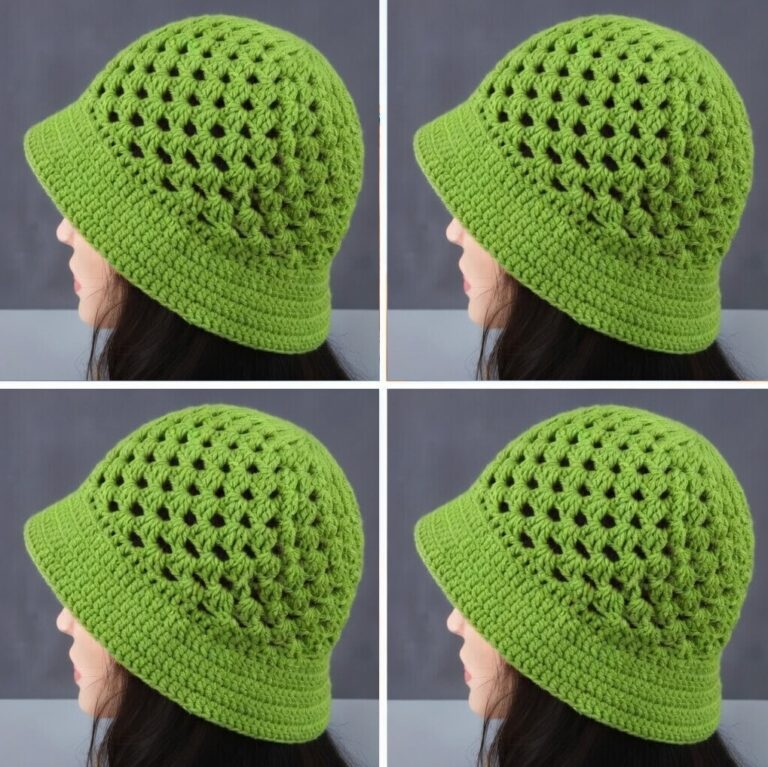
American Granny Square Bucket Hat Pattern

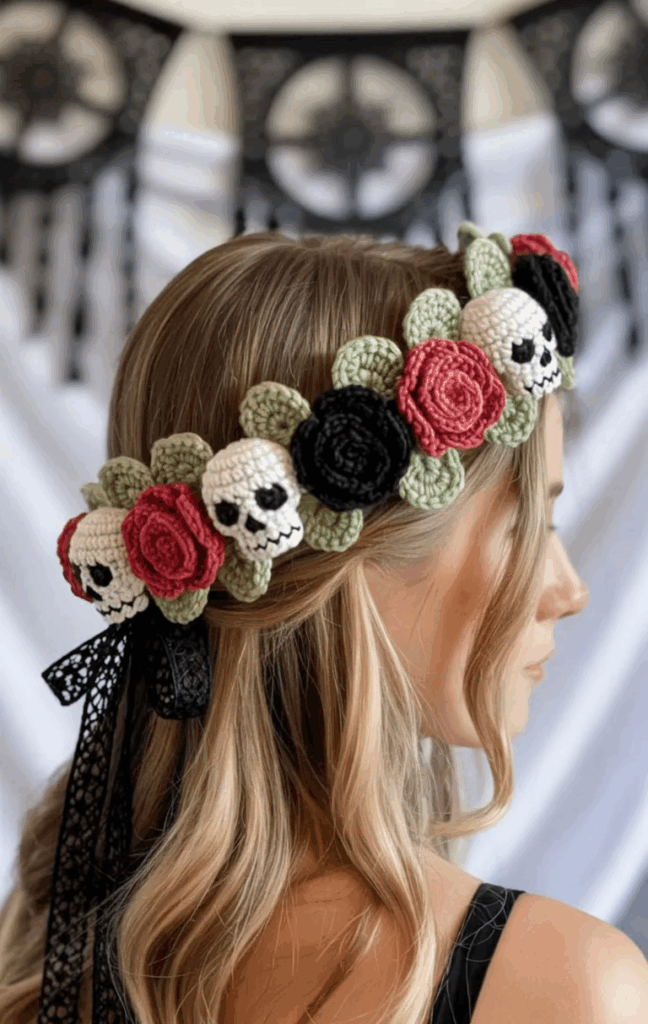
The Crochet Skull and Roses Headband Free Pattern is a unique accessory that combines edgy style with the elegance of floral design.
When you choose to work on a Skull & Roses Headband, you are not only crafting a stylish item but also telling a story through yarn.
You can wear your Crochet Skull and Roses Headband at music festivals, themed parties, casual outings, or simply as a fun everyday accessory.
To create the Crochet Skull and Roses Headband Free Pattern, you’ll need a few essential supplies. Choosing the right materials is crucial, as they will determine the final look and durability of your headband. Start with a medium-weight yarn that holds shape but is still soft enough for comfortable wear. Cotton yarn works well for breathability, while acrylic yarn offers flexibility and a wide range of colors.
The crochet hook size should match your yarn choice. Typically, a 4mm or 5mm hook works well for this type of accessory. Always check the yarn label for recommendations and adjust based on your tension. A comfortable hook handle is recommended since this project requires several motifs, and you’ll want to avoid hand strain.
Besides yarn and hook, you’ll need a yarn needle for sewing the pieces together and scissors for trimming ends. Stitch markers are optional but can be very helpful when shaping the skull motif or aligning the roses. If you’re planning to use different colors for the roses, make sure to prepare multiple small yarn skeins to keep your work organized.
When it comes to color combinations, black yarn for the skull and red for the roses are the most popular choices. However, don’t be afraid to experiment. White skulls with pink roses create a softer yet still bold effect, while multicolored roses bring a vibrant and artistic touch. The background band itself can be neutral or bright depending on your preference.
The durability of your Skull & Roses Headband also depends on your finishing. Proper weaving of ends ensures that the headband withstands regular use. Blocking the finished piece can help maintain its shape, especially for the roses, which look more defined after light shaping. This extra care elevates your final result and makes the accessory look professionally made.
Lastly, consider comfort. Since this is a wearable item, choosing yarn that feels good against the skin is essential. Avoid rough fibers or overly stiff yarns, as they can cause irritation when worn for long periods. A soft yet sturdy yarn is always the best choice for headbands.
The skull is the highlight of the Crochet Skull and Roses Headband Free Pattern, giving it its distinctive character. To begin, start with a magic circle to create the foundation of the skull’s head. Work in the round, increasing gradually to form an oval base that mimics the shape of a skull. Using double crochet stitches for the main portion provides structure while maintaining flexibility.
Once you’ve shaped the head, focus on defining the eye sockets. Small chains or spaces left open between stitches help create the hollow effect that gives the skull its iconic look. The nose can be represented by a small triangular space made with skipped stitches, while the teeth are created with carefully placed single crochets along the lower part of the motif.
Attention to detail is what makes the skull design stand out. Tight stitches for the facial features help keep the shape recognizable, while looser stitches on the sides add softness. If you’re new to shaping in crochet, don’t worry—this motif is forgiving and allows for creative adjustments.
After finishing the skull, weave in the ends securely to prevent unraveling. If the piece seems too floppy, consider lightly blocking it to hold the shape. Remember that this skull will later be attached to the roses and the band, so maintaining structure is key.
For beginners, it may take a few attempts to get the proportions right, but that’s part of the process. Each skull you make will look slightly different, and that uniqueness adds charm to the finished headband. Many crafters enjoy experimenting with yarn thickness or adding small embellishments like beads for eyes.
The skull motif alone is a fun project, but its true potential shines when paired with crochet roses. Once you’ve mastered this base design, you can use it in other projects like patches, appliqués, or even wall hangings. Its versatility makes it an excellent skill to have in your crochet repertoire.
The roses are what balance the gothic intensity of the skull with beauty and softness. To crochet the roses for the Skull & Roses Headband, start with a chain foundation. Work rows of double crochet stitches that gradually increase in number, forming a ruffled strip. This strip will later be rolled into a spiral to create the rose shape.
When rolling the strip, begin tightly for the center and loosen the wrap as you move outward. This creates the illusion of petals unfolding naturally. Secure the base of the rose with a yarn needle, stitching through several layers to keep it stable. The more carefully you roll, the more realistic your rose will look.
For variation, try making roses in different sizes. Smaller roses add delicate detail, while larger ones create bold focal points. Mixing sizes gives the headband depth and makes it more visually appealing. Color variation also enhances the design, as mixing shades of red, pink, and even white can make the roses look lively and natural.
The roses are not limited to headbands; you can use the same technique to embellish scarves, bags, or hats. Many crocheters love to create extra roses to keep on hand for future projects. Their versatility makes them a must-have motif in any crochet toolkit.
To attach the roses, place them around the skull motif on the band. This positioning highlights the skull while softening its edges, giving the headband balance. Secure each rose firmly to avoid movement during wear. Strong stitching ensures the accessory lasts longer.
Once attached, gently fluff the petals to give the roses more volume. Some crafters like to spray a light mist of water and shape the petals for a more defined look. This small detail can take the project from nice to stunning. The combination of roses and skull creates a timeless accessory that captures both strength and beauty.
After completing the skull and roses, it’s time to assemble the Crochet Skull and Roses Headband Free Pattern into its final form. Begin with the base band, which can be a simple strip of single crochet stitches made to fit your head size. Adjust the length carefully so it sits comfortably without being too tight or too loose.
Place the skull motif in the center of the band. Pin it temporarily with stitch markers or safety pins to ensure proper alignment. Once satisfied with the position, sew it securely using your yarn needle. Strong, even stitches will keep the skull in place and prevent shifting during wear.
Next, arrange the roses around the skull. Some crafters prefer placing two roses on one side for a dramatic effect, while others distribute them evenly for balance. Experiment with placement until you find a layout that feels right. Then, stitch each rose firmly onto the band.
After attaching all motifs, check the headband for any loose ends. Weave them neatly into the fabric and trim excess yarn. A tidy finish not only improves durability but also makes the accessory look professional.
Try on the headband to test comfort and fit. Adjustments can be made at this stage, such as tightening the band or repositioning motifs. Since crochet is flexible, small modifications are easy to implement.
Finally, consider adding optional embellishments like small leaves around the roses or beads for extra sparkle. These details enhance the overall design without overshadowing the main motifs. Your finished Skull & Roses Headband will now be ready to wear proudly or gift to someone special.
1. How long does it take to make the Skull & Roses Headband?
For experienced crocheters, it may take around 4 to 6 hours. Beginners might need a bit longer, especially when shaping the skull and roses.
2. Can I make the headband in different sizes?
Yes, you can adjust the band length by adding or removing stitches. This way, it can fit children, teens, or adults comfortably.
3. What yarn is best for the Crochet Skull and Roses Headband?
Cotton yarn is a popular choice for comfort, but acrylic yarn offers flexibility and vibrant color options. Choose what feels best against your skin.
4. Is this pattern suitable for beginners?
Yes, but some parts like shaping the skull may require patience. Beginners can practice separately before assembling the full headband.
5. Can I wash the headband?
Hand washing with mild soap is recommended to keep the motifs intact. Avoid machine washing to preserve the shape of the roses.
6. Can I use this pattern for other accessories?
Absolutely. The skull and rose motifs can be applied to hats, bags, scarves, or even as standalone appliqués for jackets.
The Crochet Skull and Roses Headband Free Pattern is more than just a project—it’s a creative expression that blends boldness with elegance.
By combining the symbolic skull with delicate roses, you create a headband that is both stylish and meaningful. Throughout this article, you’ve learned about the materials, the skull motif.
Share your results, leave your honest opinion, and feel free to suggest new ideas for improving the design. Crochet is all about community and creativity, and your input can inspire even more unique patterns in the future.