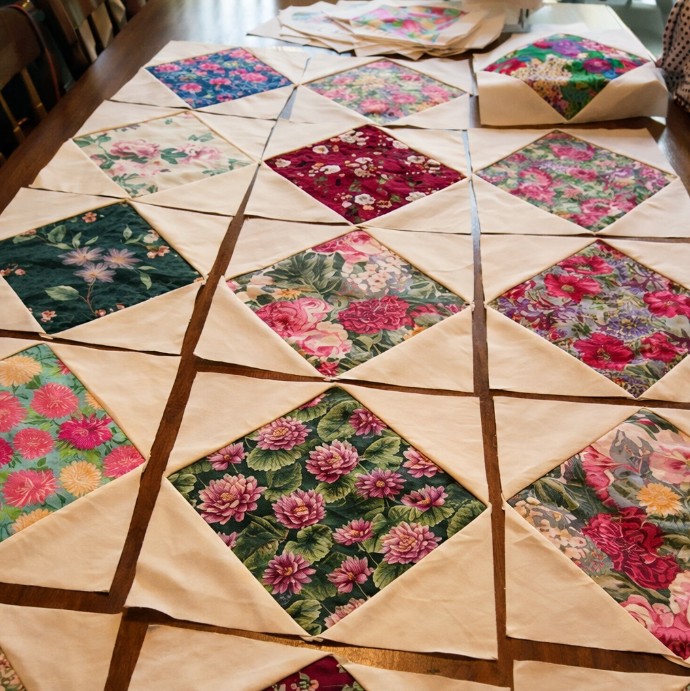
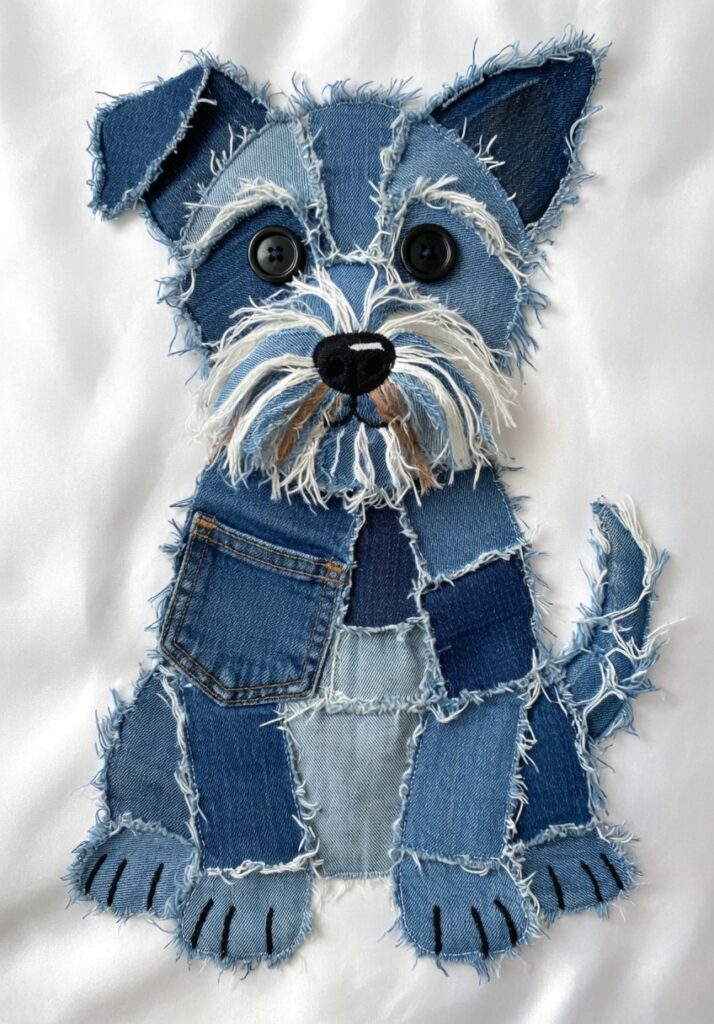
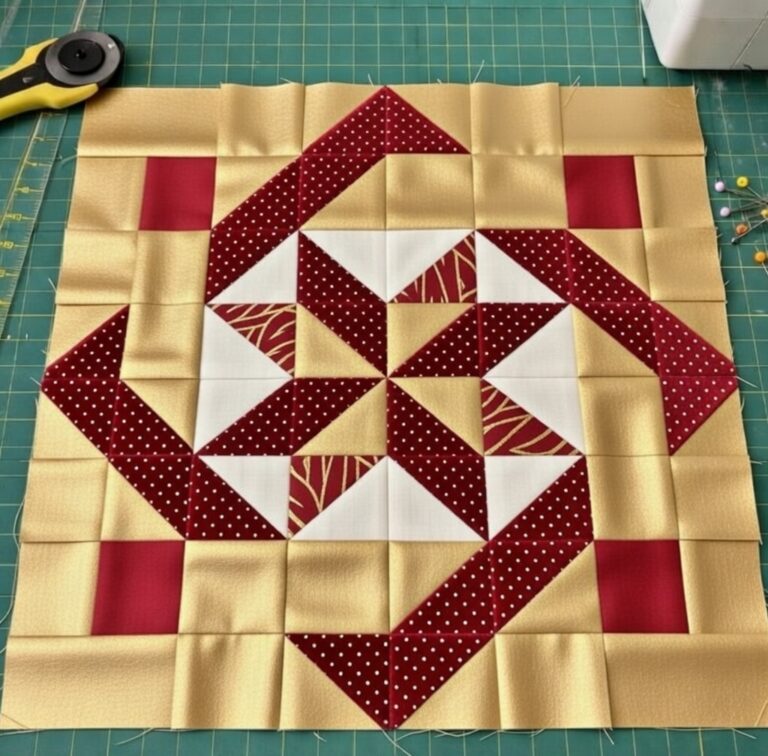
Patchwork Square Design Block Pattern

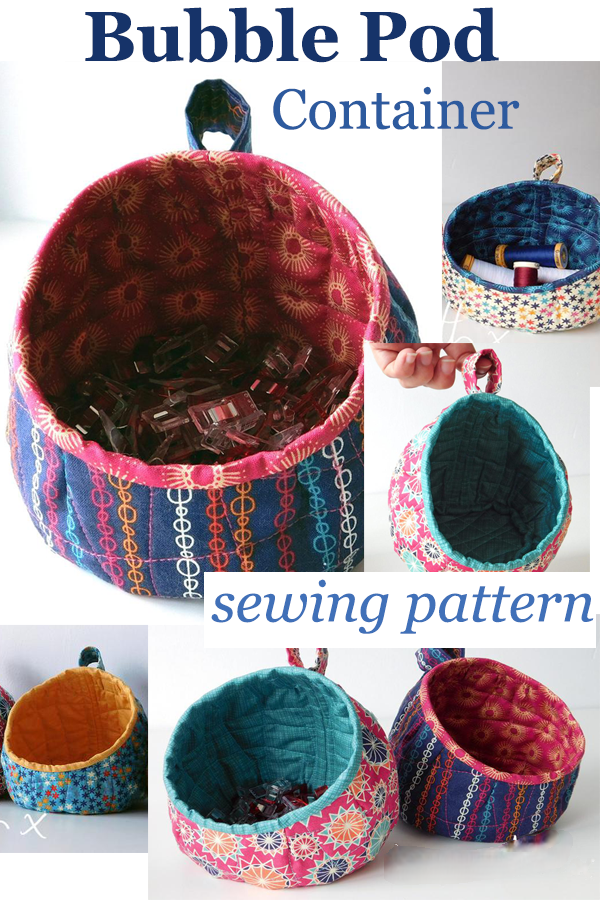
Quilted Bubble Pod Container Pattern is an inspiring and practical sewing project that blends creativity, texture, and functionality into a single handmade piece.
Starting a craft using a Quilted Bubble Pod Container Pattern allows you to explore textile techniques, experiment with fabrics, and create a charming container perfect for organizing small items.
The “bubble pod” shape provides a soft, rounded structure that is both aesthetically appealing and surprisingly sturdy. Whether you want to store craft supplies, cosmetics, sewing notions, or small household essentials, this unique container adds warmth and personality to any space.
Working with a Quilted Bubble Pod Container Pattern is also a fantastic way to strengthen your quilting skills. The piece involves elements such as layering fabrics, adding batting, stitching curves, and assembling three-dimensional shapes.
These steps may look advanced at first, but the project is very approachable when broken down into simple parts. Even beginners find joy in creating their first pod because the process is relaxing, and the results are visually delightful. Each pod feels like a small piece of functional art, allowing you to explore color combinations, patterns, and fabric textures.
Another appealing aspect of a Quilted Bubble Pod Container Pattern is its versatility. You can resize the pattern to create small pods for jewelry or keys, medium pods for craft tools, or larger pods for toys and household items. The quilted texture adds durability and a cozy feel, making it suitable for gifting as well. Handmade containers always make thoughtful presents, especially when personalized with favorite colors or themed fabrics. Before we dive deeper into structure, materials, and creative customization, let’s explore how this clever container works and why it has become such a favorite among sewing enthusiasts.
A Quilted Bubble Pod Container Pattern is designed to create a rounded, soft structure that resembles a bubble or pod. Its unique shape comes from carefully sewn curved panels that, when joined, form a three-dimensional container. Quilting provides additional structure by reinforcing the fabric layers, helping the pod hold its shape while remaining soft and flexible. This combination of quilting and curved construction results in an appealing sculptural effect.
Each pod typically consists of several curved pieces. These panels are cut symmetrically and assembled to form the pod’s body. Because the shape is organic rather than boxy, the project requires simple but mindful stitching along curved seams. This is a wonderful way to practice sewing curves—an essential skill for many advanced sewing projects. Even if you are new to curved seams, this pattern is forgiving because the pod’s final shape softens small imperfections.
Quilting adds personality as well as durability. You can quilt straight lines, diagonal grids, waves, spirals, or decorative stitches depending on the look you want. Denser quilting gives the pod more firmness, while minimal quilting creates a softer, puffier effect. This flexibility allows you to tailor your Quilted Bubble Pod Container Pattern to the specific use you have in mind.
One of the most charming elements of this project is how well it adapts to various fabric types. Cotton prints give it a cozy, homey feel, while linen adds a rustic quality. You can also use leftover quilt scraps, making the project environmentally friendly and economical. Many crafters enjoy mixing complementary fabrics to create panels with contrasting colors or textures.
Pods are naturally decorative, making them ideal for open shelving, workspaces, or sewing rooms. Their rounded shape looks lovely when displayed in sets of different sizes. Whether used for storage or simply as décor, the Quilted Bubble Pod Container Pattern adds personality to any room.
Finally, the design can include optional handles, loops, or closures. These additions improve usability and allow you to hang, carry, or secure your pod. This level of customization makes the pattern appealing to both beginners and experienced sewists who enjoy experimenting with creative details.
To successfully complete your Quilted Bubble Pod Container Pattern, gathering the right materials is essential. Start with high-quality quilting cotton or another woven fabric. The fabric serves as both the interior and exterior of the pod, so choose prints or solids that complement each other. You can mix multiple prints for a patchwork effect or use a single fabric for a clean, minimalist look.
Batting is crucial for creating the quilted texture. Medium-loft batting is ideal because it provides enough volume to create the “bubble” appearance without making the pod overly bulky. If you prefer a firmer structure, consider using foam stabilizer instead of batting. This gives a crisp and professional finish.
Thread quality matters as well. Polyester or cotton thread works well for quilting and assembly. Choose a color that blends with your fabric or opt for a contrasting thread if you want the stitches to stand out. Decorative stitching is an excellent way to personalize your Quilted Bubble Pod Container Pattern.
You will also need fabric scissors or a rotary cutter for precise cutting. Because the pattern includes several curved pieces, accuracy is important. Using pins or fabric clips helps hold the layers together while sewing. Clips are particularly helpful when working with thicker quilted sections.
A sewing machine is recommended for durability, but hand sewing is possible for small pods or finishing touches. If your machine includes a walking foot, it can be extremely helpful for quilting as it prevents shifting between layers. However, many crafters complete the quilting with a standard presser foot without any issues.
Optional materials include interfacing, decorative buttons, zippers, ribbon, or small fabric loops. These elements help enhance the functionality and appearance of your pod. For example, adding a loop at the top allows you to hang the container, while a zipper transforms it into a more secure storage pouch.
To begin your Quilted Bubble Pod Container Pattern, start by cutting the required pieces. Most pods use symmetrical curved panels, so trace your pattern carefully onto your fabric. You will need matching sets of outer fabric, lining fabric, and batting. Once all pieces are cut, create quilt sandwiches by layering outer fabric, batting, and lining.
Quilt each panel before sewing the pod together. Use straight lines, diagonals, free-motion swirls, or any design that suits your style. Quilting first makes the panels easier to handle when assembling the pod. After quilting, trim excess batting to clean up the edges.
Next, sew the curved panels together. Place two panels right sides together and stitch along one curved edge. Continue joining panels until the pod begins to form its rounded shape. Take your time stitching the curves to maintain a smooth seam. Small seam allowances help the pod shape more naturally.
Once the outer shell is assembled, repeat the process for the lining pieces. The lining should fit comfortably inside the outer shell without bunching. If your lining feels too loose or too tight, adjust the seam allowances slightly to achieve the perfect fit.
Insert the lining into the outer pod with wrong sides facing each other. Align the top edges neatly. At this stage, you can add optional features such as loops, tabs, or decorative binding. Binding the top edge with bias tape creates a polished finish and reinforces the pod’s opening.
Finish your Quilted Bubble Pod Container Pattern by securing the top seam. You can stitch the lining and outer layers together with a straight seam or attach bias binding for a colorful accent. Shape the pod by gently pressing the seams and adjusting the rounded sides until they form a smooth bubble.
One of the best parts of working with a Quilted Bubble Pod Container Pattern is the ability to personalize it in countless ways. For example, experimenting with fabric styles can dramatically change the look of your pod. Using bold prints creates a lively, whimsical container, while neutral solids give a modern, minimalist appearance.
You can also incorporate patchwork techniques to make a scrap-friendly version. Sew together small fabric pieces to create a multicolored panel before quilting. This gives your pod a charming, handcrafted quality and makes excellent use of fabric leftovers.
Adding decorative stitching enhances the pod’s texture. Try stitching waves for a soft, flowing look or geometric lines for a structured, contemporary style. Metallic thread adds sparkle, while colorful thread creates cheerful accents throughout the design.
Another fun option is adding a drawstring closure. Instead of a simple open pod, add a fabric casing around the top edge and thread a cord or ribbon through it. This transforms the Quilted Bubble Pod Container Pattern into a cinched storage pouch ideal for travel or small accessories.
Handles or loops provide additional functionality. A small hanging loop at the top allows you to display your pod on a hook, while two side handles create a basket-like container. These additions can be made from fabric strips, ribbon, or even denim for extra durability.
Finally, consider creating themed pods for different rooms. A floral pod is perfect for storing makeup in the bathroom, while a bright geometric pod works well for holding craft supplies. Seasonal fabrics—such as holiday prints—add festive charm and make wonderful gifts.
Is the Quilted Bubble Pod suitable for beginners?
Yes. The pattern involves simple quilting and basic curved seams, making it beginner-friendly with a little patience.
What fabric works best for the pod?
Cotton quilting fabric is ideal because it is easy to sew, durable, and holds quilting stitches well.
Can I resize the pattern?
Absolutely. Enlarging or reducing the pattern pieces allows you to make pods in various sizes.
Do I need a sewing machine?
A machine is recommended for durability, but small pods can be hand-stitched.
What type of batting should I use?
Medium-loft batting provides the best balance of softness and structure for the quilted design.
How do I make the pod stand more firmly?
Use foam stabilizer instead of batting or add denser quilting to create a sturdier shape.
Creating a Quilted Bubble Pod Container Pattern is a rewarding and enjoyable sewing project that combines function, creativity, and texture. From choosing beautiful fabrics to quilting each panel and assembling the pod, every step brings satisfaction and personal expression. These adorable containers are practical, customizable, and perfect for gifting or decorating your home.
I’d love to hear your honest thoughts about this tutorial and any suggestions you may have for future patterns—your feedback helps shape even better crafting content!
