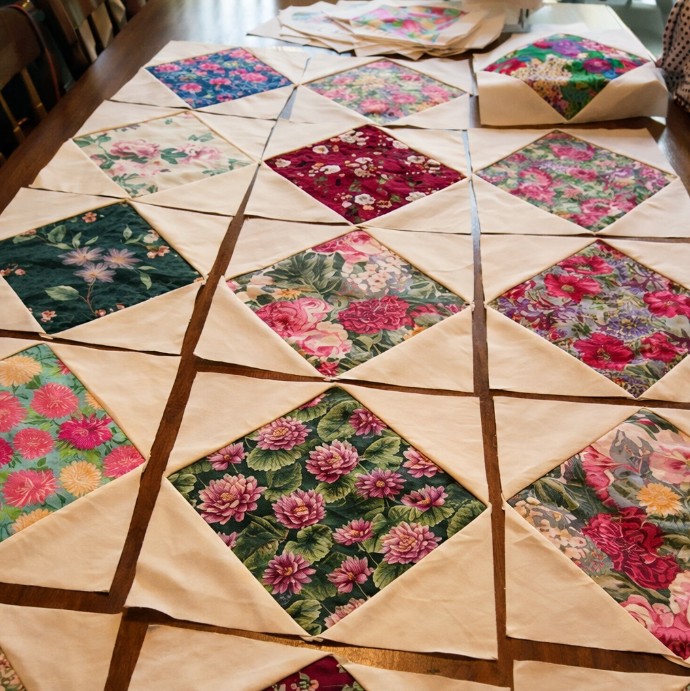
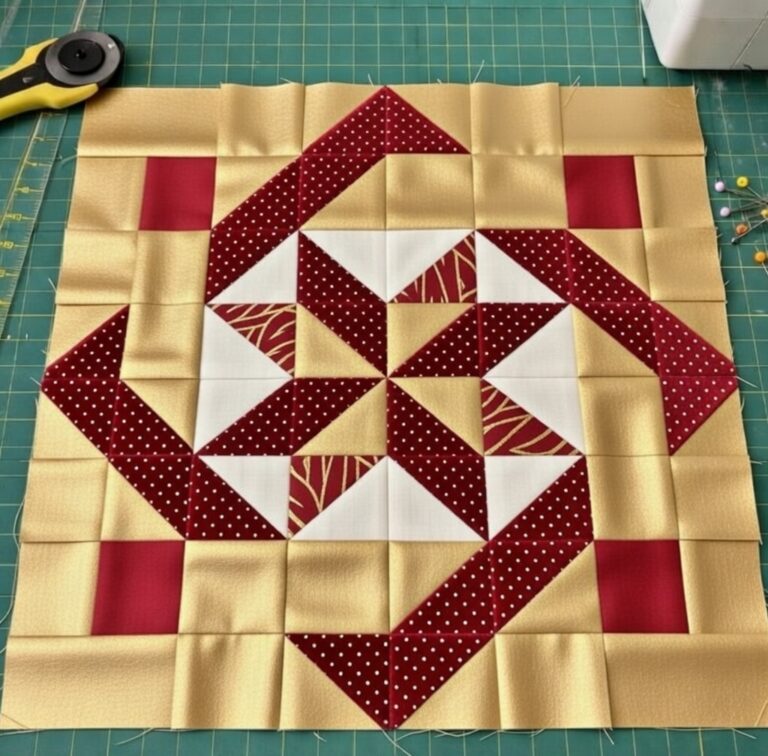
Patchwork Square Design Block Pattern

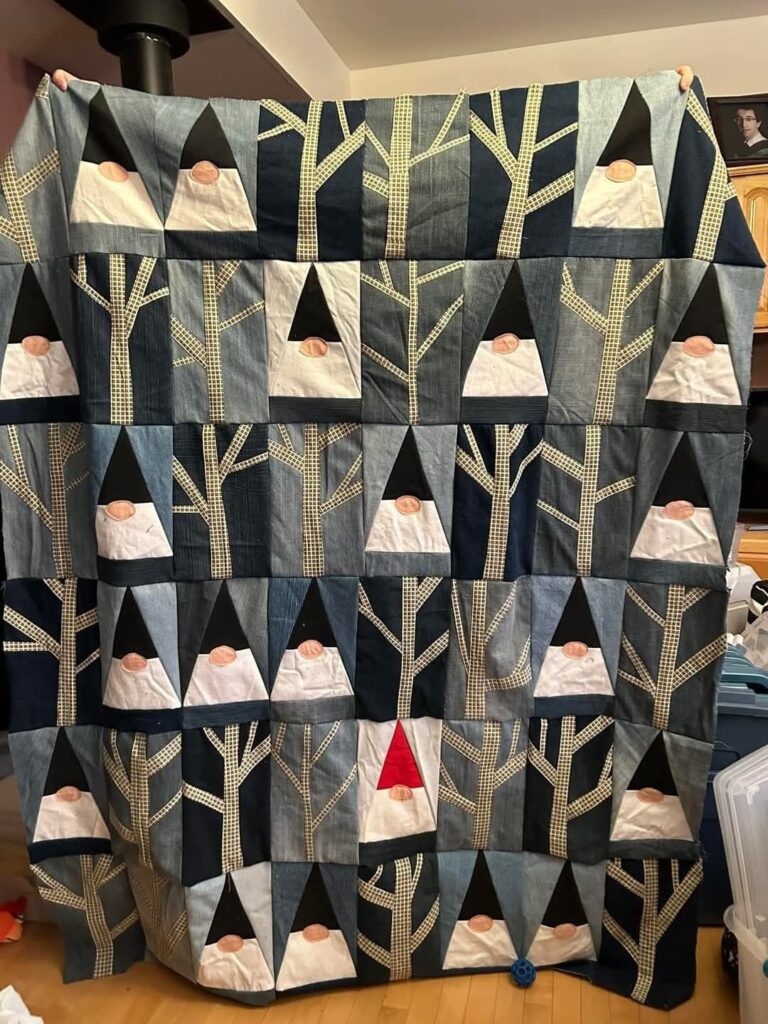
Birch Gnome Tree Quilt Tutorial is a charming and creative project that blends woodland whimsy with classic quilting techniques, making it a delightful piece for beginners and experienced quilters alike.
In this article, we will explore everything you need to know about creating your own quilt inspired by birch forests, playful gnomes, and cozy textures.
Using the term Birch Gnome Tree Quilt Tutorial throughout the text helps guide you from the first cut of fabric to the last stitch, ensuring your quilt comes together beautifully.
This guide aims to make the process enjoyable, accessible, and inspiring, whether you’re crafting decor for your home or making a heartfelt handmade gift.
Working through a Birch Gnome Tree Quilt Tutorial can be both relaxing and rewarding, especially if you enjoy nature-themed quilts or whimsical patterns. Birch trees add a subtle elegance to quilt designs, while gnomes introduce a playful and magical touch. Combining the two elements creates a piece that feels both rustic and enchanting. The project can be customized with seasonal colors, holiday themes, or soft earthy palettes, depending on your preference. With the right fabric selections and careful assembly, your quilt will become a unique work of art.
Another reason this Birch Gnome Tree Quilt Tutorial is so engaging is the way it encourages creativity at every stage. You can choose the style of your gnomes, the fabric texture for the birch tree trunks, and the layout of the forest scene. Whether you prefer simple piecing or more detailed appliqué techniques, this pattern gives you plenty of room to explore. Before diving into the step-by-step sections below, gather your materials and get ready to enjoy one of the most charming quilting experiences you’ll ever make.
Selecting fabrics is one of the most enjoyable parts of following a Birch Gnome Tree Quilt Tutorial, and the choices you make will greatly influence the final look. Start by choosing fabrics that resemble birch tree bark, often featuring cream, white, gray, and subtle black streaks. These natural tones help create an authentic woodland atmosphere and pair beautifully with bold or muted accents. If you prefer a more whimsical design, consider using softly patterned cottons rather than solids.
When choosing fabrics for the gnomes, look for bright colors that contrast well with the birch tree background. Gnomes traditionally feature red hats, but you can use blues, greens, mustard tones, or even holiday colors depending on the season. The goal is to give your gnomes charm and personality while ensuring they stand out in the quilt design.
For the forest background, select greens, blues, or taupe hues to evoke natural scenery. You can mix subtle patterns with solids to create depth without overwhelming the main design. Think mossy greens, misty blues, or even snow-themed prints for winter quilts. High-quality cotton fabrics tend to work best for structured quilts and hold their shape beautifully.
Don’t forget to choose a complementary fabric for the quilt backing. Soft tones or small repeating patterns work well since they won’t steal attention from the intricate front design. Neutral shades often provide a gentle finish and help your quilt feel visually balanced. A well-chosen backing fabric brings cohesion to your project.
Finally, select batting that suits your desired thickness. A lighter batting works well for decorative wall hangings, while a slightly thicker one adds warmth and comfort if you plan to use your quilt regularly. Your batting choice determines how your quilt drapes and feels, making this an important step in the process.
By thoughtfully selecting fabrics that reflect the woodland theme, you’ll give your Birch Gnome Tree Quilt Tutorial a strong foundation for success and beauty.
The next step in the Birch Gnome Tree Quilt Tutorial involves cutting and preparing your fabric pieces with precision. Begin by measuring and cutting the birch tree strips. These usually include long vertical pieces that mimic tree trunks, along with smaller strips to add texture. Use a rotary cutter and quilting ruler to ensure clean, straight lines.
Once the birch strips are ready, prepare the gnome elements. These include body shapes, hats, noses, and beards. Many quilters prefer appliqué for the gnomes because it allows greater detail and creative freedom. Cut each piece with a slight allowance to make assembly easier later. Felt or textured cotton adds personality to the gnomes while keeping the quilt soft.
Next, cut your background pieces that will frame and support the forest scene. These squares or rectangles are typically pieced together before adding the trees and gnomes. Make sure each piece aligns well and that your seams match when assembling the top layout. Consistent cutting avoids distortion and keeps the final quilt smooth.
Prepare any additional elements such as stars, mushrooms, or small woodland details if you want to enhance the design. These optional accents bring storytelling into your quilt and make the scene more dynamic. Take your time with smaller embellishments to maintain a polished look.
Before assembling, press each fabric piece to remove wrinkles. Ironing helps set the fabric and will improve alignment when stitching everything together. Pressing seams open or to the side, depending on preference, also reduces bulk in the final quilt.
With all your pieces cut, pressed, and organized, you are ready to begin assembling the quilt top. Good preparation is key to making the Birch Gnome Tree Quilt Tutorial smooth and enjoyable.
Now comes the exciting part of this Birch Gnome Tree Quilt Tutorial—bringing your woodland forest to life. Begin by designing the layout of your quilt top. Place the birch tree strips vertically, spacing them evenly to create a natural forest appearance. Adjust the spacing until you’re satisfied with the flow and balance of the trees.
Once the birch placement is finalized, begin attaching the gnomes. These whimsical characters should appear nestled around the trees or peeking from behind trunks. Use pins or fabric adhesive to secure the appliqué pieces temporarily. This step lets you reposition elements until the scene feels cohesive.
After the layout is pinned down, begin stitching everything in place. For appliqué pieces, use either a zigzag stitch or a blanket stitch for durability. This also adds a decorative touch that enhances your quilt’s handmade charm. For the tree strips, straight-line stitching works well and helps maintain structure.
Add any extra woodland details such as stars, leaves, or mushrooms. These decorative elements create a richer composition and give your quilt character. Small touches often transform a simple quilt into something truly magical. Be selective and intentional with placement to avoid overcrowding the design.
Once all appliqué pieces are sewn, assemble the quilt top by joining the rows or blocks. Ensure each seam aligns neatly for a professional look. Press the seams as you go to maintain smoothness and prevent bunching.
At this point, your forest scene is complete, and the Birch Gnome Tree Quilt Tutorial begins to feel truly rewarding. You now have a beautiful quilt top ready for layering, quilting, and finishing.
The final stages of the Birch Gnome Tree Quilt Tutorial involve quilting the layers together and adding finishing touches. Start by creating your quilt sandwich: backing fabric on the bottom, batting in the middle, and the quilt top on top. Smooth out any wrinkles and secure the layers with safety pins or temporary spray adhesive.
When quilting, choose stitching patterns that complement the forest theme. Straight-line quilting along the birch tree strips works beautifully and emphasizes the vertical flow. Free-motion swirls or leaf motifs add a whimsical touch that pairs well with the gnome elements. Keep your stitches steady to ensure durability.
Once the quilting is complete, trim any excess batting and backing for clean edges. Prepare your binding strips by cutting, folding, and pressing them. A contrasting binding color often frames the quilt nicely and adds an appealing finishing detail. Attach the binding using a straight stitch and fold it neatly around the edges.
After the binding is secured, give your quilt a final press to smooth out seams and folds. This step enhances the overall appearance and prepares your quilt for display or gifting. A well-pressed quilt feels polished and professional.
If desired, add a label to the back with your name, date, or project inspiration. This personal touch becomes a meaningful part of your handmade work. Quilts often become cherished heirlooms, and labels help preserve their history.
With your quilt fully finished, you can proudly display it on a wall, drape it over furniture, or wrap it as a heartfelt gift. This Birch Gnome Tree Quilt Tutorial has guided you through each step, and now your completed quilt reflects both creativity and craftsmanship.
1. What skill level is required for this Birch Gnome Tree Quilt Tutorial?
This pattern is suitable for confident beginners and intermediate quilters. Basic piecing and simple appliqué skills are helpful.
2. How long does it take to complete the quilt?
The timeframe varies depending on your pace, but most quilters complete it within several days to a few weeks.
3. Can I customize the gnome designs?
Yes, you can personalize hat shapes, colors, beard styles, and accessories to give each gnome unique character.
4. What fabrics work best for a woodland theme?
Cotton fabrics with natural tones, textured prints, and muted patterns complement the birch and forest design beautifully.
5. Do I need special tools for appliqué?
Basic tools like fabric scissors, fusible web, and a sewing machine with a zigzag stitch are usually enough.
6. Can this quilt be made in seasonal themes?
Absolutely—winter, autumn, Christmas, or spring color palettes all work wonderfully with this design.
7. How should I care for the finished quilt?
Gentle washing and air drying are recommended to preserve the appliqué and stitching quality.
8. Is machine quilting or hand quilting better for this pattern?
Both methods work well; machine quilting offers speed, while hand quilting adds a cozy, traditional texture.
9. What size does the finished quilt usually measure?
The size varies depending on your layout, but many quilters create wall-hanging or throw-sized versions.
10. Can beginners follow this Birch Gnome Tree Quilt Tutorial easily?
Yes—the steps are straightforward, and beginners can confidently follow along with patience and practice.
Creating a quilt through the Birch Gnome Tree Quilt Tutorial is a joyful experience filled with creativity, color, and cozy woodland charm. Throughout this article, you’ve learned how to choose fabrics, prepare pieces, assemble a forest scene, and finish a charming gnome-themed quilt. Whether you’re making it as a gift or decorating your home, the final result is both whimsical and heartwarming.
I hope this guide inspired you and made the process easier to follow. Please feel free to leave your sincere opinion and suggestions—I’d love to know how your project turns out!


