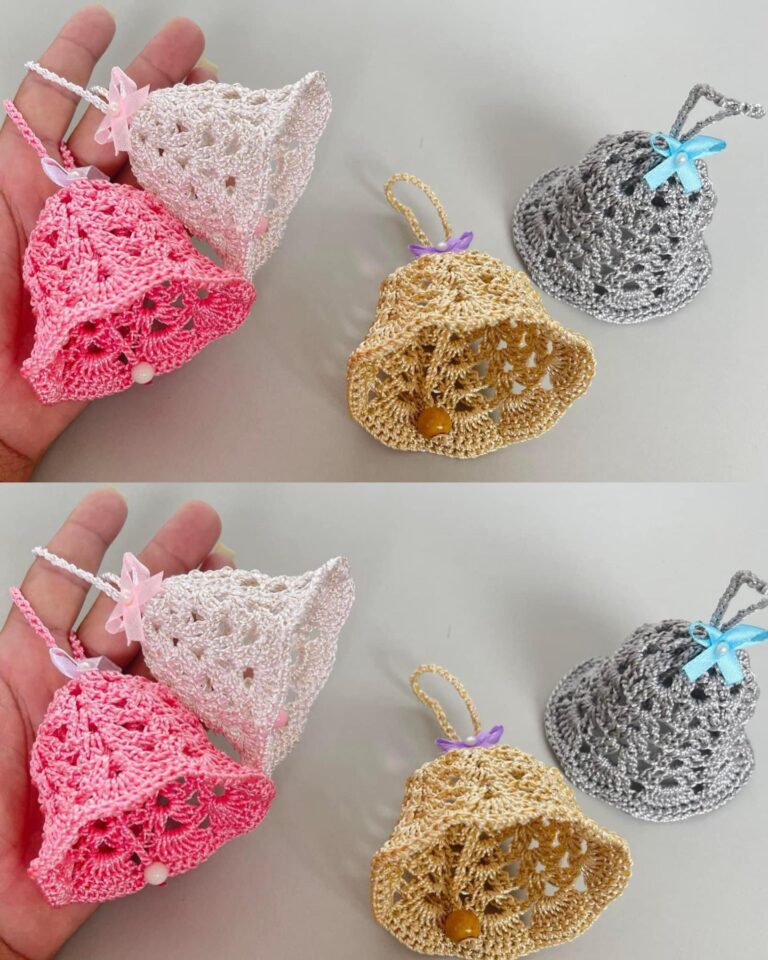
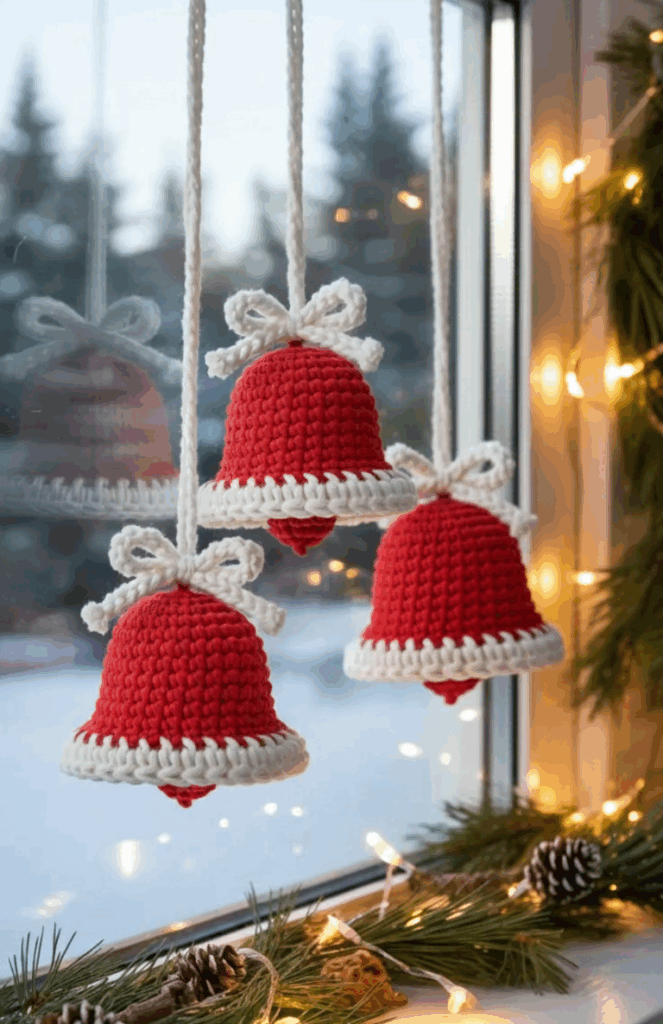
Crochet Bell Pattern

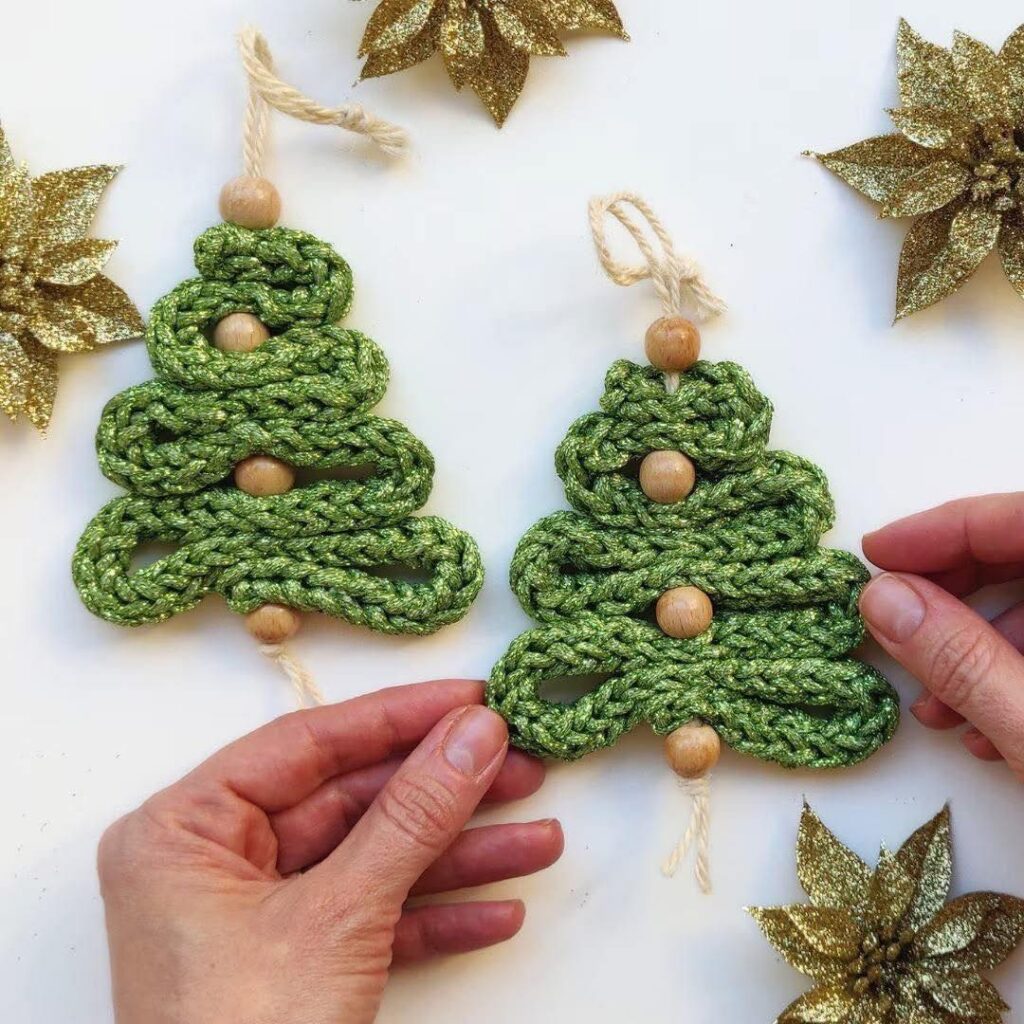
Mini Christmas Tree Pattern is the phrase crafters search for when they want fast, adorable décor that still feels handmade and heartfelt.
A great Mini Christmas tree isn’t just about cute stitches; it’s about proportion, texture, and finishing touches that make your piece pop on mantels, shelves, and tablescapes.
Because many readers want a complete, repeatable Mini Christmas tree workflow, you’ll get a step-by-step crochet pattern, plus simple fabric and paper alternatives for non-crocheters.
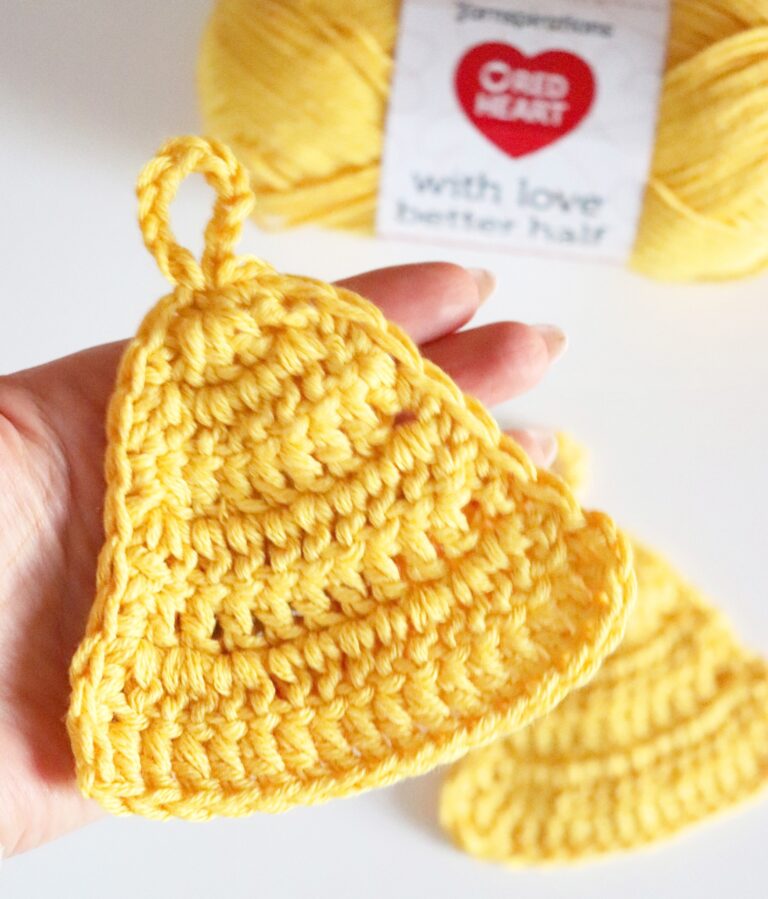
Choose a soft, slightly grippy yarn so your Mini Christmas tree holds its shape. Worsted-weight acrylic or cotton works beautifully; wool blends add structure and stitch definition. Keep a neutral base (forest green, sage, cream) and a contrasting accent (gold, red, or white) for garlands and stars. If you plan to make multiples, buy the same dye lot for consistent color across your set.
Select a hook one size smaller than the yarn label recommends. This tighter gauge helps the Mini Christmas Tree Pattern produce firm fabric that doesn’t leak stuffing. For worsted yarn, a 3.5–4.0 mm hook is a good starting point; for DK, try 3.0–3.5 mm. If you see gaps after a few rounds, size down.
Use fiberfill for lightweight shaping or cotton scraps for an eco-friendly option. To add weight to your Mini Christmas tree, tuck a small pouch of dry rice or plastic pellets at the base beneath the stuffing. This keeps the tree upright on narrow shelves and entryway tables.
Foundation: Start with a magic ring. R1: 6 sc into ring, tighten. R2: sc inc around (12). R3: (sc, inc) x6 (18). You’re building the flat base—critical for a Mini Christmas tree that stands tall. Use a stitch marker to track the first stitch of each round.
Build the cone: R4: (2 sc, inc) x6 (24). R5: sc around (24). R6: (3 sc, inc) x6 (30). R7: sc around (30). Keep alternating one increase round and one straight round to maintain smooth taper. This core of the Mini Christmas Tree Pattern creates that classic evergreen silhouette.
Shaping tips: If your sides ripple, your gauge is too loose. Drop a hook size. If the cone curves inward too quickly, add an extra straight round. Testing a few rounds early prevents headaches later and keeps your Mini Christmas tree symmetrical.
Height options: For a 10–12 cm tree, stop increases around 42–48 sts, then work straight until the cone reaches the height you like. For a tiny 6–8 cm tree, stop around 30–36 sts. This scalability is why the Mini Christmas Tree Pattern is perfect for garlands and table forests.
Stuff and stabilize: Add a small weighted pouch at the base, then fiberfill gradually as you crochet upward. Avoid overstuffing—firm but not bulging. A balanced fill keeps the Mini Christmas tree standing without wobble, even on narrow mantels.
Top and star: Decrease over the final rounds to close. For a simple star, ch 2, 5 sc into first ch, then ch 2, sl st into next st around to form points. Stitch the star securely to the tip. A clean, neat top is the hallmark of a professional Mini Christmas Tree Pattern finish.
Minimalist charm: Leave your Mini Christmas tree unadorned, or embroider a few white French knots like snow. A matte green with soft texture fits Scandinavian décor and tiny apartments where visual calm matters as much as festivity.
Classic ornaments: Add tiny beads, faux pearls, or miniature pom-poms as ornaments. Space them evenly in spiral rows to echo the natural growth of a real tree. This classic Mini Christmas Tree Pattern treatment pairs well with red ribbons and metallic accents.
Garlands and tinsel: Crochet a long chain with occasional picots for a delicate garland. Wrap loosely so the cone shape stays visible. Metallic embroidery floss also makes beautiful “tinsel,” catching light while keeping the Mini Christmas tree lightweight.
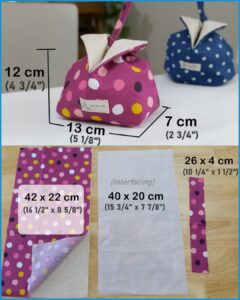
Felt cone tree: Cut a pie-slice wedge from felt, overlap edges to form a cone, and hot-glue the seam. Embellish with embroidered stars, pearls, or buttons. This quick method gives a sleek Mini Christmas tree in under an hour.
Quilted texture: Sew strips of green fabric into a rectangle, roll into a cone, and hand-stitch closed. The subtle striping reads as branches. Add a tiny fabric star. Even without crochet, the Mini Christmas Tree Pattern aesthetic remains.
Paper honeycomb tree: Use cardstock or crepe paper to create layered half-circles glued along a folded spine. When opened, the honeycomb effect looks lush. It’s a low-cost Mini Christmas tree option for classrooms, offices, or party décor.
Leaning trees: If your Mini Christmas tree leans, your base isn’t flat or the weight isn’t centered. Redistribute stuffing, add a heavier pouch, or block the base with steam and a flat press (for fiber-safe yarns only).
Gaps and stuffing show-through: It’s almost always gauge. Use a smaller hook or thicker yarn. The Mini Christmas Tree Pattern relies on tight stitches for crisp sides and invisible fill.
Loose embellishments: Secure beads by double-threading and knotting inside the fabric. For children, replace small parts with embroidery. Safety upgrades keep your Mini Christmas tree both charming and responsible.
What size hook should I use for a crochet Mini Christmas tree?
Choose a hook one size smaller than the yarn label suggests; this keeps stitches tight and your Mini Christmas tree firm.
How do I keep my Mini Christmas tree from tipping over?
Add a small weighted pouch at the base and distribute stuffing evenly. This stabilizes the Mini Christmas Tree Pattern without making it bulky.
Can beginners follow this pattern successfully?
Yes. If you can single crochet in the round and increase/decrease, you can craft a neat Mini Christmas tree using the steps above.
What yarn works best for a Mini Christmas Tree Pattern?
Worsted acrylic or cotton is ideal. Wool blends add structure; choose what feels good in hand and holds shape for your Mini Christmas tree.
Are beads safe for households with children or pets?
Use embroidered details instead of beads for a kid-safe Mini Christmas tree. Stitch the star securely to avoid loose parts.
How can I customize colors and styles?
Try sage or cream for Scandinavian minimalism, deep green with red accents for classic, or metallic yarn for glam. The Mini Christmas Tree Pattern adapts beautifully.
Can I make a no-sew version?
Absolutely. Felt or yarn-wrapped cones make a quick Mini Christmas tree without hooks or needles.
What if my stitches look uneven?
Practice a consistent tension and use stitch markers. A steady gauge is the secret to a polished Mini Christmas Tree Pattern.
How do I scale the pattern up or down?
Stop increases earlier for tiny trees and later for larger ones, then work straight rounds. This preserves the Mini Christmas tree silhouette at any size.
What’s the fastest way to make multiples for gifts?
Batch your steps: make all bases first, then bodies, then stars and embellishments. Assembly-line crafting speeds up your Mini Christmas Tree Pattern workflow.
We covered everything you need to create a polished Mini Christmas Tree Pattern: materials and tools, a clear step-by-step crochet cone, non-crochet alternatives, styling ideas, troubleshooting, care, and storage.
With tight gauge, thoughtful embellishments, and a bit of weight in the base, your Mini Christmas tree will stand straight, look professional, and last for years.

