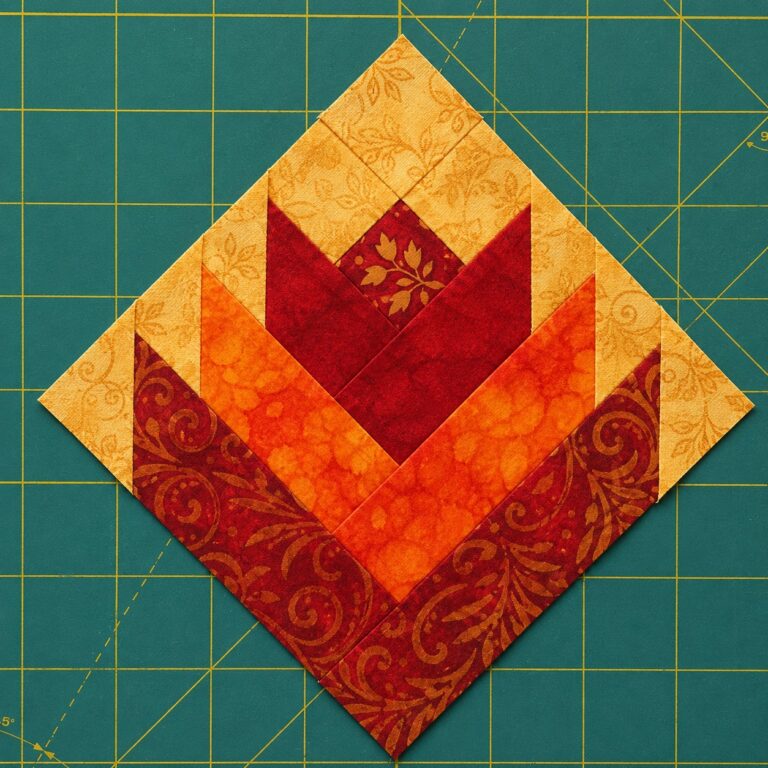
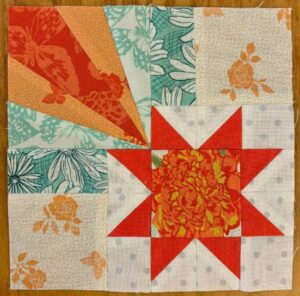
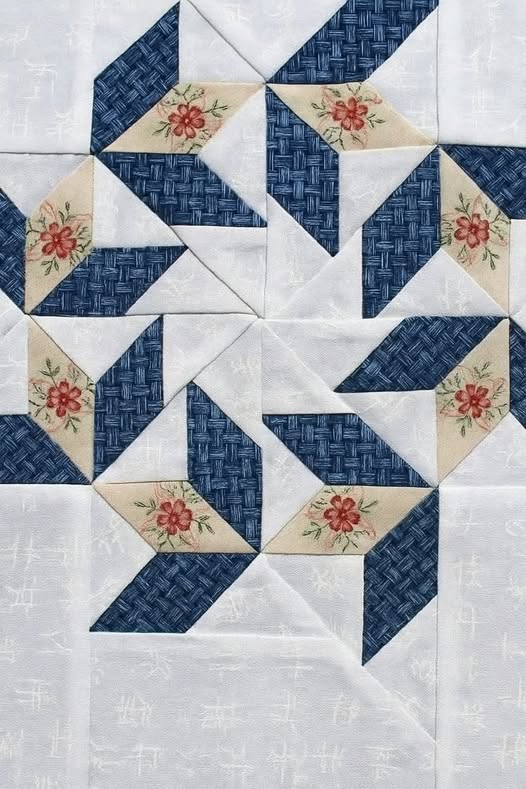
Desert Flower Quilt Block Pattern

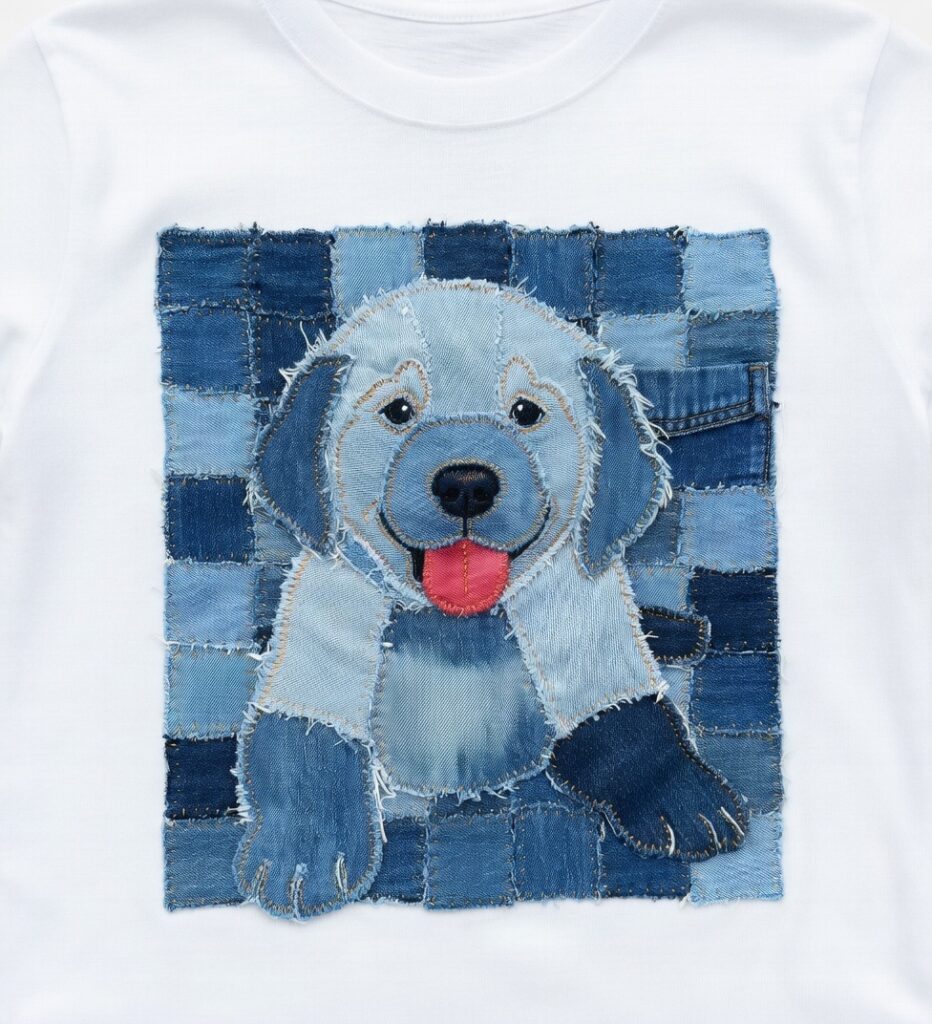
Patchwork Puppy Golden Pattern is a delightful and creative sewing project that combines charm, warmth, and personality in a truly special way. A Patchwork Puppy Golden Pattern is perfect for crafters who enjoy making decorative handmade pieces, fabric art, children’s room accents, soft home decor, appliqué projects, or thoughtful gifts with a playful and heartwarming theme.
One of the reasons the Patchwork Puppy Golden Pattern is so popular is because it blends artistic design with useful sewing skills. This type of pattern often teaches important techniques such as fabric selection, patchwork assembly, seam consistency, appliqué placement, and finishing details.
In this complete Patchwork Puppy Golden Pattern guide, you will learn how the pattern is typically structured, how to prepare your fabric pieces, how to assemble the puppy design, and how to improve the final result with cleaner stitching and better finishing.
A Patchwork Puppy Golden Pattern is especially appealing because it can be adapted in many different ways depending on your creative vision. Some people use it to make a wall hanging, while others turn it into a quilt block, cushion cover, tote bag panel, nursery decoration, or decorative organizer front.
Before starting your Patchwork Puppy Golden Pattern, it is helpful to understand how this type of sewing project is generally constructed. Most patchwork puppy designs are created by joining smaller fabric shapes together to form the image or silhouette of a puppy.
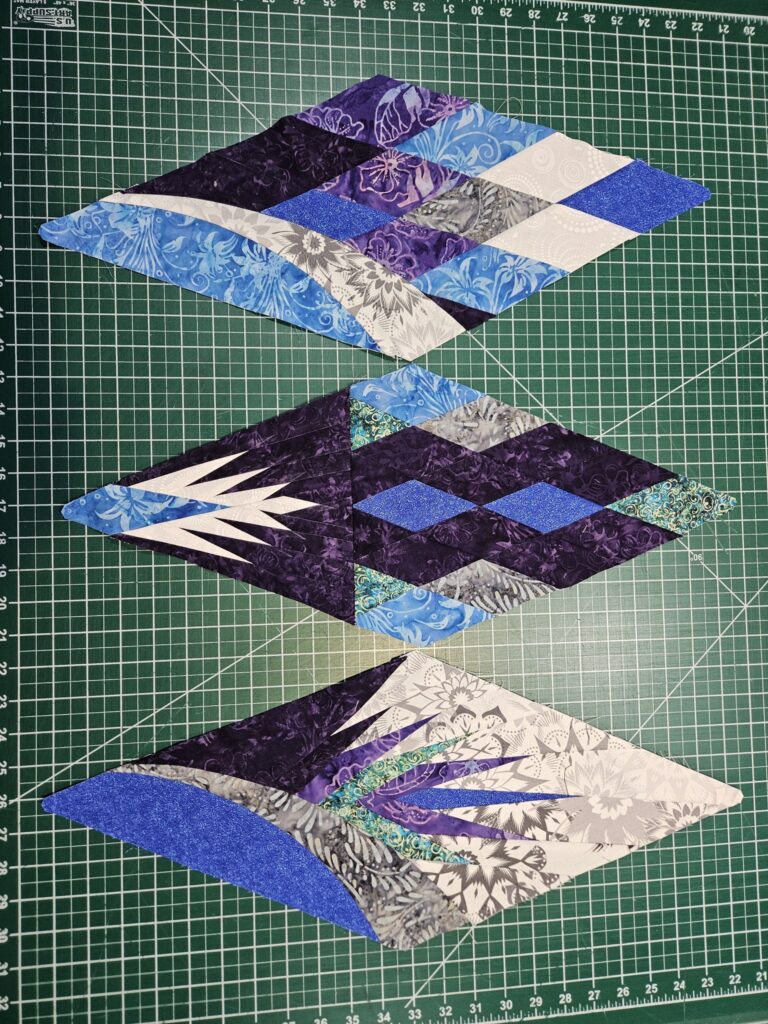
These shapes may include squares, rectangles, triangles, curved pieces, or appliqué-style details depending on the complexity of the pattern. Some designs are more geometric and simple, while others are more detailed and expressive.
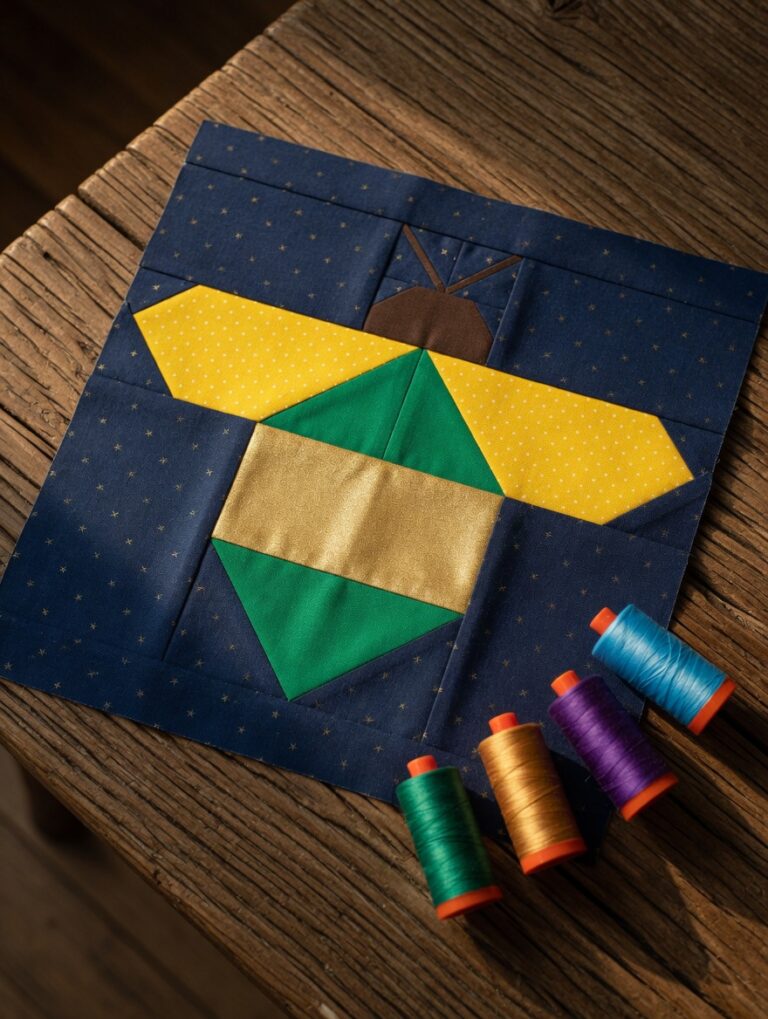
The “puppy” portion of the design is usually built through carefully placed fabric sections that represent the face, ears, body, paws, and sometimes small features like the nose or eyes. This means layout and placement are very important.
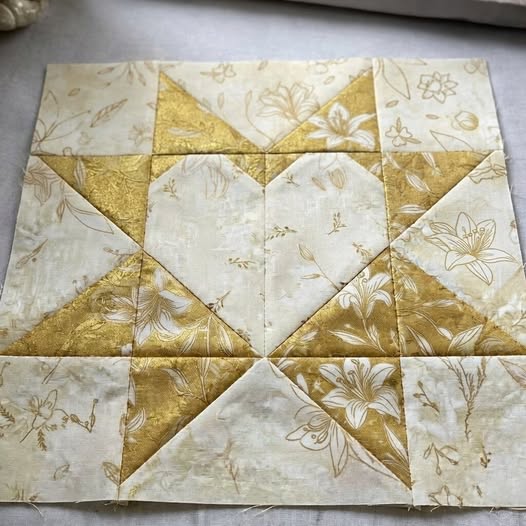
The “golden” part of the pattern often comes from the color palette. Warm tones, golden-brown fabrics, soft creams, and earthy shades are often used to create a cozy and visually pleasing result.
Because this is a patchwork project, precision matters. Small sewing inconsistencies can affect the overall appearance of the puppy design, especially when many pieces come together in one layout.
Understanding these basics will help you approach your Patchwork Puppy Golden Pattern with more confidence and better preparation.
Fabric choice plays a very important role in the success of your Patchwork Puppy Golden Pattern.
Cotton fabric is one of the best choices for this type of sewing project because it is easy to cut, easy to sew, and holds shape well. It is especially useful for patchwork because it presses cleanly and behaves predictably.
You can also use denim scraps, linen blends, or lightly textured fabrics if you want to add more visual depth and contrast to the design. These materials can make the finished puppy look more dimensional and interesting.
When selecting fabrics, focus on a palette that supports the “golden” feeling of the project. Shades like honey, beige, caramel, soft brown, cream, mustard, and warm neutrals work beautifully together.
You can also add a few accent prints, such as tiny florals, dots, gingham, or subtle textures, to make the patchwork more playful without overwhelming the puppy shape.
Try to avoid overly slippery or stretchy fabrics unless you are already very comfortable controlling them. Stable woven fabrics are usually best for clean patchwork assembly.
Thoughtful fabric selection can make your Patchwork Puppy Golden Pattern look more balanced, expressive, and visually polished.
A good sewing result often begins with proper preparation, and this is especially true for a Patchwork Puppy Golden Pattern.
Start by washing and pressing your fabric if needed. This helps prevent shrinking later and makes the pieces easier to cut accurately.
Cut each shape carefully according to your pattern. Use a ruler, rotary cutter, or sharp fabric scissors to keep the edges as precise as possible.
Keep similar pieces grouped together so you do not confuse the ears, face, background sections, or decorative details during assembly.
If your pattern includes many small pieces, it can be helpful to label them or arrange them in the order they will be sewn. This saves time and reduces mistakes later.
Lay the full design out before sewing anything together. This allows you to check balance, color distribution, and visual flow before committing to stitches.
Taking time to organize properly will make your Patchwork Puppy Golden Pattern much easier to sew and far more enjoyable to complete.
The most exciting part of your Patchwork Puppy Golden Pattern is assembling the actual puppy design.
Begin by sewing the smaller sections first. For example, you might start with the ears, face sections, or body accents before joining them into larger blocks.
Use a consistent seam allowance throughout the entire project. This is one of the most important habits in patchwork sewing because it keeps the final design aligned.
After sewing each section, press the seams carefully. Pressing helps flatten the fabric, improve accuracy, and make the next step easier.
Once the smaller parts are assembled, begin joining them into the larger puppy layout. At this stage, it is important to check alignment often and keep the overall shape balanced.
If the pattern includes appliqué details such as eyes, nose, paws, or decorative elements, add them after the main patchwork is complete unless your design requires them earlier.
Take your time during assembly, because the beauty of a Patchwork Puppy Golden Pattern often comes from the careful balance between structure and personality.
One of the best things about a Patchwork Puppy Golden Pattern is how versatile it can be after completion.
You can turn it into a wall hanging, which makes it a lovely decorative piece for a nursery, sewing room, or child’s bedroom.
It can also be used as a quilt block and incorporated into a larger blanket or themed patchwork project.
Another popular option is using the design on the front of a cushion cover, where it becomes both decorative and cozy.
You can also sew it onto a tote bag, storage pouch, or fabric organizer panel for a practical but charming handmade result.
Some crafters even use this kind of design as part of a memory project, combining meaningful fabric scraps into a puppy-themed keepsake.
This flexibility makes the Patchwork Puppy Golden Pattern not only beautiful to sew, but also useful in many creative ways.
A few simple sewing habits can make your Patchwork Puppy Golden Pattern look much more polished and refined.
Always try to keep your seams as straight and even as possible. In patchwork sewing, small seam inconsistencies can affect the entire design.
Press frequently as you sew. This helps the project stay flat, balanced, and easier to assemble.
Trim excess bulk where necessary, especially in corners or layered intersections. This makes the finished piece lie better and look neater.
Take extra care with decorative details like eyes, nose, or ears. These small features often define the personality of the puppy and should be placed thoughtfully.
Use thread that blends well with your fabrics unless you want visible topstitching as a design feature.
Do not rush the finishing stage. Clean edges, secure stitching, and neat pressing can make your Patchwork Puppy Golden Pattern look much more professional and satisfying to display.
1. Is this pattern beginner-friendly?
Yes, many versions of the Patchwork Puppy Golden Pattern are suitable for beginners, especially if the shapes are simple and clearly labeled.
2. What fabric is best for patchwork sewing?
Cotton fabric is one of the best choices because it is easy to cut, sew, and press.
3. Can I use fabric scraps for this project?
Yes, this is a great scrap-friendly project, especially if you enjoy mixing textures and warm color tones.
4. Do I need quilting experience to make this?
Not necessarily. Basic sewing and careful measuring are often enough to complete a simple version.
5. Can I make this design larger or smaller?
Yes, many patchwork designs can be resized depending on your intended use.
6. What can I do if my pieces do not line up perfectly?
Check your seam allowance, trim carefully, and press often to improve alignment as you go.
7. How do I make the final piece look more polished?
Focus on clean cutting, consistent seams, good pressing, and thoughtful finishing details.
Before moving into the final part of your Patchwork Puppy Golden Pattern, take a moment to review the overall layout, seam alignment, and placement of the puppy details. Small refinements at this stage can greatly improve the symmetry, expression, and visual balance of the project. These finishing touches help transform your handmade design into something more polished, charming, and beautifully complete.
Creating a Patchwork Puppy Golden Pattern is a rewarding and enjoyable way to combine creativity, sewing skill, and handmade storytelling in one project. Throughout this guide, you learned how the pattern is structured, how to choose and prepare your fabrics, how to assemble the puppy design, and how to finish the project with cleaner and more polished results.
This is the kind of sewing project that not only teaches valuable patchwork techniques but also allows you to create something full of warmth and personality. Whether you use it as decor, a gift, or part of a larger sewing project, the finished result can become a truly meaningful handmade piece.
If this article helped you, feel free to leave your honest opinion and suggestions. Your feedback can inspire new ideas, future tutorials, and even more creative sewing content to support your handmade journey.
