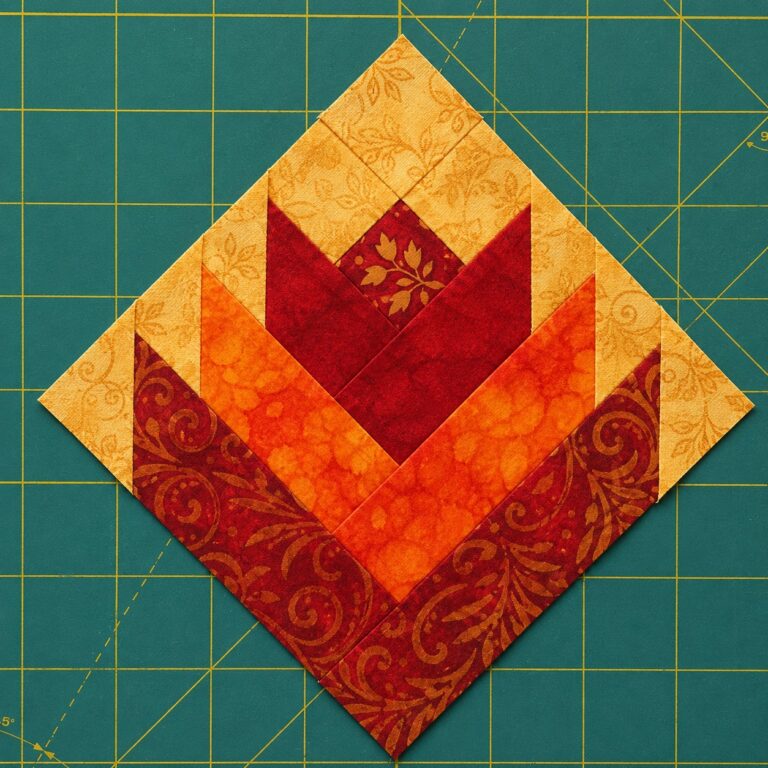
Desert Flower Quilt Block Pattern

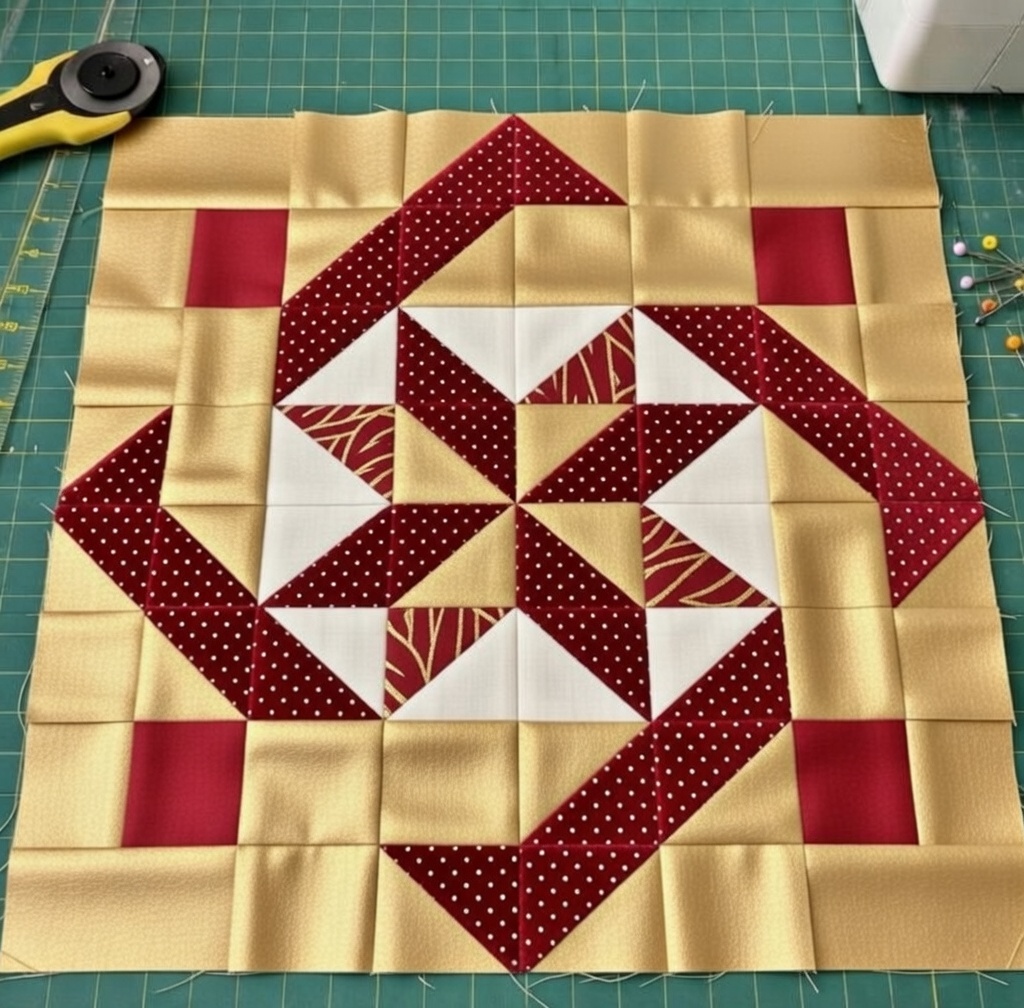
Labyrinth Quilt Pattern is a timeless quilting design known for its intricate visual movement and striking geometric appeal. The Labyrinth Quilt Pattern creates the illusion of interwoven paths, giving the finished quilt depth and complexity while remaining achievable with structured piecing techniques.
Quilters of all skill levels appreciate this pattern because it transforms simple fabric strips and blocks into a bold, architectural masterpiece. Whether you are designing a modern statement quilt or a traditional heirloom piece, this pattern offers both versatility and dramatic impact.
One of the most captivating aspects of the Labyrinth Quilt Pattern is how it plays with contrast and color placement. Strategic fabric selection allows the pathways within the design to stand out clearly, creating the signature “maze-like” effect.
High contrast combinations—such as light and dark tones—enhance the visual dimension, while softer palettes produce a subtle, elegant finish. Because the design relies heavily on precision, accurate cutting and seam consistency are essential to achieving sharp intersections and clean lines.
Another reason the Labyrinth Quilt Pattern remains popular among quilting enthusiasts is its adaptability. You can create baby quilts, throw quilts, bed-size quilts, or even decorative wall hangings using the same foundational block structure. By adjusting block size and layout repetition, the final quilt can be customized to fit various purposes and interior styles. This guide will walk you through fabric selection, block construction, layout planning, and finishing techniques to help you achieve a professional-quality quilt.
Selecting the right fabric is crucial when working with the Labyrinth Quilt Pattern. Because the design depends on contrast, choose at least two main fabric categories: a light fabric and a dark fabric. Adding a third accent color can enhance dimension and create a layered visual effect. Cotton quilting fabric is ideal due to its durability, ease of pressing, and crisp seam definition.
Pre-washing fabric is optional but recommended if you want to prevent future shrinkage. After washing and pressing, use a rotary cutter, quilting ruler, and self-healing mat to cut strips accurately. Precision at this stage directly affects how well the labyrinth effect aligns later. Consistent seam allowances—typically a quarter inch—are essential to ensure blocks fit together seamlessly.
Organizing your fabric pieces before sewing helps prevent confusion. Label stacks if necessary and double-check measurements before stitching. Preparation may seem time-consuming, but it significantly improves final results and reduces errors during assembly.
The foundation of the Labyrinth Quilt Pattern lies in carefully constructed strip sets and sub-cut blocks. Begin by sewing fabric strips together in alternating color sequences. Press seams consistently in one direction to reduce bulk and maintain flatness. Once strip sets are complete, sub-cut them into smaller units according to your chosen block size.
Next, rotate and rearrange the sub-cut units to create the signature interlocking pathway design. This is where the labyrinth effect begins to emerge. Pay close attention to orientation; even a slight rotation error can disrupt the visual flow. Use pins or clips to align seam intersections precisely before stitching rows together.
After assembling each block, press carefully to maintain crisp lines. Check measurements before proceeding to ensure uniformity across all blocks. Repeating this process methodically ensures the final quilt top remains balanced and symmetrical.
Once all blocks are completed, lay them out on a design wall or flat surface. Experiment with orientation to achieve the strongest labyrinth effect. Rotating blocks strategically can intensify the illusion of continuous pathways weaving across the quilt.
Sew blocks together row by row, carefully matching seams at intersections. Press seams between rows in alternating directions to reduce bulk and improve alignment. Taking time during this stage prevents puckering and distortion later.
After assembling the quilt top, inspect it for alignment and consistency. Small adjustments can still be made before layering. The carefully arranged blocks should now showcase the distinctive geometric maze that defines the Labyrinth Quilt Pattern.
Layer your quilt top with batting and backing fabric, ensuring all layers are smooth and wrinkle-free. Secure with quilting pins or clips before stitching. Straight-line quilting enhances the geometric nature of the design, while free-motion quilting can add softness and texture contrast.
Trim excess batting and backing once quilting is complete. Attach binding strips around the edges using a double-fold binding method for durability. Hand-finish or machine-stitch the binding to secure the edges neatly.
Give your finished quilt a final press and inspection. The completed Labyrinth Quilt Pattern should display clean intersections, balanced contrast, and a visually dynamic pathway effect that captures attention instantly.
The Labyrinth Quilt Pattern can be adapted to suit various design preferences. For a modern look, use bold solid fabrics with high contrast. For a vintage aesthetic, choose muted prints and soft tonal variations. You can also scale the block size up or down depending on the desired finished dimensions.
Consider adding a contrasting border to frame the design and enhance the maze illusion. A wide border can make the pathways appear more expansive, while a narrow border keeps the focus on the intricate interior blocks. Decorative quilting patterns inside the “pathways” can further highlight the illusion.
This pattern also works beautifully with seasonal color palettes. Warm autumn tones create cozy appeal, while cool blues and grays provide a sleek contemporary vibe. With thoughtful planning, the quilt becomes a personalized artistic statement.
1. Is the Labyrinth Quilt Pattern beginner-friendly?
It is suitable for confident beginners who are comfortable with precise cutting and quarter-inch seams.
2. How many fabrics should I use?
At least two contrasting fabrics are necessary, though adding a third accent enhances depth.
3. What is the best quilt size for this pattern?
It works well in multiple sizes, from baby quilts to king-size bed quilts.
4. Do I need a design wall?
While not required, a design wall makes arranging blocks easier and more accurate.
5. Can I use patterned fabrics?
Yes, but ensure sufficient contrast so the labyrinth effect remains visible.
6. What quilting style works best?
Straight-line quilting emphasizes geometry, while free-motion adds softness and texture.
The Labyrinth Quilt Pattern is a striking geometric design that transforms simple strip piecing into a visually complex and elegant quilt. By focusing on accurate cutting, strong color contrast, and careful assembly, you can achieve a polished, professional finish. This pattern offers endless customization possibilities while maintaining its signature maze-like effect. Whether you prefer bold modern tones or classic traditional palettes, the labyrinth design adapts beautifully to your vision. If you found this guide helpful, please share your honest opinion and suggestions. Your feedback inspires creativity and helps improve future quilting tutorials.
In addition to its visual appeal, the Labyrinth Quilt Pattern is an excellent project for improving precision and organizational skills in quilting. Because the design relies heavily on accurate strip piecing and consistent seam allowances, it encourages careful measurement and thoughtful planning.
Many quilters find that completing a labyrinth quilt strengthens their confidence when working with geometric layouts and complex block rotations. Over time, mastering patterns like this expands your technical abilities and opens the door to even more intricate quilting designs and creative possibilities.


