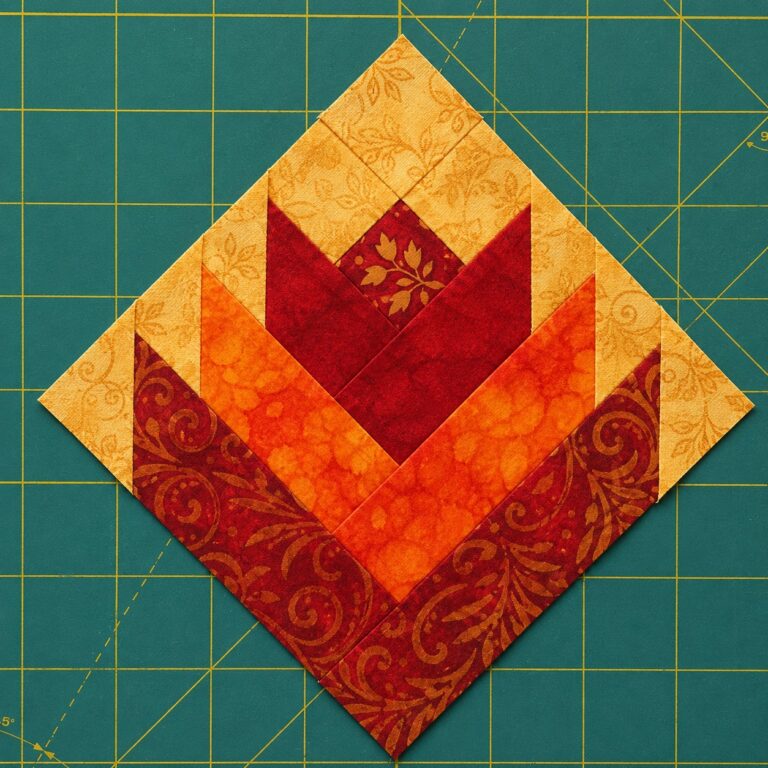
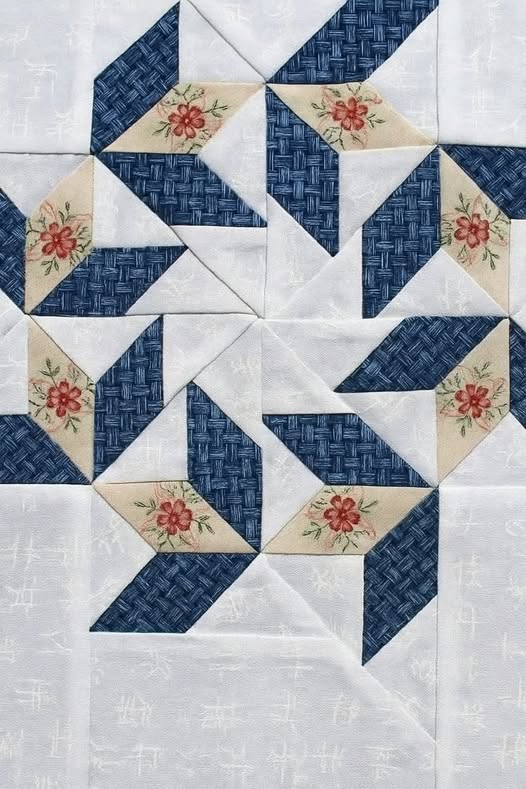
Desert Flower Quilt Block Pattern

If you’re searching for the perfect Bucket Hat Free Pattern, you’re in the right place. This article dives deep into everything you need to know to create a quilt-inspired bucket hat that’s stylish.
A bucket hat free pattern in quilt style is more than just a fashion accessory—it’s a canvas for your creativity. By combining patchwork techniques and quilting methods.
Before diving into the steps, let’s understand why this trend is so popular. The rise in DIY and upcycling has led many crafters to seek out patterns that are both practical and sustainable.
Selecting the right fabric is the first key to success when working with a bucket hat free pattern. Since we’re focusing on a quilt-inspired design, cotton is the most recommended fabric due to its breathability, structure, and ease of handling. Look for quilting cottons in a variety of patterns and textures for a visually striking finish.
You’ll also want to consider using fabric scraps from past quilt projects. Not only does this reduce waste, but it adds a unique, personal touch to your bucket hat. Each fabric square tells a story and adds depth to your final design.
Interfacing is also essential for giving your hat shape and stability. A medium-weight fusible interfacing works well for this type of project, helping the hat maintain its form while staying comfortable.
Don’t forget about lining. A soft cotton lining will make the hat more comfortable to wear, especially on hot days. Choose a light-colored lining for summer use or opt for a flannel lining if you want a cozier version for cooler weather.
Thread choice matters too. Use a strong, high-quality thread that can handle multiple layers of fabric and interfacing without breaking or tangling. Polyester or cotton-wrapped polyester threads are ideal.
Finally, gather basic sewing tools: fabric scissors, pins, a rotary cutter, cutting mat, sewing machine, and an iron. These tools will make your work easier and more precise when crafting your quilted bucket hat free pattern.
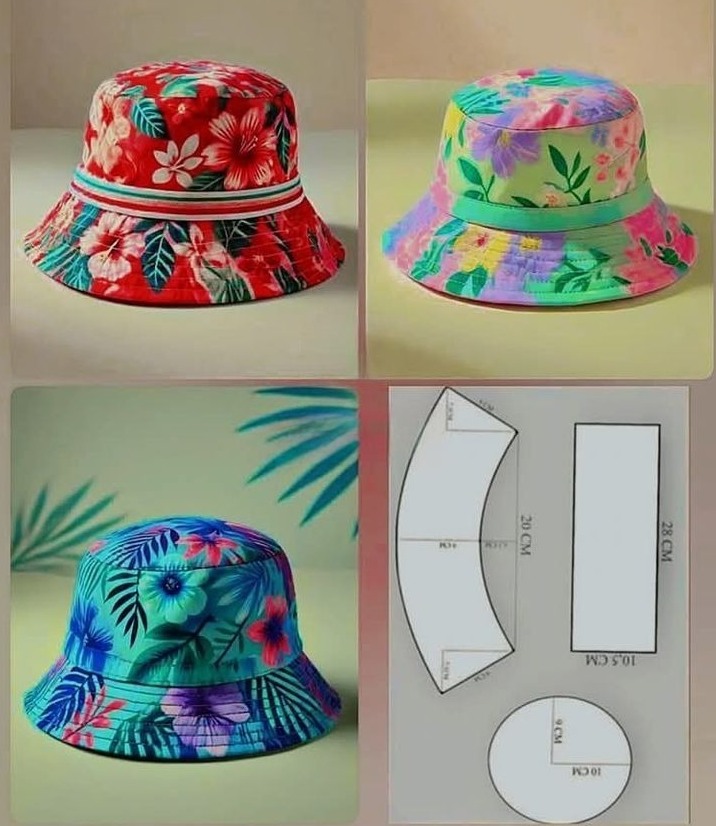
Now it’s time to cut your fabric into panels that will form the main structure of your bucket hat. A typical bucket hat free pattern includes a circular crown, a rectangular side band, and a wide brim. Each of these parts can be pieced together with quilt-style patchwork for added charm.
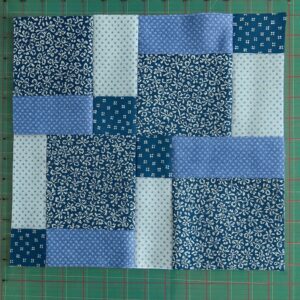
Start by creating a patchwork block large enough to accommodate the side band pattern. Sew together small squares or strips in a layout you love. Press your seams flat for a crisp, professional look.
Repeat the patchwork process for the brim and top crown. It’s helpful to cut your patchwork slightly larger than the final pattern pieces, then trim them down using your pattern templates. This ensures accuracy and alignment in your final assembly.
Once your patchwork panels are ready, fuse interfacing to the back of each piece to reinforce the structure. This step is especially important for the brim to give it that signature bucket hat stiffness.
If you’re aiming for a more quilted look, consider adding top-stitching or a layer of thin batting between your fabric and lining. This technique gives your bucket hat that cozy, classic quilt texture.
Use pins or clips to secure your panels before stitching. Precision during this step is key to aligning your seams and maintaining a balanced look.
After piecing each section, assemble the crown and side panels with a 1/4″ seam allowance. Then, attach the brim carefully, easing it around the circular base of the hat for a clean, even fit.
Now that your pieces are cut and quilted, let’s move on to assembling your bucket hat free pattern. Start by sewing the crown to the side band, right sides together. This forms the main body of the hat. Make sure the seams match up neatly, and clip curves if necessary to reduce bulk.
Next, attach the brim to the bottom of the side band. This step may require patience, as the curved edges can be tricky. Take your time pinning or clipping the pieces before stitching. A walking foot attachment can help if you’re sewing through multiple layers.
Once your outer shell is assembled, repeat the process with your lining fabric. The lining should mirror the outer hat exactly but without interfacing or patchwork, keeping it lightweight and soft inside.
Place the lining and outer shell right sides together, aligning the seams. Sew around the brim, leaving a small opening for turning the hat right side out. Trim the seam allowances and notch the curves before turning.
Carefully turn the hat right side out and press the edges flat. This helps set the shape and makes the topstitching smoother. Close the opening with a ladder stitch or by machine if preferred.
Topstitch around the brim and crown for a professional finish. You can add multiple lines of stitching around the brim to mimic traditional quilt lines and reinforce the structure.
If you want to personalize your bucket hat even more, consider adding a fabric tag, embroidery, or decorative trim around the base. These small touches make your project stand out and give it a handmade signature look.
Once you’ve mastered the basic bucket hat free pattern, it’s time to explore creative variations. Changing up fabric choices, adjusting brim width, or adding embellishments can make each hat unique.
Try making a reversible version by using two different quilted fabrics for the outer and inner layers. This gives you two looks in one and allows more room for creativity with colors and textures.
You can also experiment with different stitch patterns when quilting the panels. Simple straight lines, diagonal grids, or free-motion quilting can completely transform the appearance of your hat.
For a more structured look, increase the interfacing weight or add multiple layers of lightweight batting. This is particularly helpful if you want a stiff brim that maintains its shape.
Use fabric ties or add buttonholes and an adjustable chin strap for a secure fit on windy days. These additions are especially useful if you’re making bucket hats for children.
Beginners might want to start with fewer patchwork pieces and gradually work up to more complex designs. Keep it simple at first, focusing on seam accuracy and clean assembly.
Finally, remember that practice is key. Don’t worry if your first quilted bucket hat isn’t perfect. Each project is an opportunity to improve your skills and experiment with new styles.
What is the best fabric to use for a quilted bucket hat?
The best fabric is quilting cotton, as it offers structure, breathability, and ease of sewing. You can also use fabric scraps from past quilting projects for added sustainability and visual appeal.
Can beginners try a bucket hat free pattern?
Absolutely. This project is beginner-friendly, especially if you start with simple patchwork designs and basic fabrics. Clear instructions and patience are key to success.
How do I keep the brim stiff on a quilted bucket hat?
Use medium-weight fusible interfacing or add a layer of batting between the fabric and lining. Topstitching around the brim also helps maintain structure and shape.
Is it possible to make the bucket hat reversible?
Yes, simply use two contrasting quilted fabrics and skip any embellishments or tags on the inside. Finish with clean seams and no raw edges to make it fully reversible.
What kind of sewing machine needle is best for this project?
Use a universal or quilting needle, size 80/12 or 90/14, depending on the thickness of your fabric and interfacing. A walking foot can also help manage multiple layers evenly.
How do I resize the bucket hat free pattern for different head sizes?
You can scale the pattern pieces up or down by a consistent percentage. Alternatively, use a flexible tape measure to adjust the crown circumference and brim length before cutting.
We’ve covered everything from choosing materials and quilting the panels to assembling the hat and exploring creative variations.
Whether you’re crafting for fun, gifts, or personal use, this pattern offers flexibility and endless room for expression. Now it’s your turn—try it out, enjoy the process, and don’t forget to share your results!
